This is the full report of what I mentioned earlier.
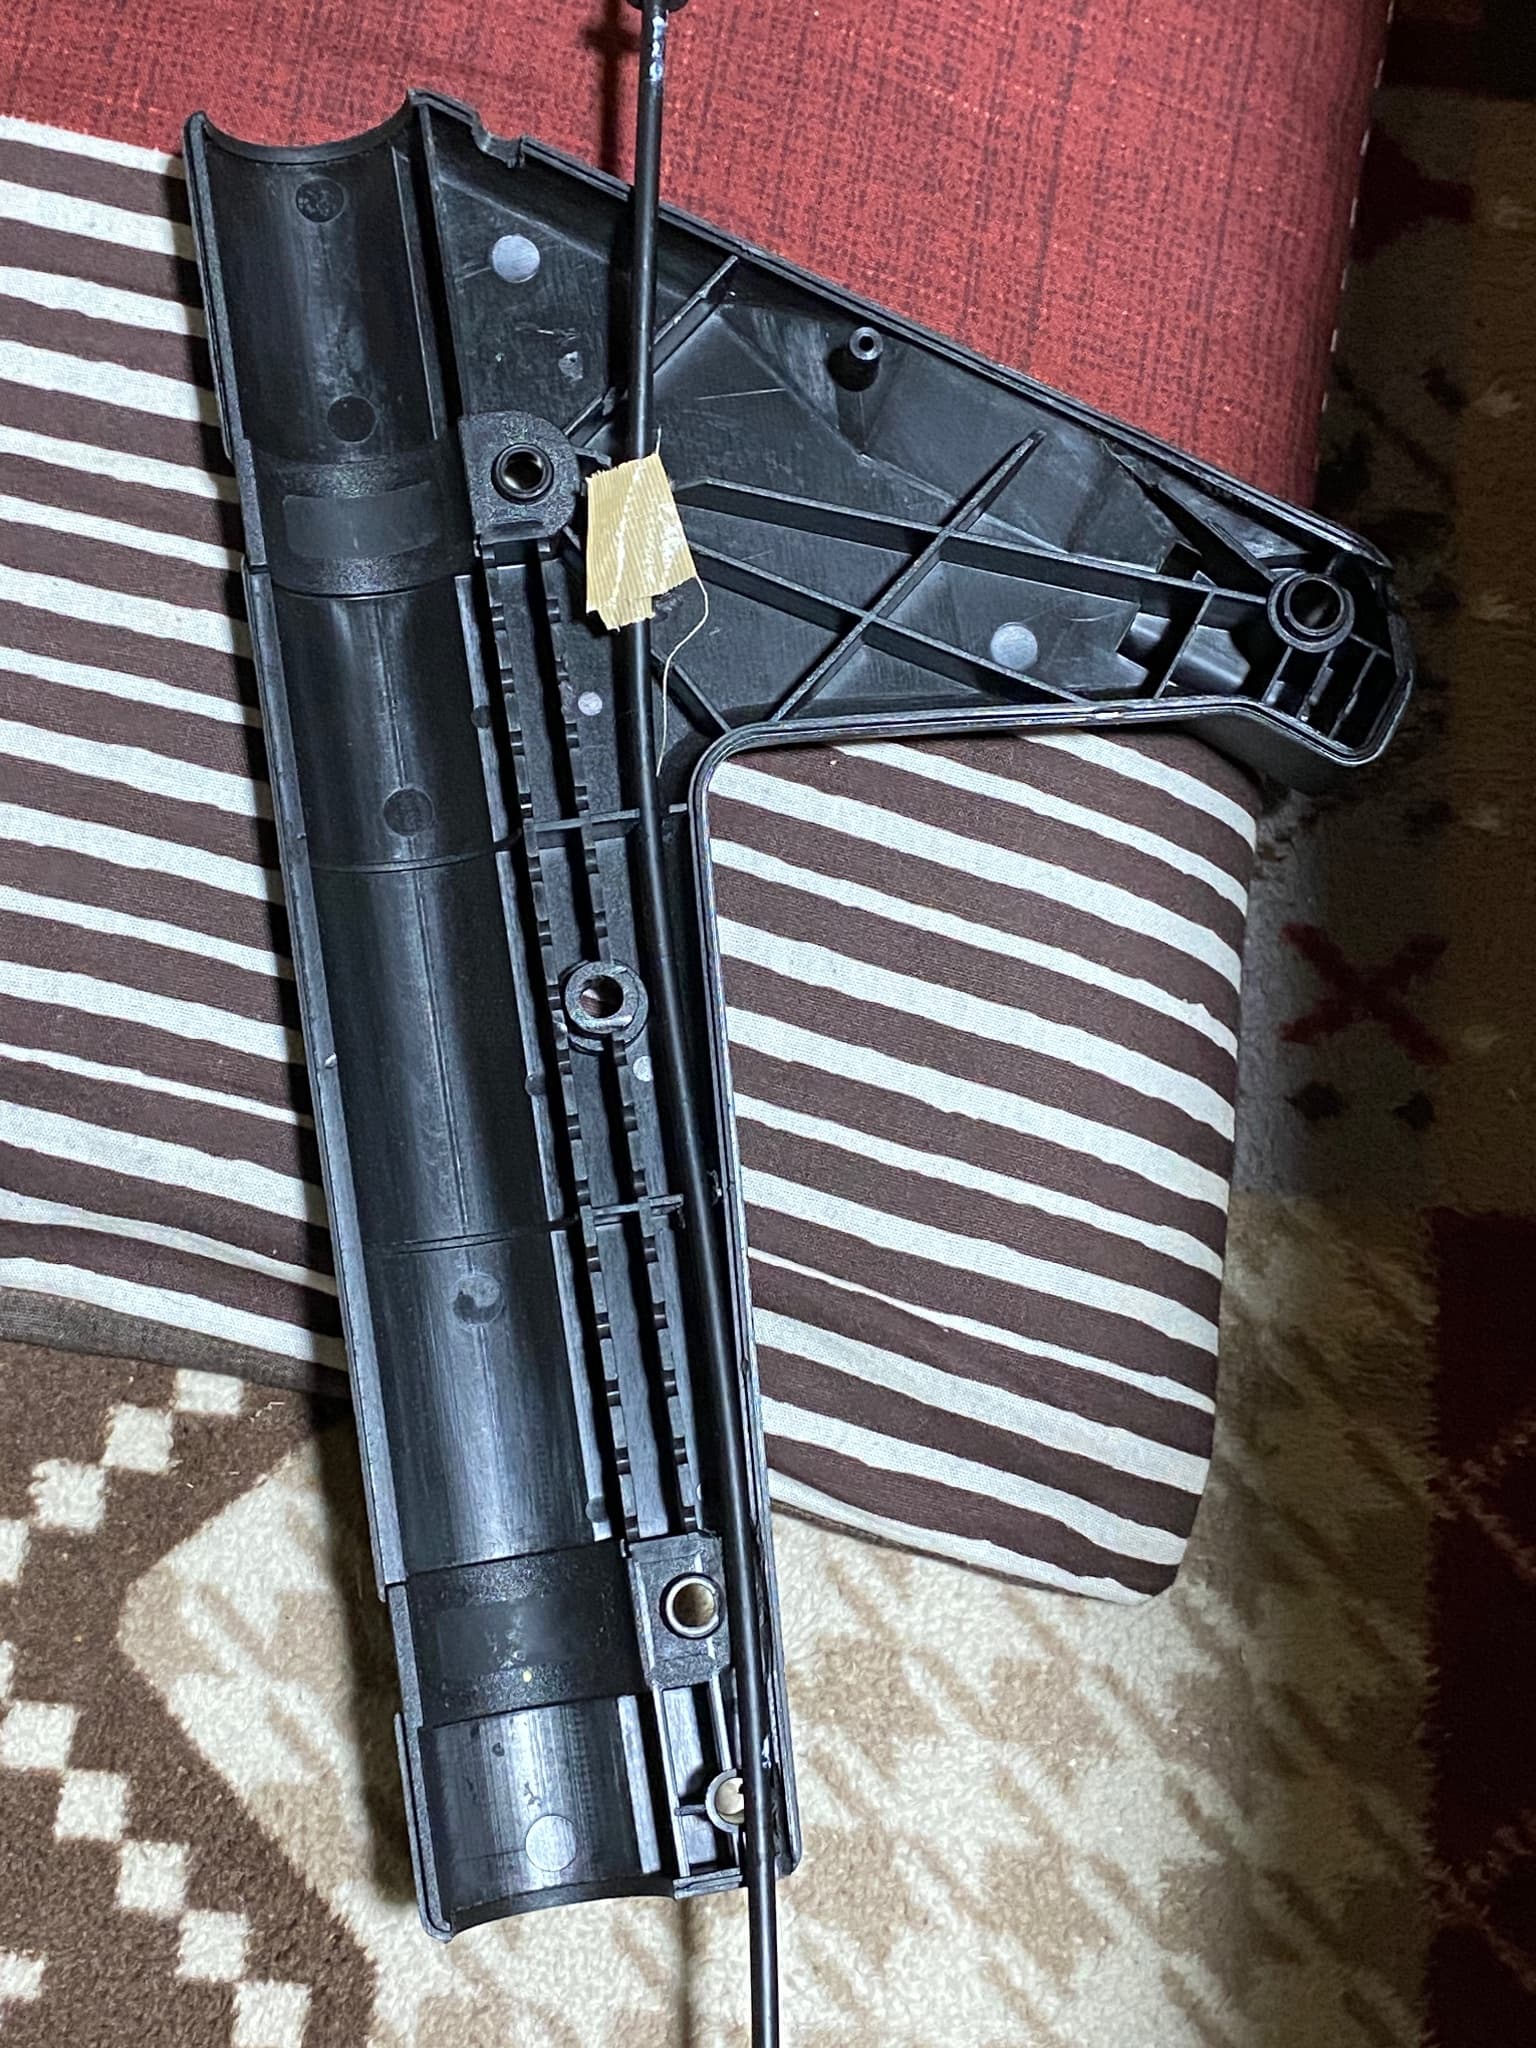
Since it’s a generic product, it didn’t come with any clips to fasten the seat molding bolts together, so I got up before dawn, removed the seat molding, and used a drill, nippers, and router to create a path for the shift cable inside.
Then I threaded the wire through the shifter’s pretensioner barrel, tightened it, and checked that it was working, but then I made a big mistake…
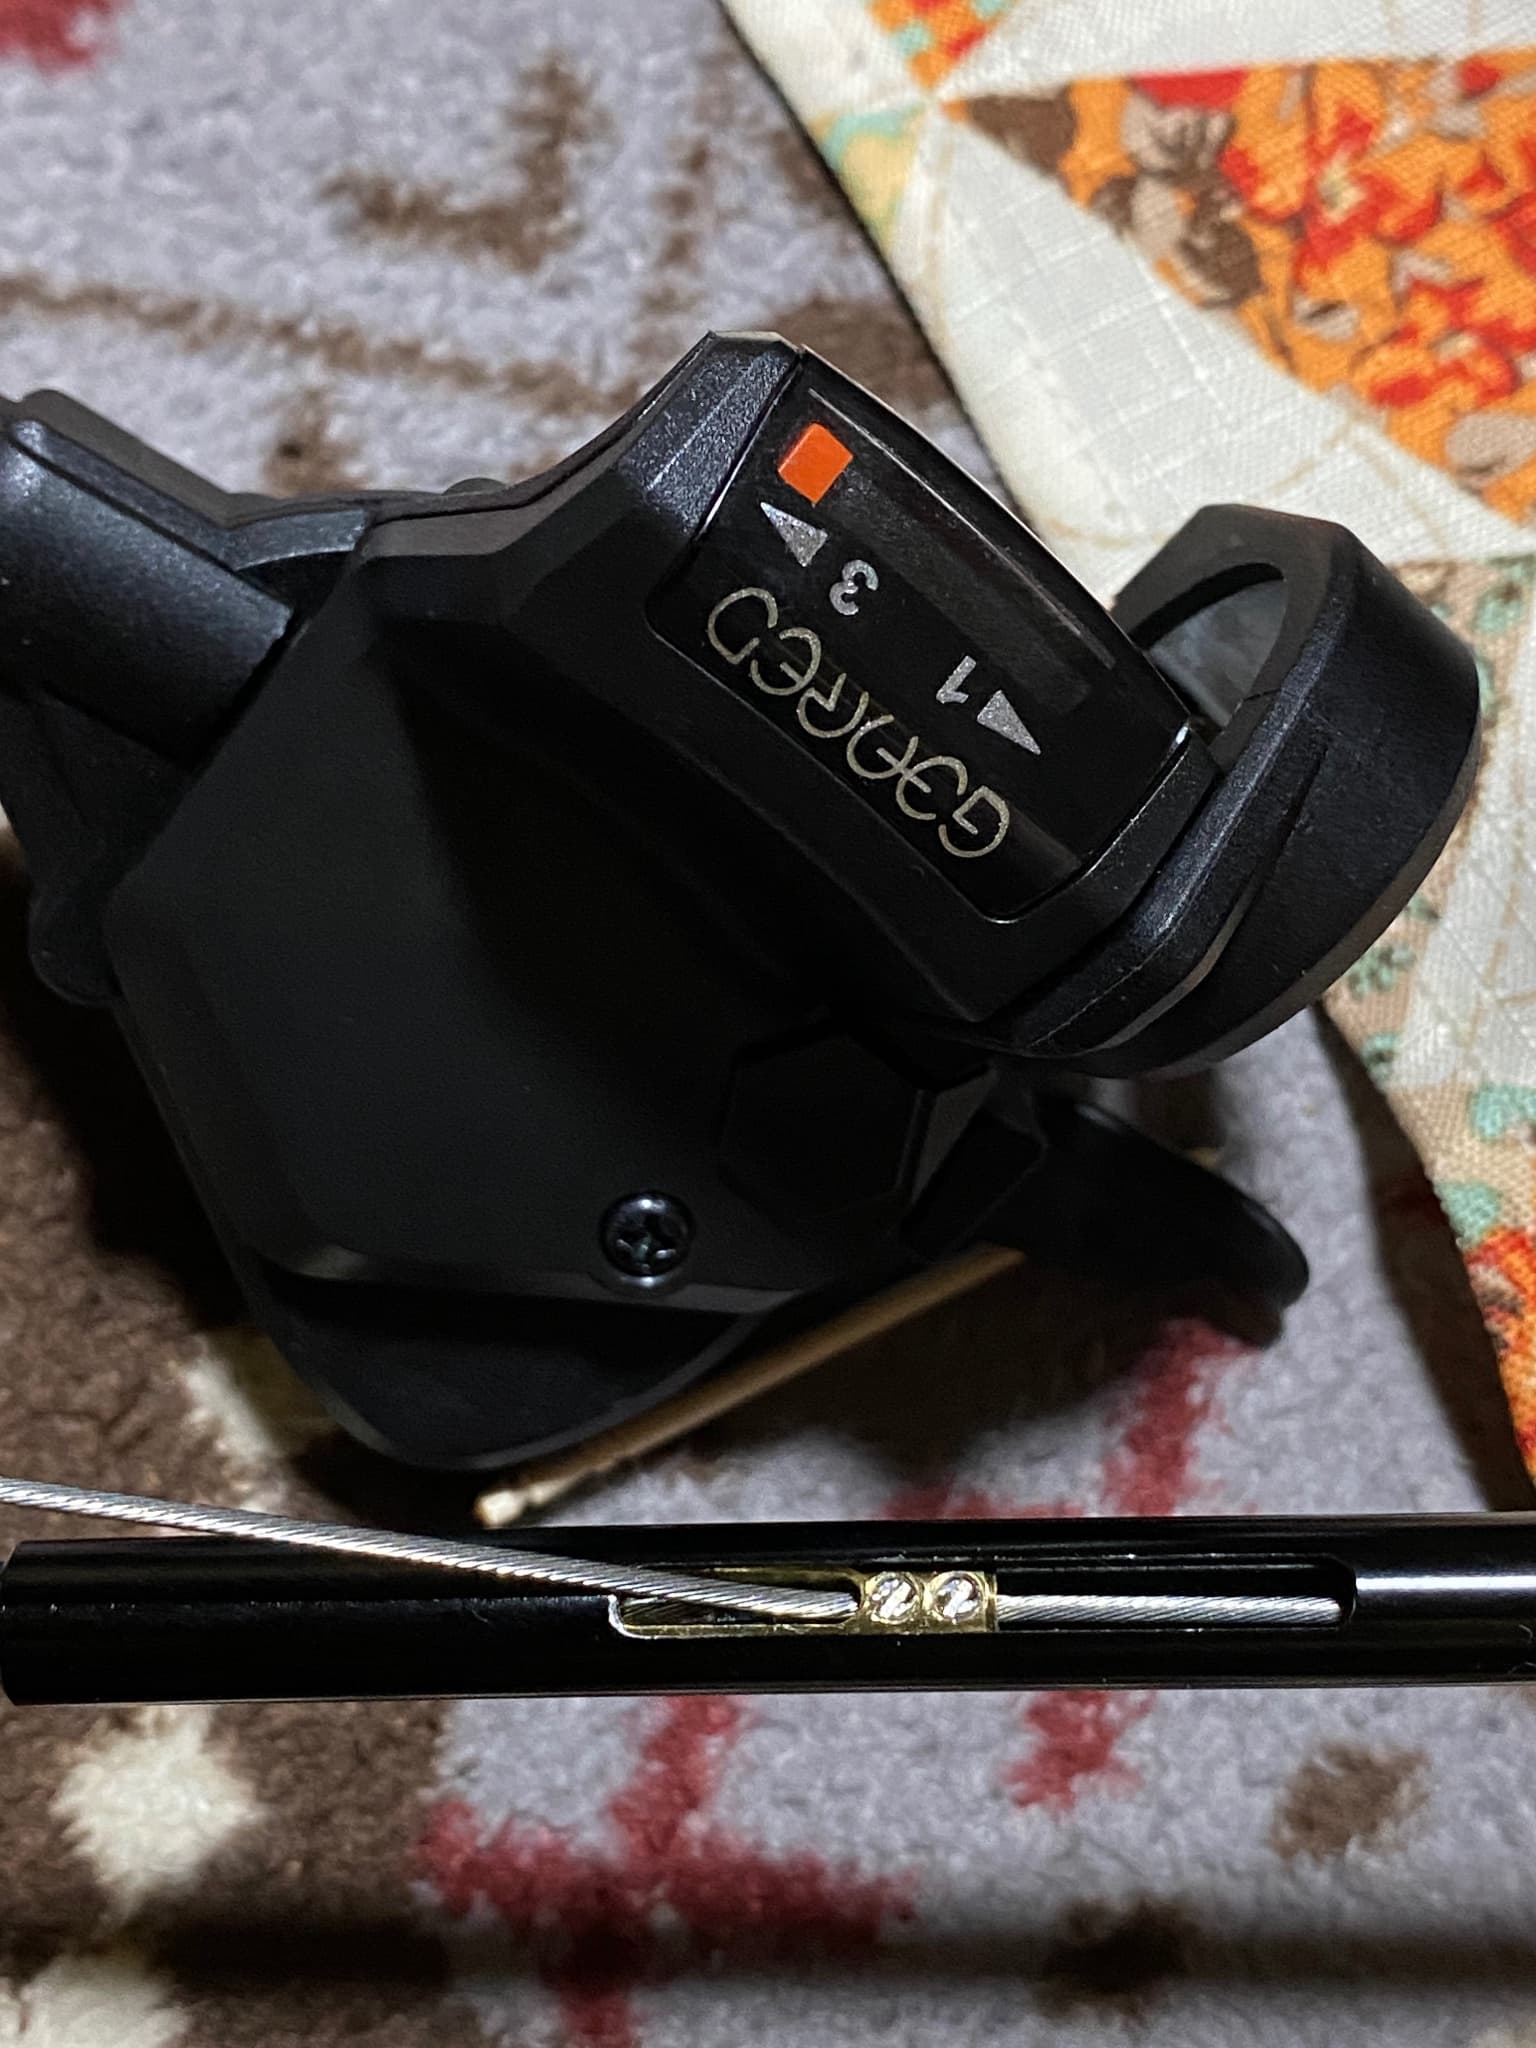
I threaded the small PTFE resin tube through the wire, but cut it without passing it through the right place, and what’s more, the wire cutters weren’t very sharp, so the edges were all messed up…But it still seemed to shift properly between 1st, 2nd, and 3rd gear, so I sealed it up with shrink tubing.
(There were several big mistakes made here. First, the shifter should be in third gear, not first, and the tensioner should be fully tightened before connecting the wire to the pretensioner. This would lead to tragedy later on.
Also, I should have checked that it was working by listening to the ratchet sound when I turned the device counterclockwise, so that it only made one noise in third and second gear, but not in first gear, but I was doing it by intuition, which was also wrong. And before cutting the wire, they should have temporarily installed it and done a road test.
Also, unless there is a special reason, you should choose a finished, ready-made pretensioner to avoid this troublesome procedure.)
1 Like
I attached the CDX belt ring to the GTRO body, and although it said that it was a special bolt and that regular bolts could not be used, the pitch was certainly different… I tightened it firmly while being careful not to strip the screws.
Also, this time I installed the CDX belt ring with side B facing outward, but when I temporarily installed it on the Sugino crank last time, I had side A facing outward.
The center offset is slightly different for each one, so I think this is used for adjustment.
1 Like
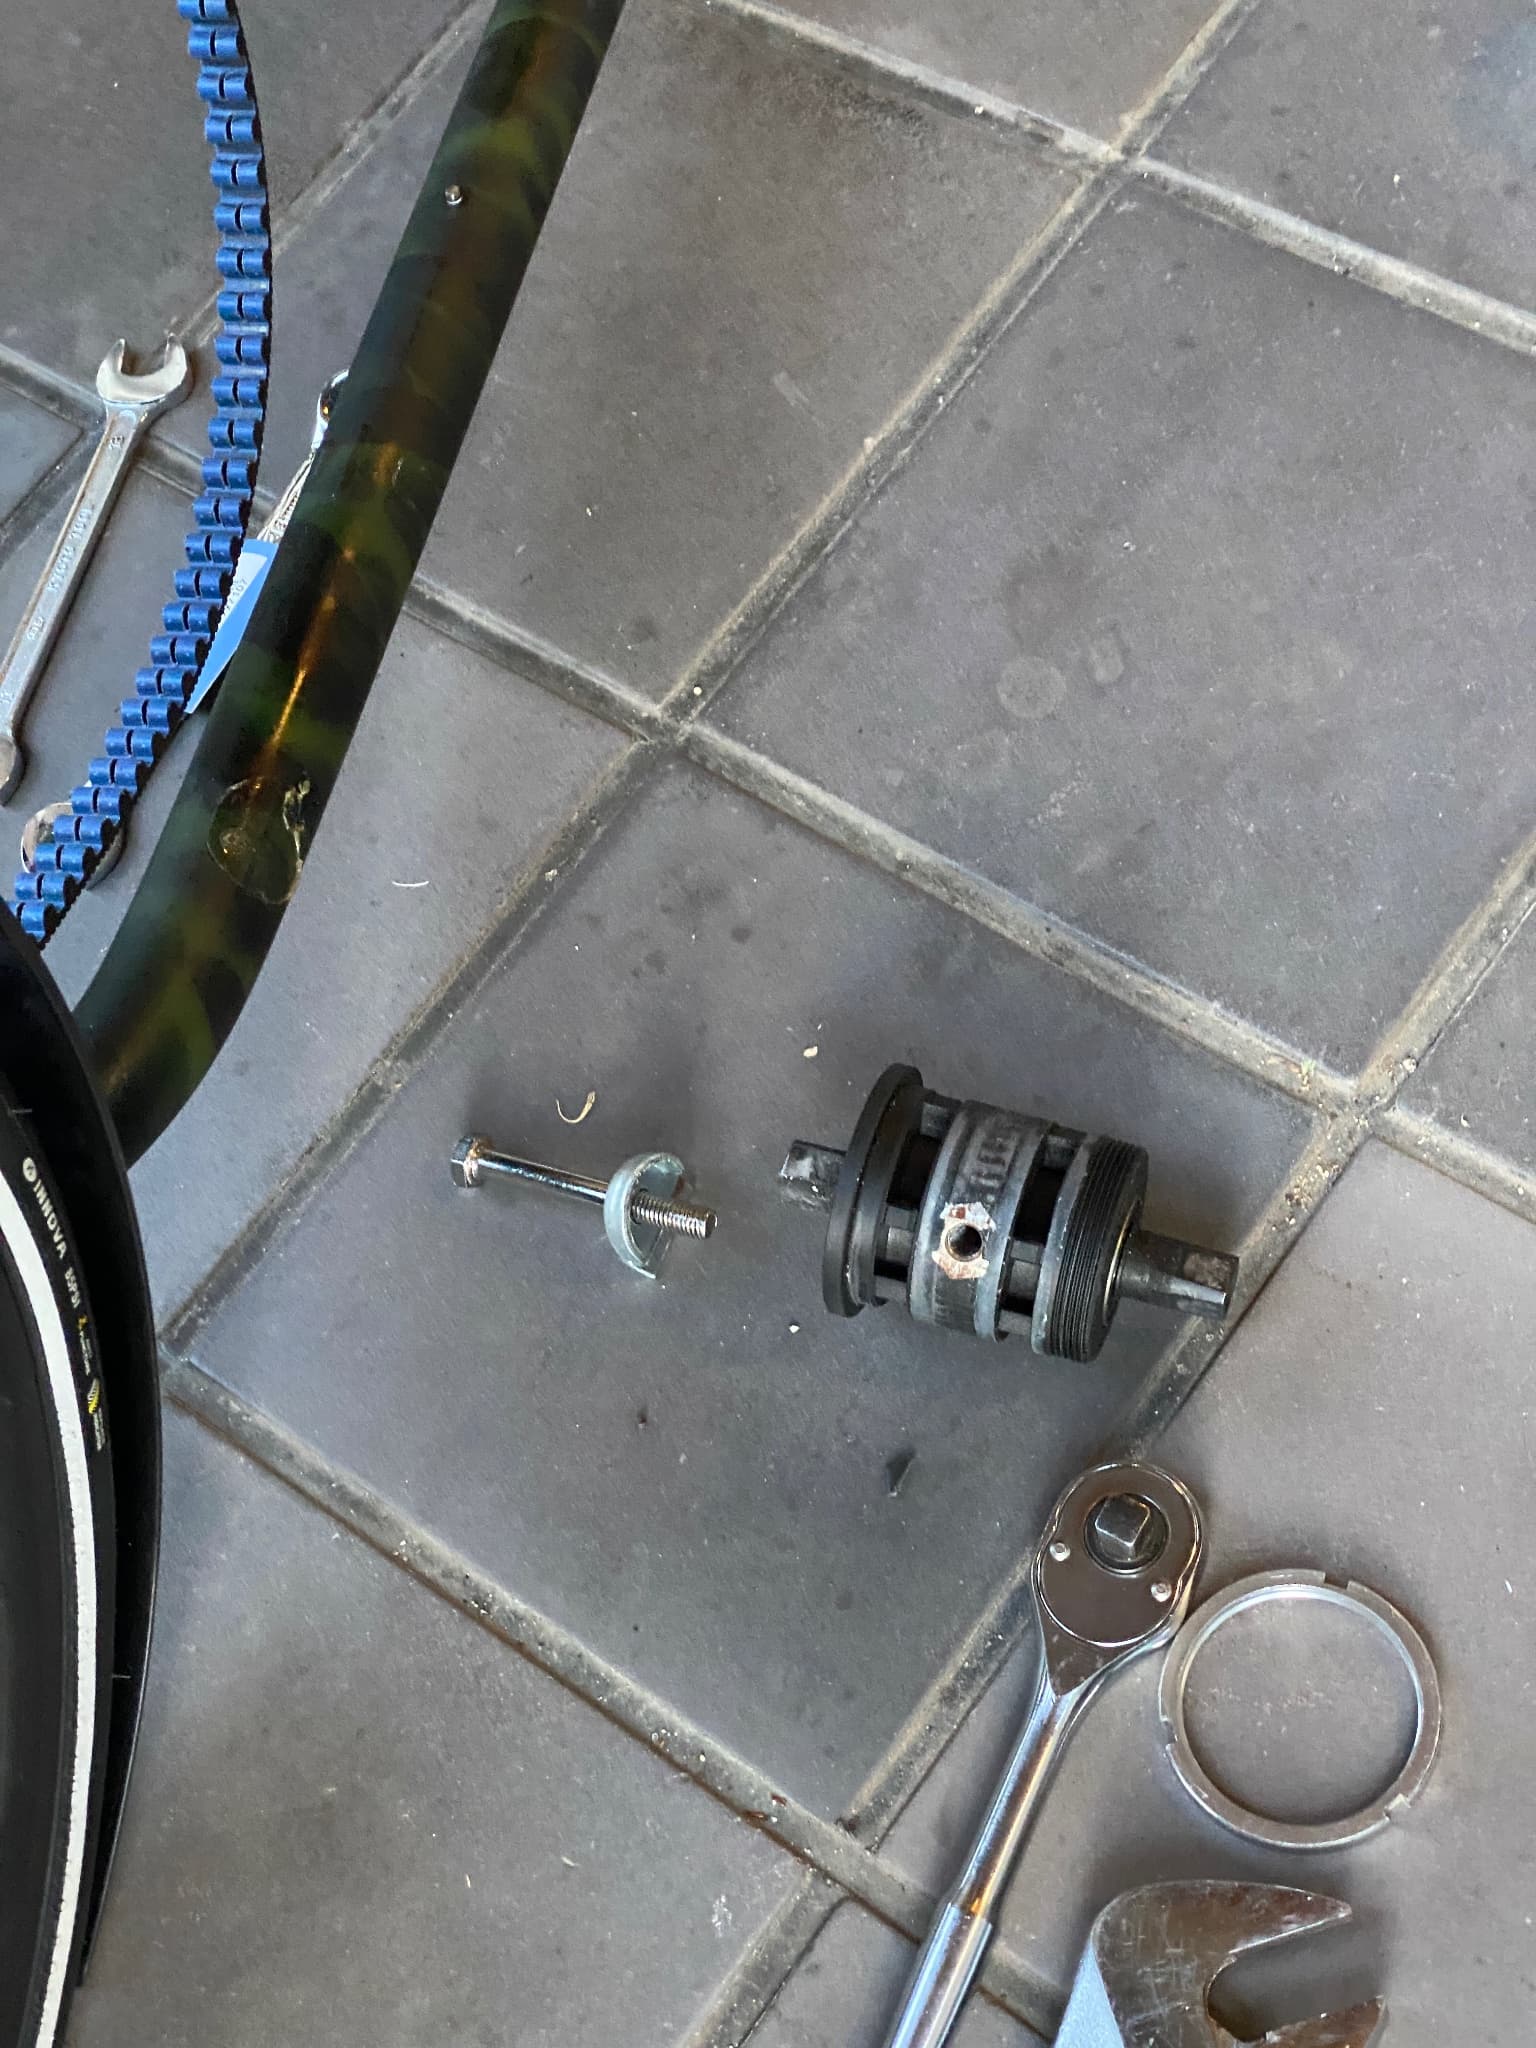
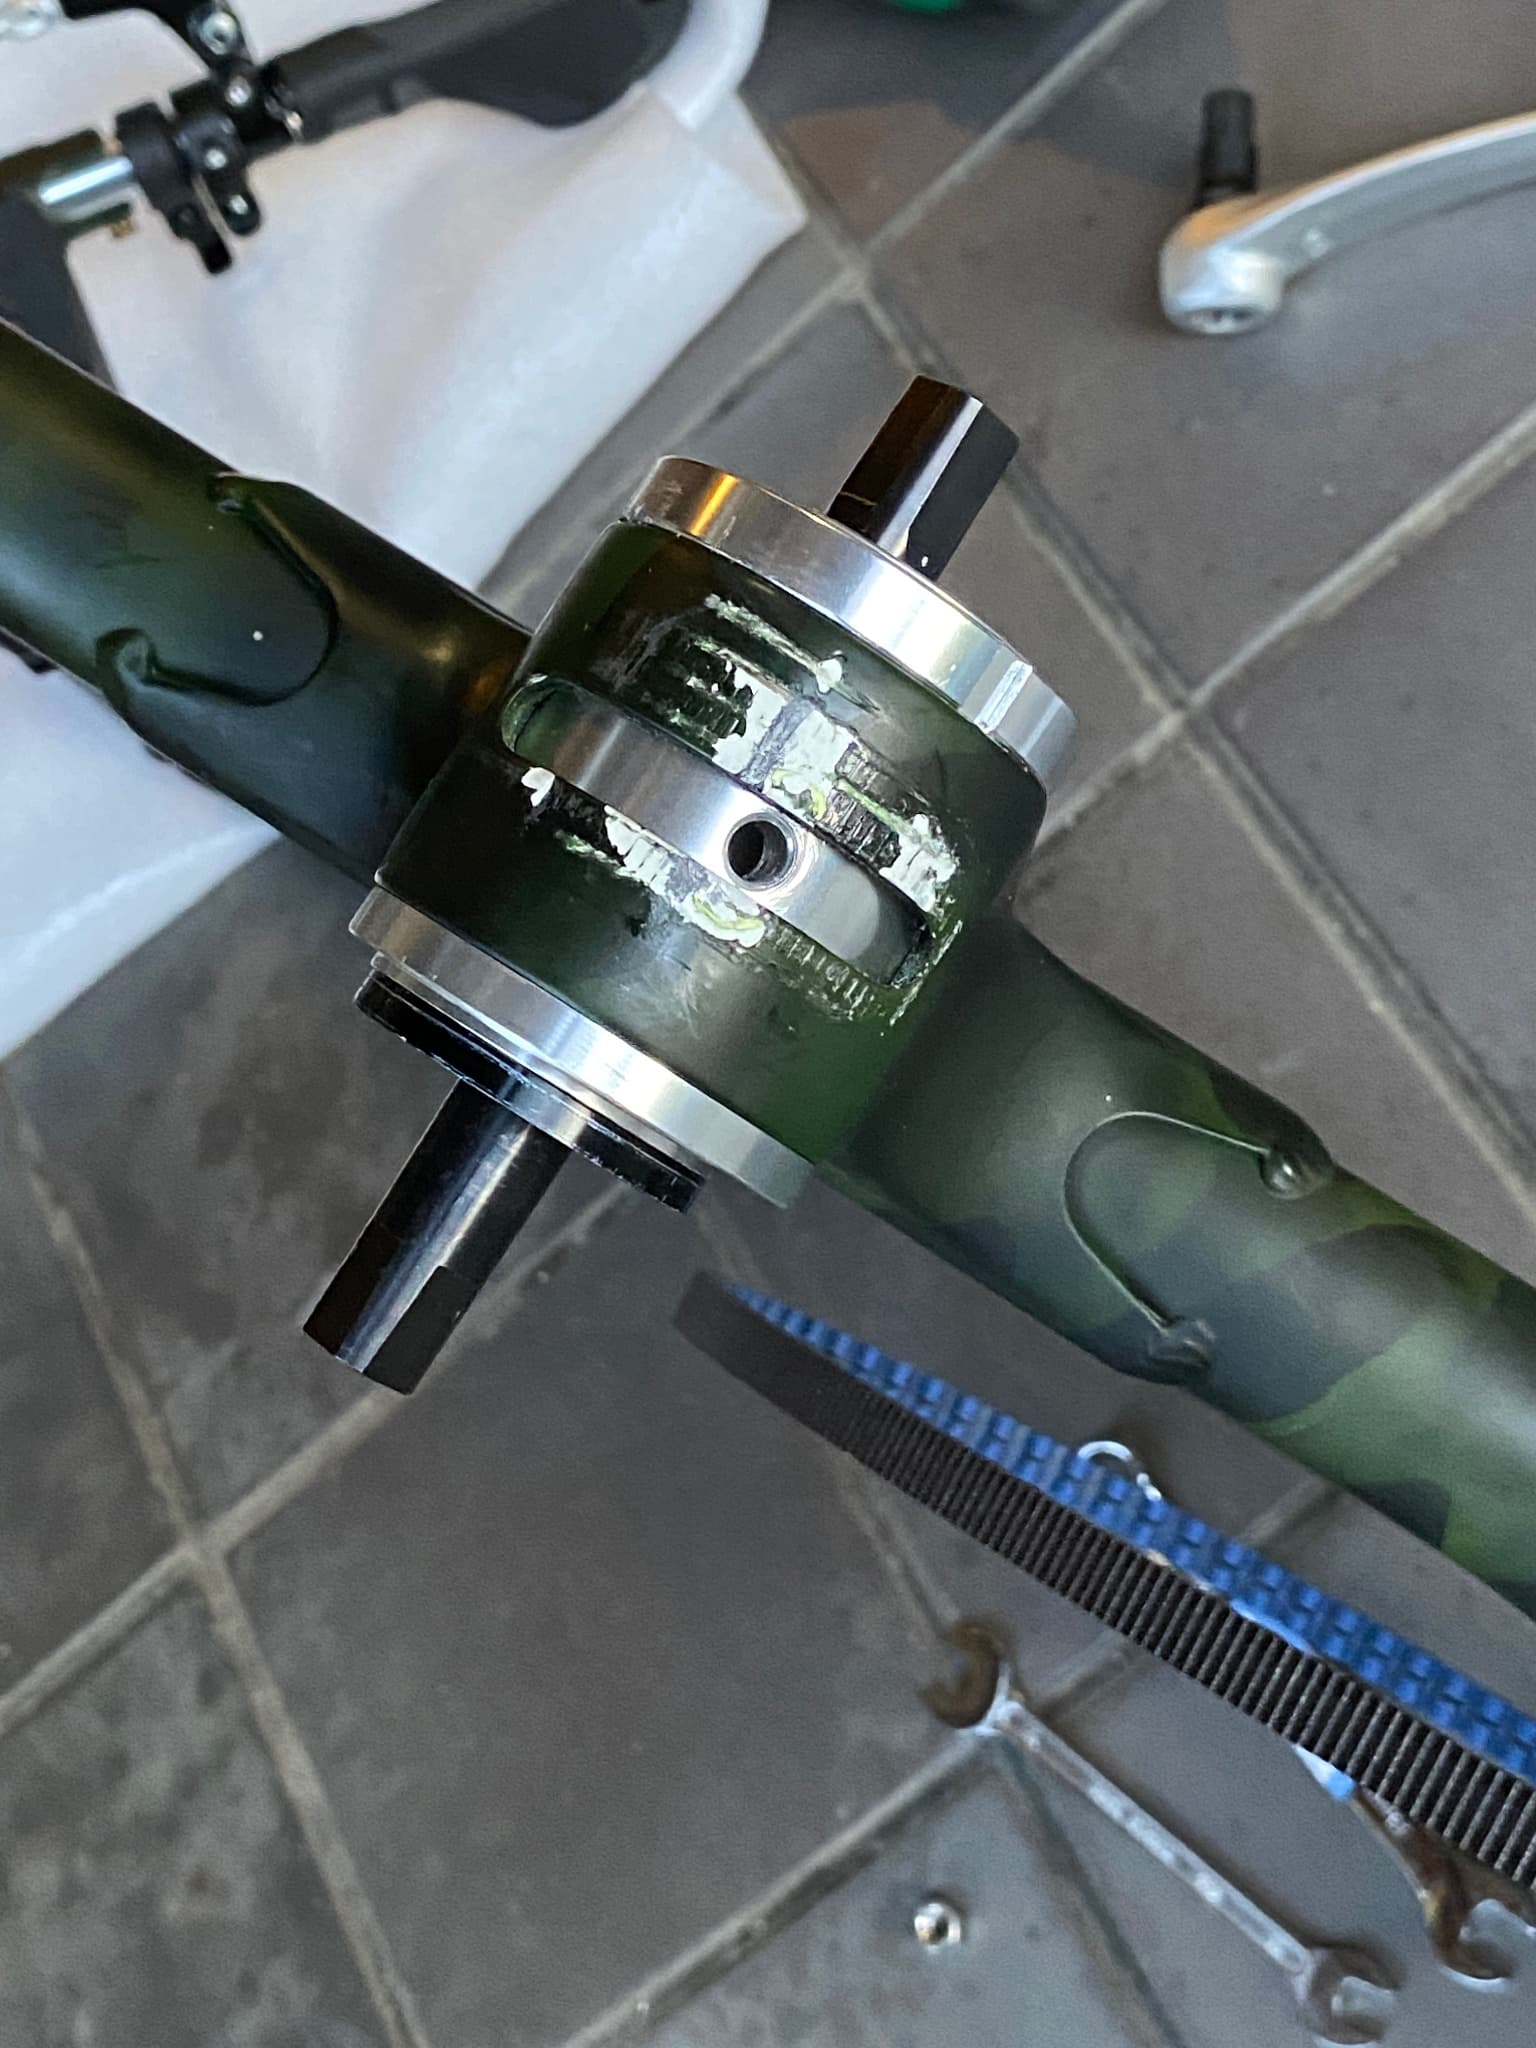
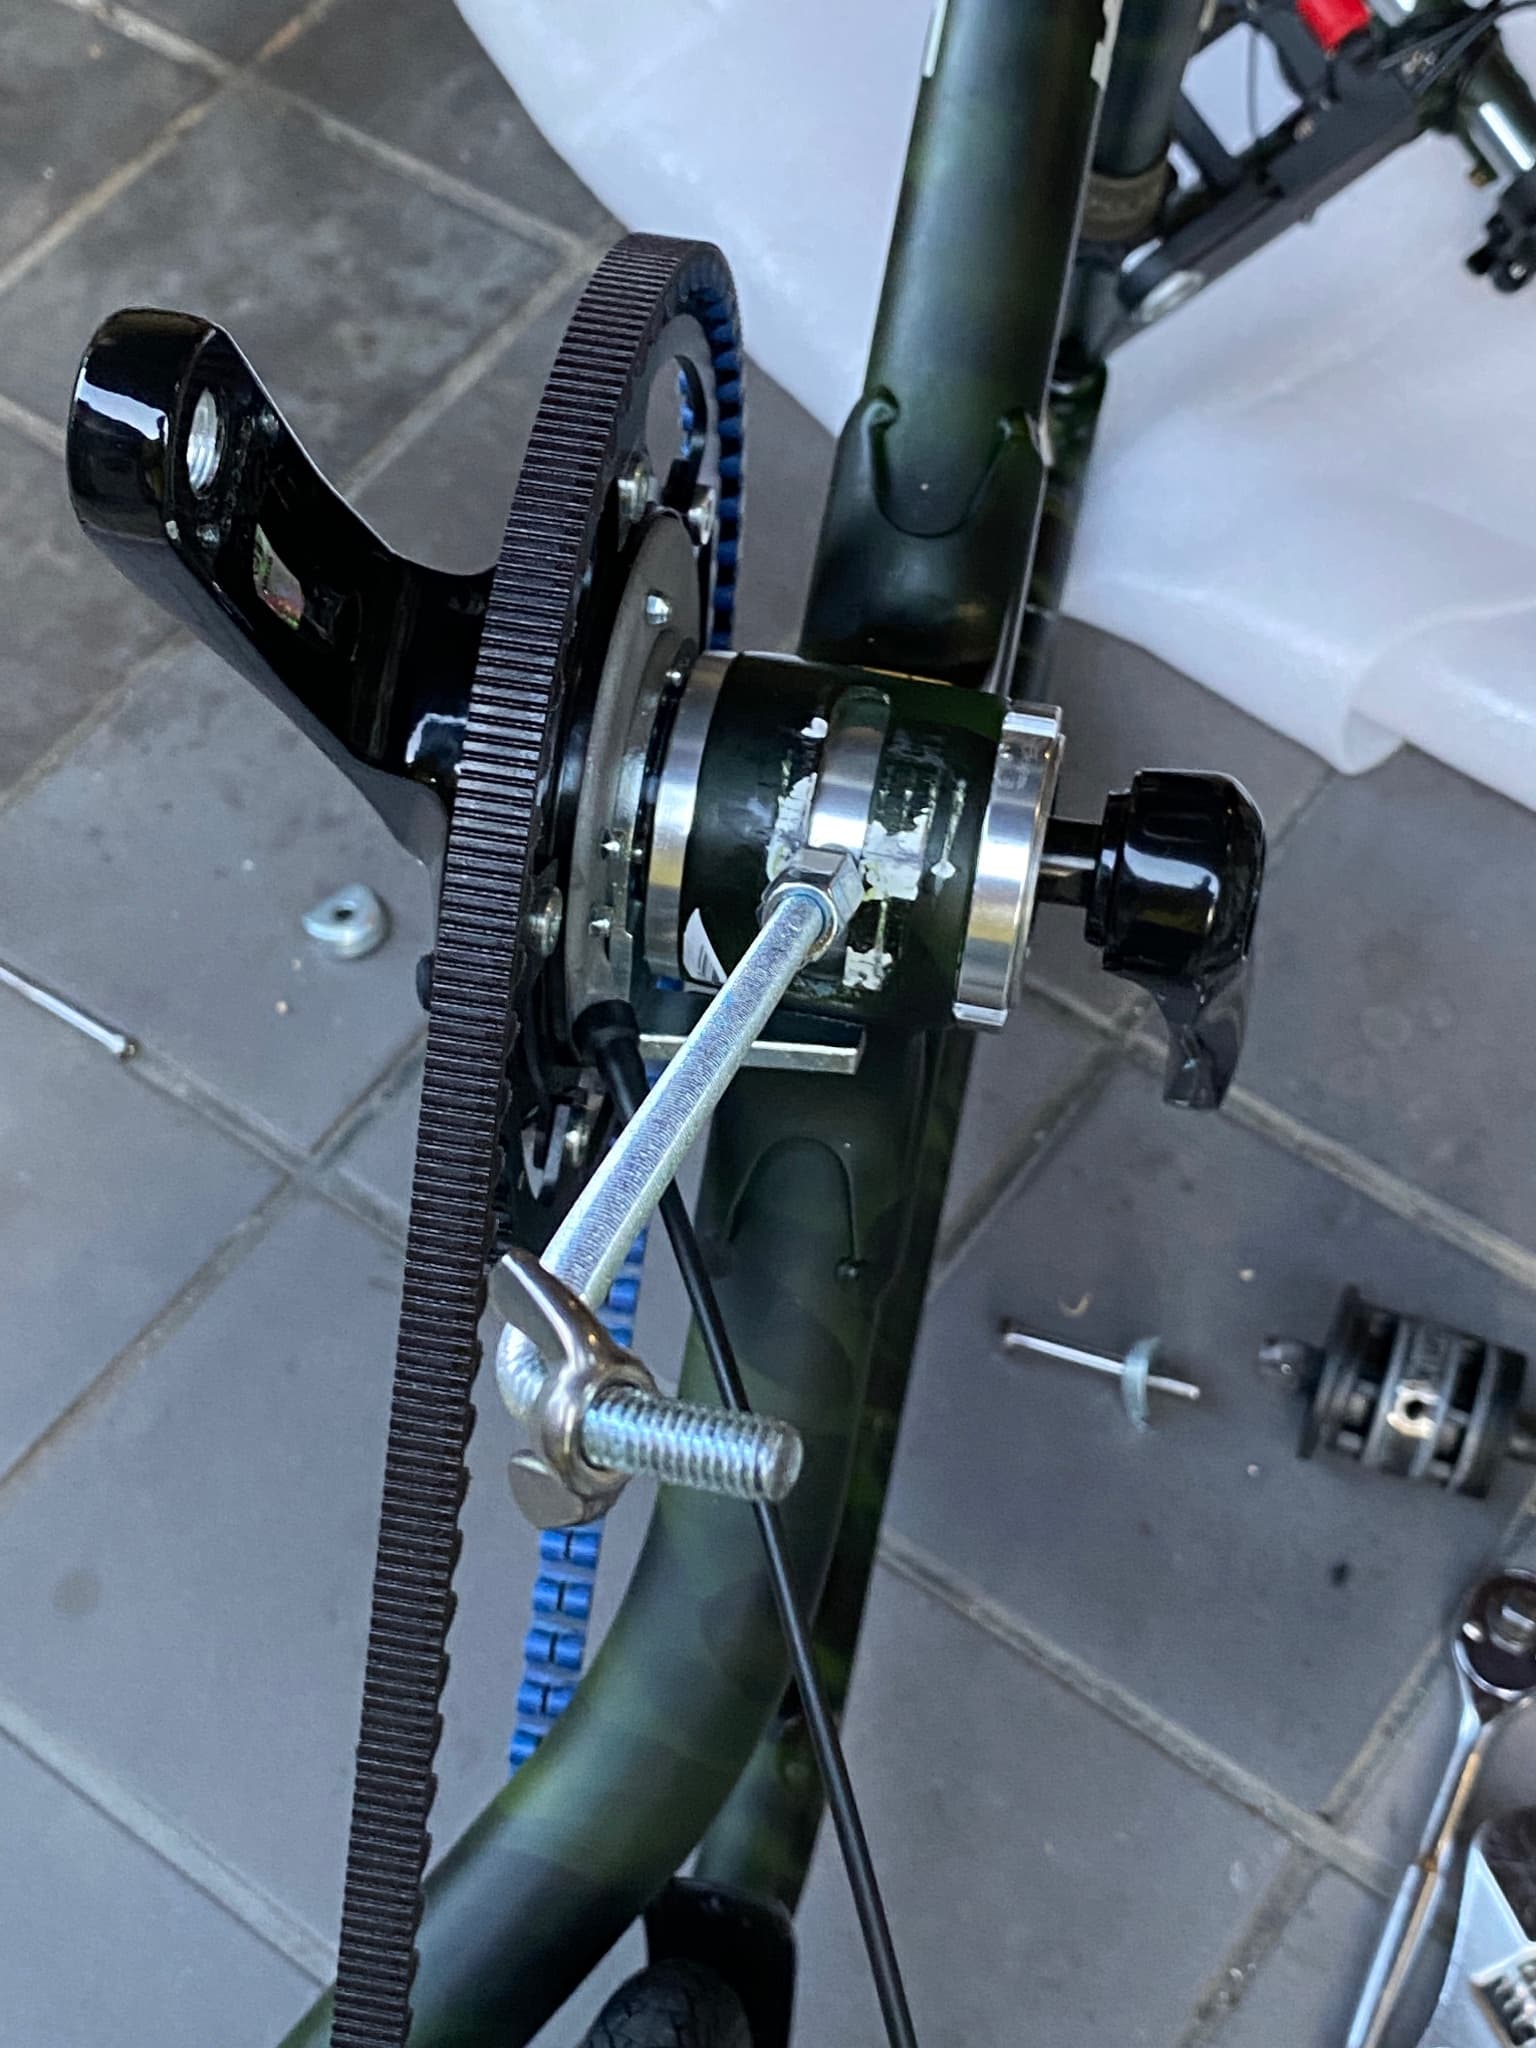
Using a cotterless extractor and an impact driver, I removed the left and right cranks, removed the tightening bolt that doubles as the stand, and the tightening ring on the left crank side. I then hit the eccentric BB from the left side with a plastic hammer and it came off easily, so I installed the eccentric BB for the GTRO that I had made previously, then installed the GTRO main body and left crank, hung the belt, used the long bolt as leverage to adjust the tension, tightened the tightening ring, and then installed the stand.
Maybe because I changed the BB, the stand doesn’t end up in an extreme position even when the tension is just right, so I probably won’t need the 120mm belt I ordered and haven’t received yet (from Germany).
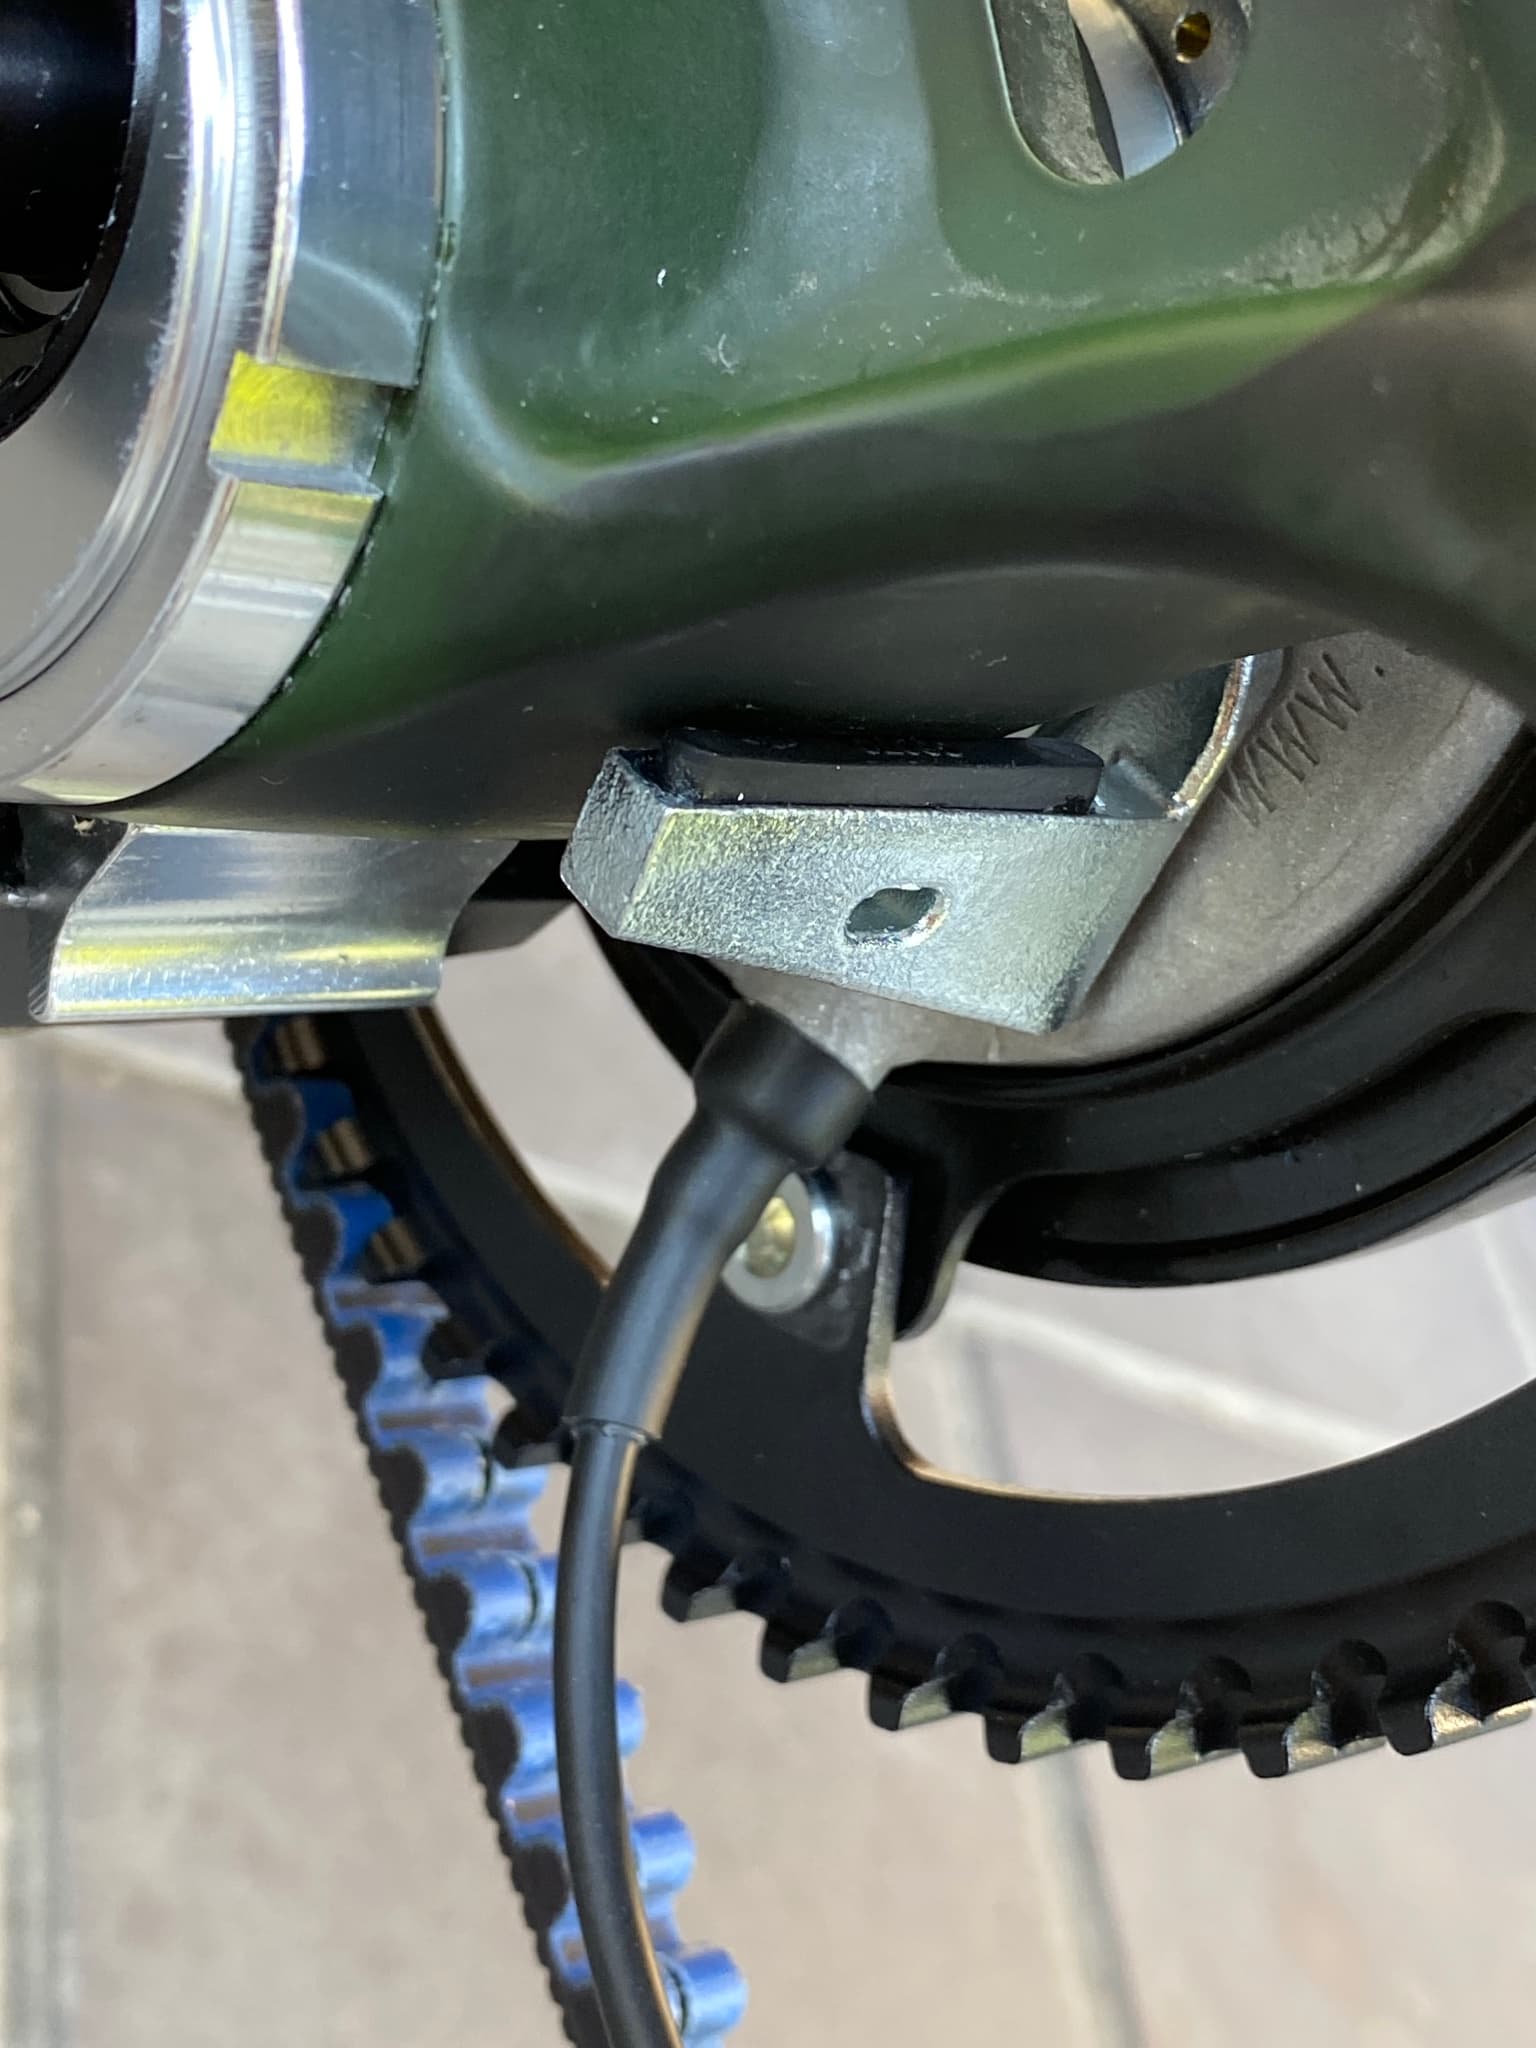
The reaction lever, which is the arm that secures the GTRO body to prevent it from rotating, was installed in the same position as it arrived, and it didn’t get in the adjustment slot of the BB fixing bolt.
The anti-scratch rubber seems to be working well, so maybe it’s fine?
1 Like
I did a lot of work on the handlebars, but didn’t take any pictures…I had to fold the handlebars and/or turn them side to side to get around the cables.
The GIANT grips I installed were too long, so there wasn’t enough space for the shifter, so I changed them to shorter ones, and I also changed the position of the bell and light.
It was a good idea to use lock-on grips in anticipation of this kind of work.
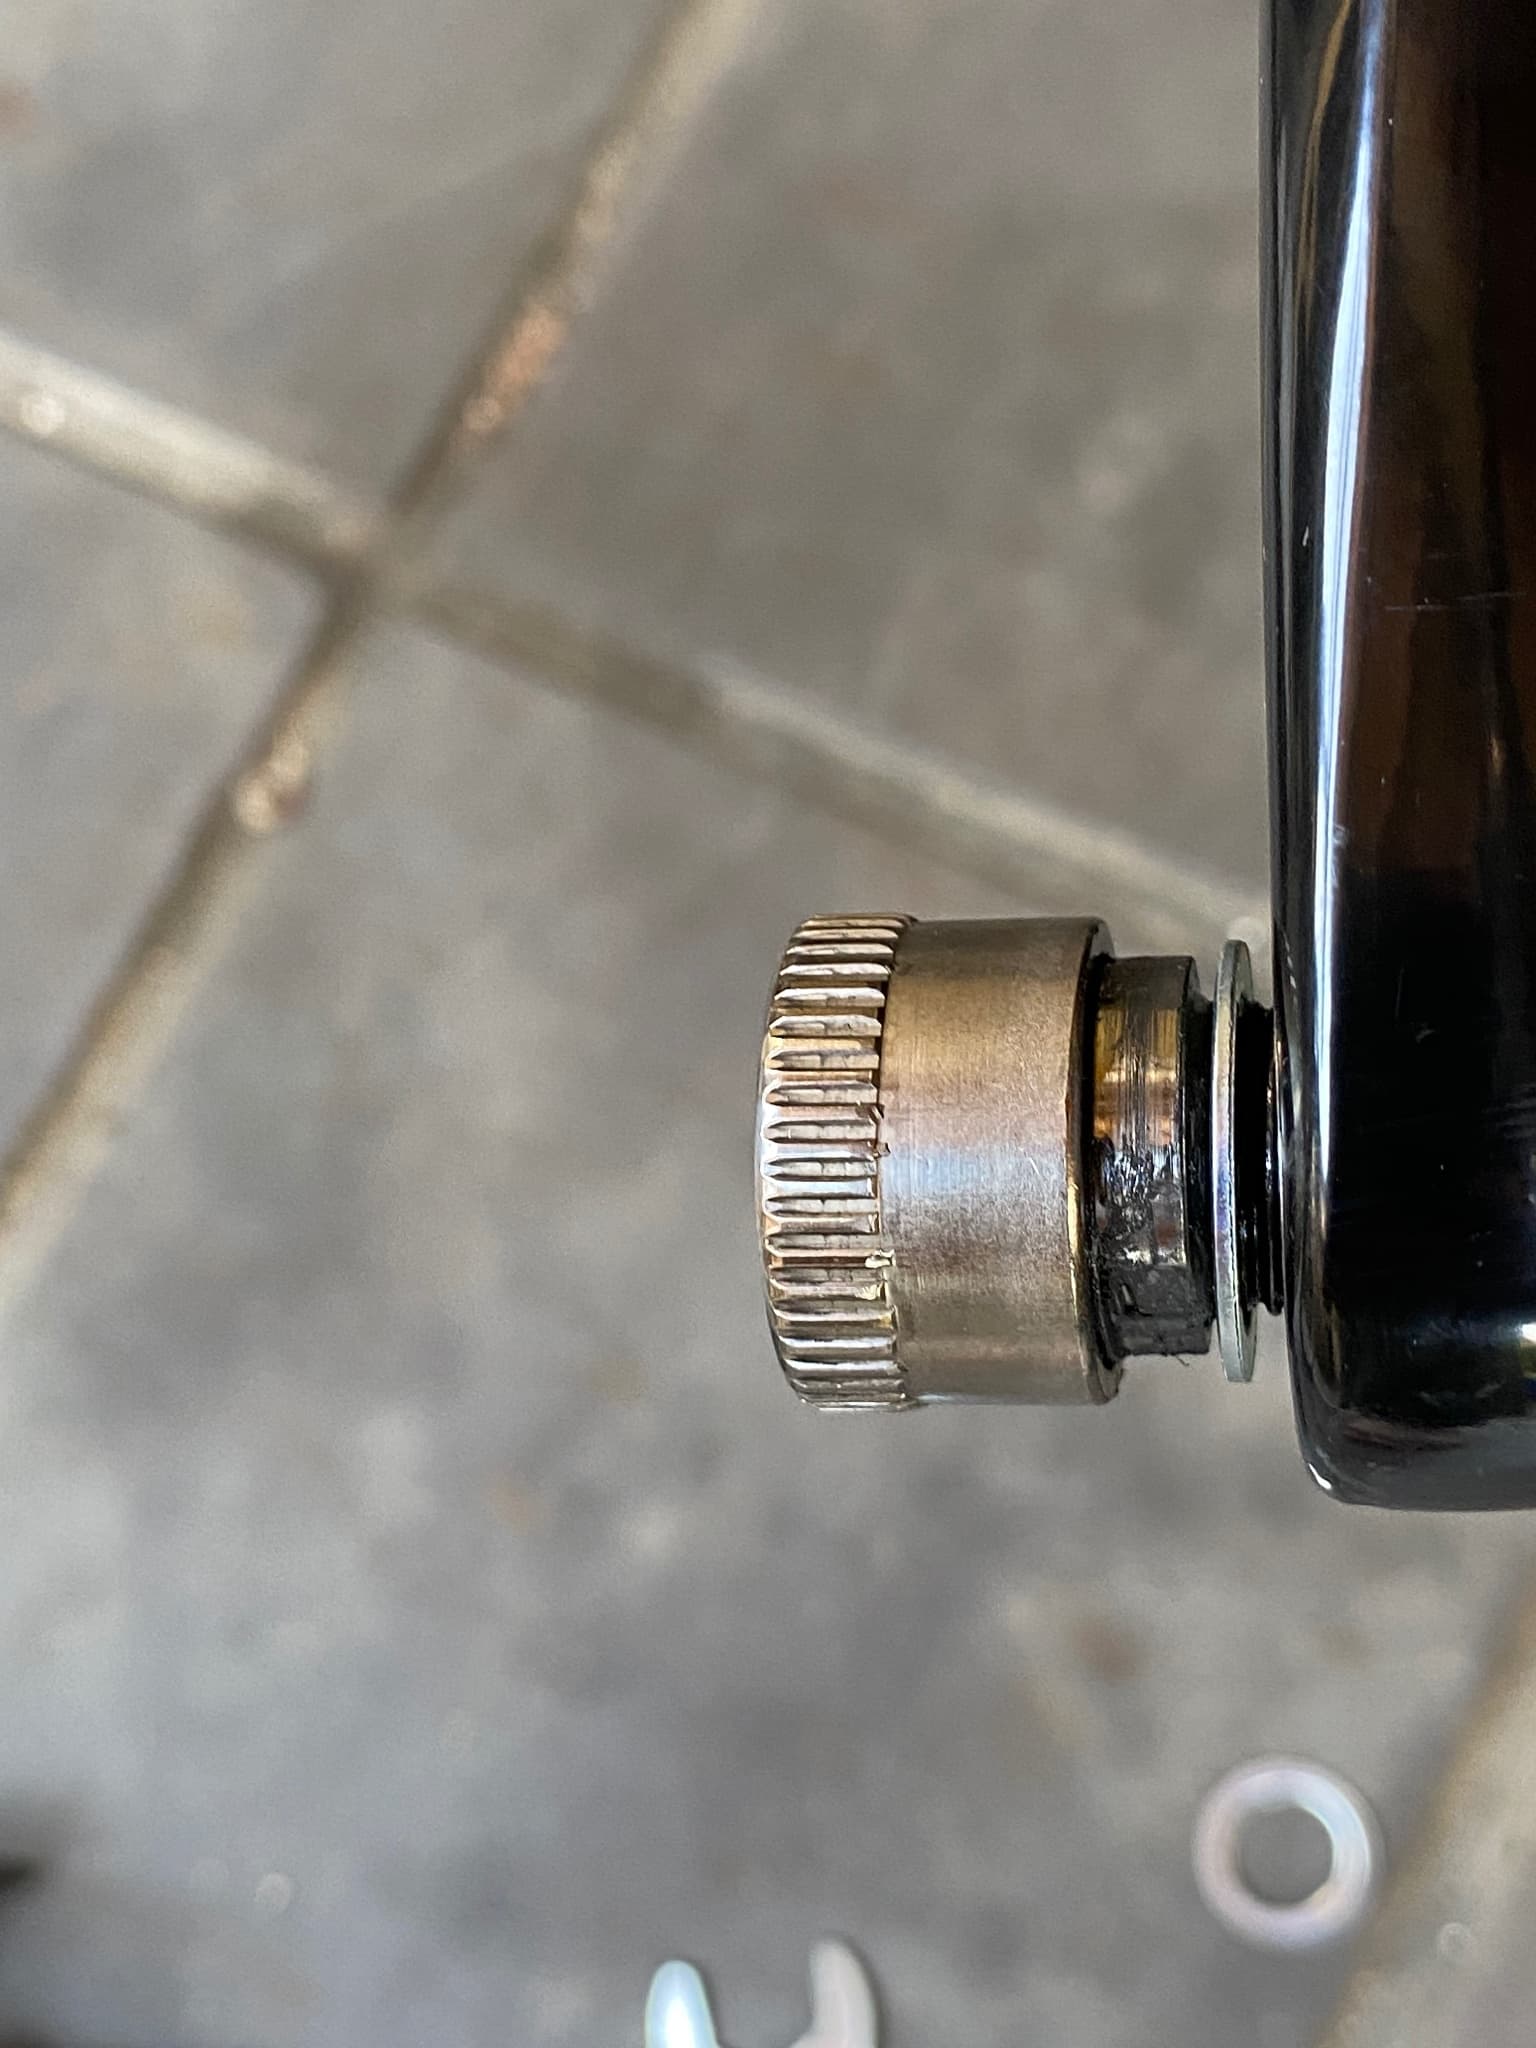
Also, the GTRO cranks are deeply recessed, so if I want to use MKS pedals, I’ll probably need to use the spacer rings that come with the pedals.
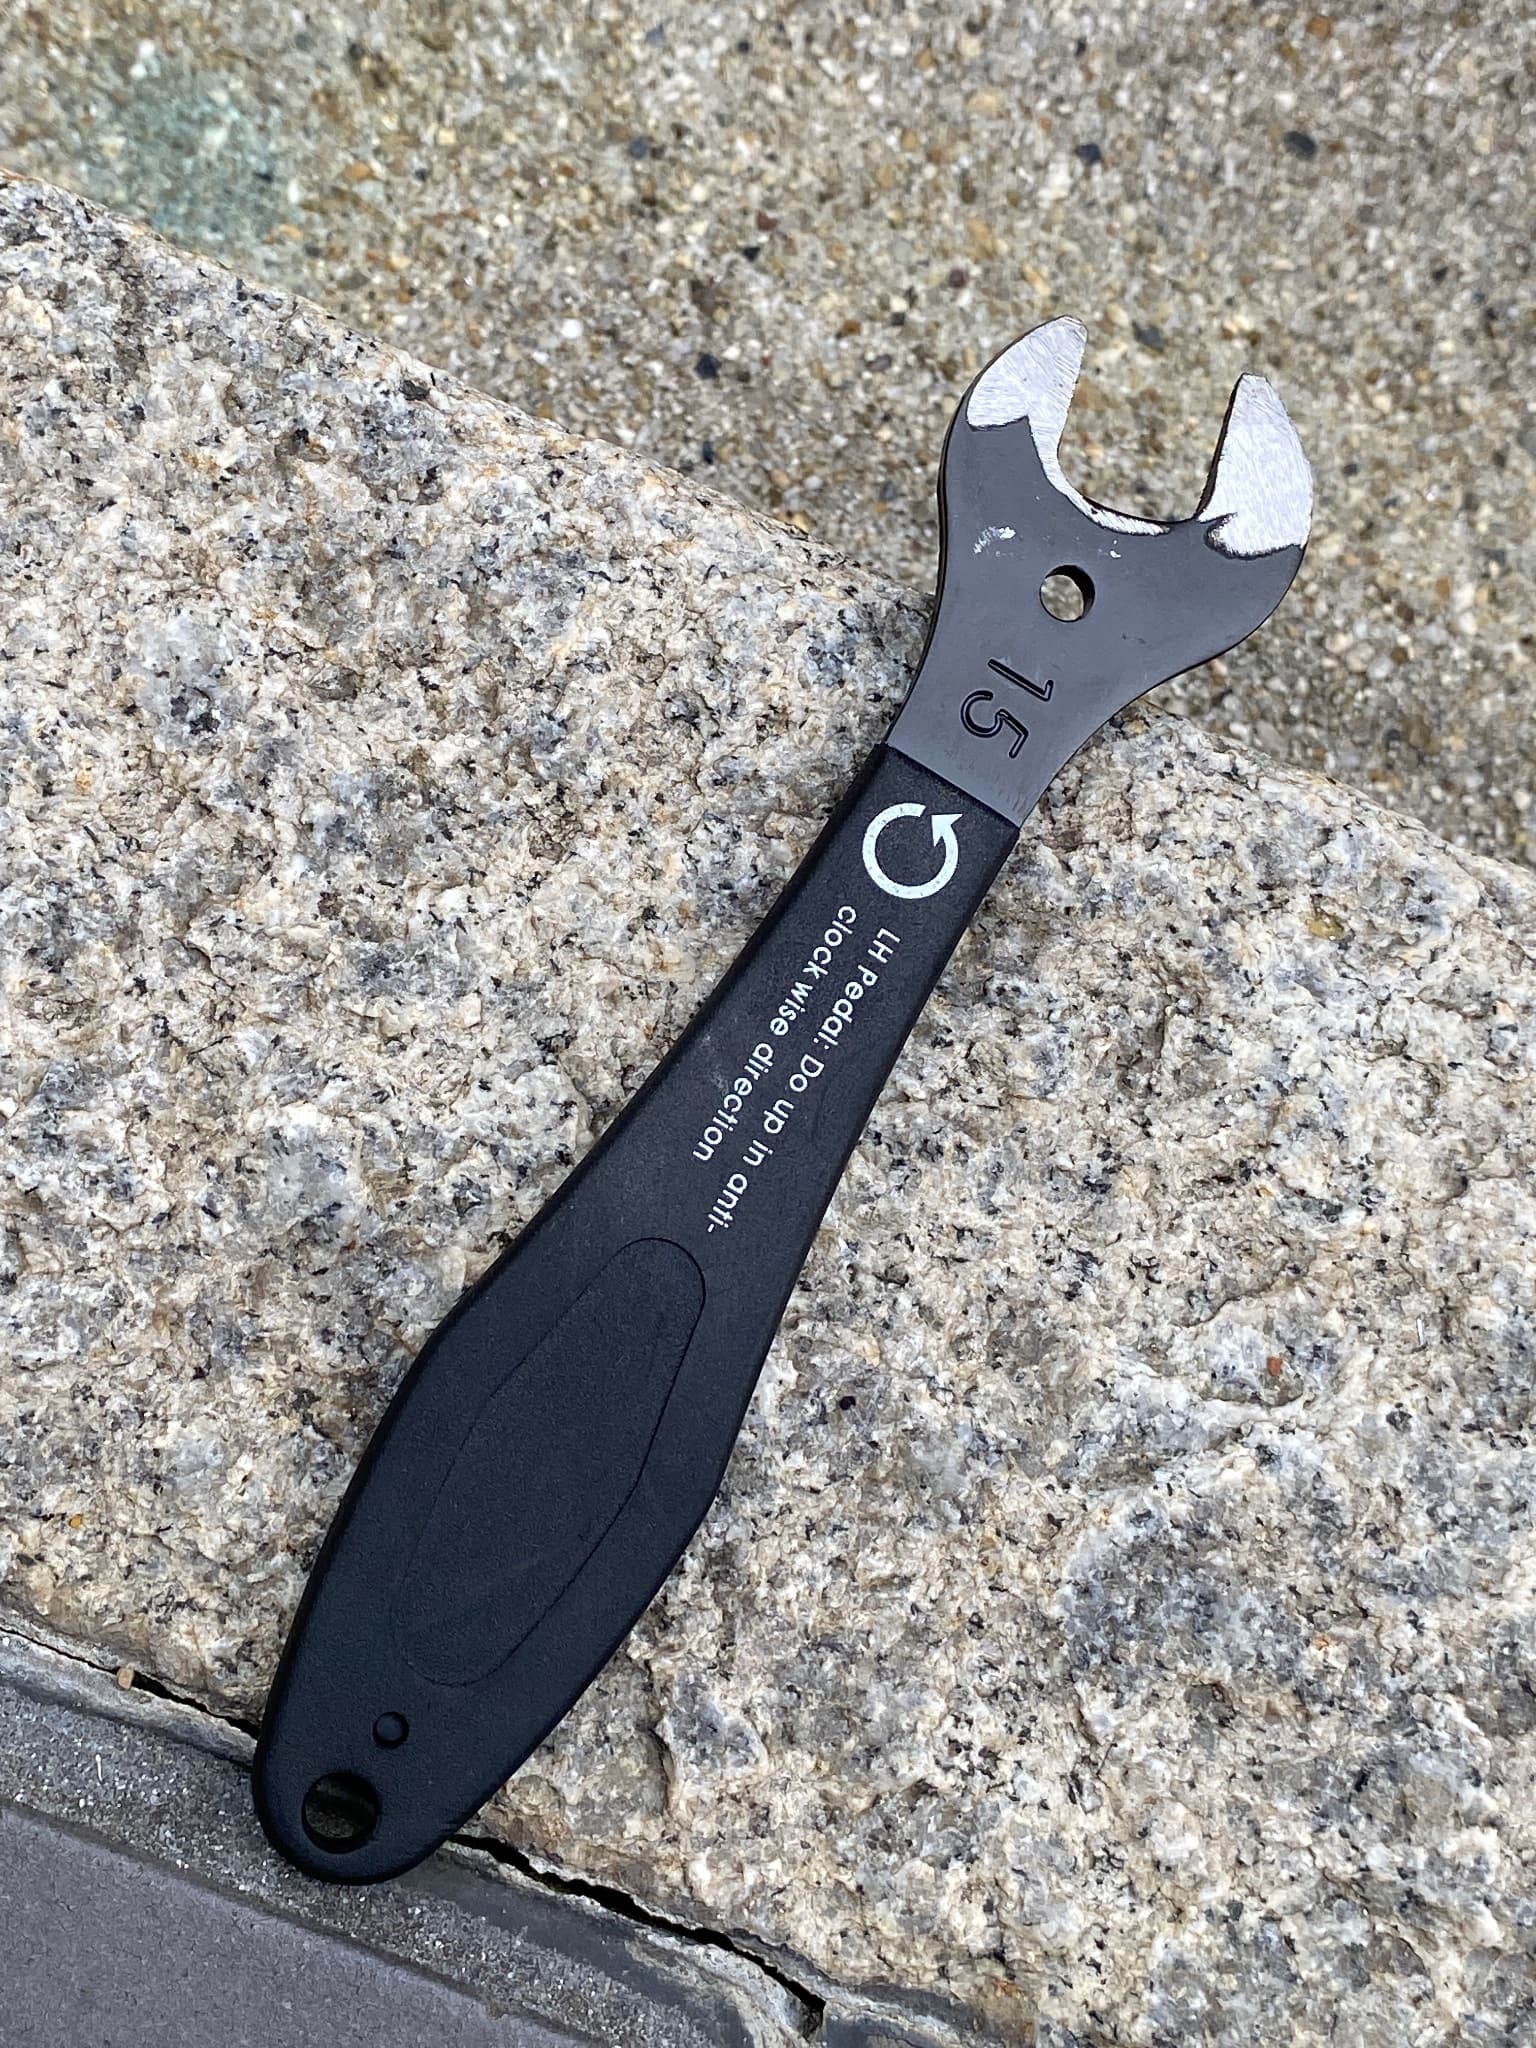
The pedals I temporarily attached to the Sugino cranks wouldn’t loosen with a cheap metal punched out wrench, so I attached the temporary pedals and then tried to use a pedal wrench I bought at a hardware store… but they were still too thick to fit, so I used a grinder to tune and grind them down until they were thin enough that nothing happened.
MKS detachable pedals require a really thin wrench.
1 Like
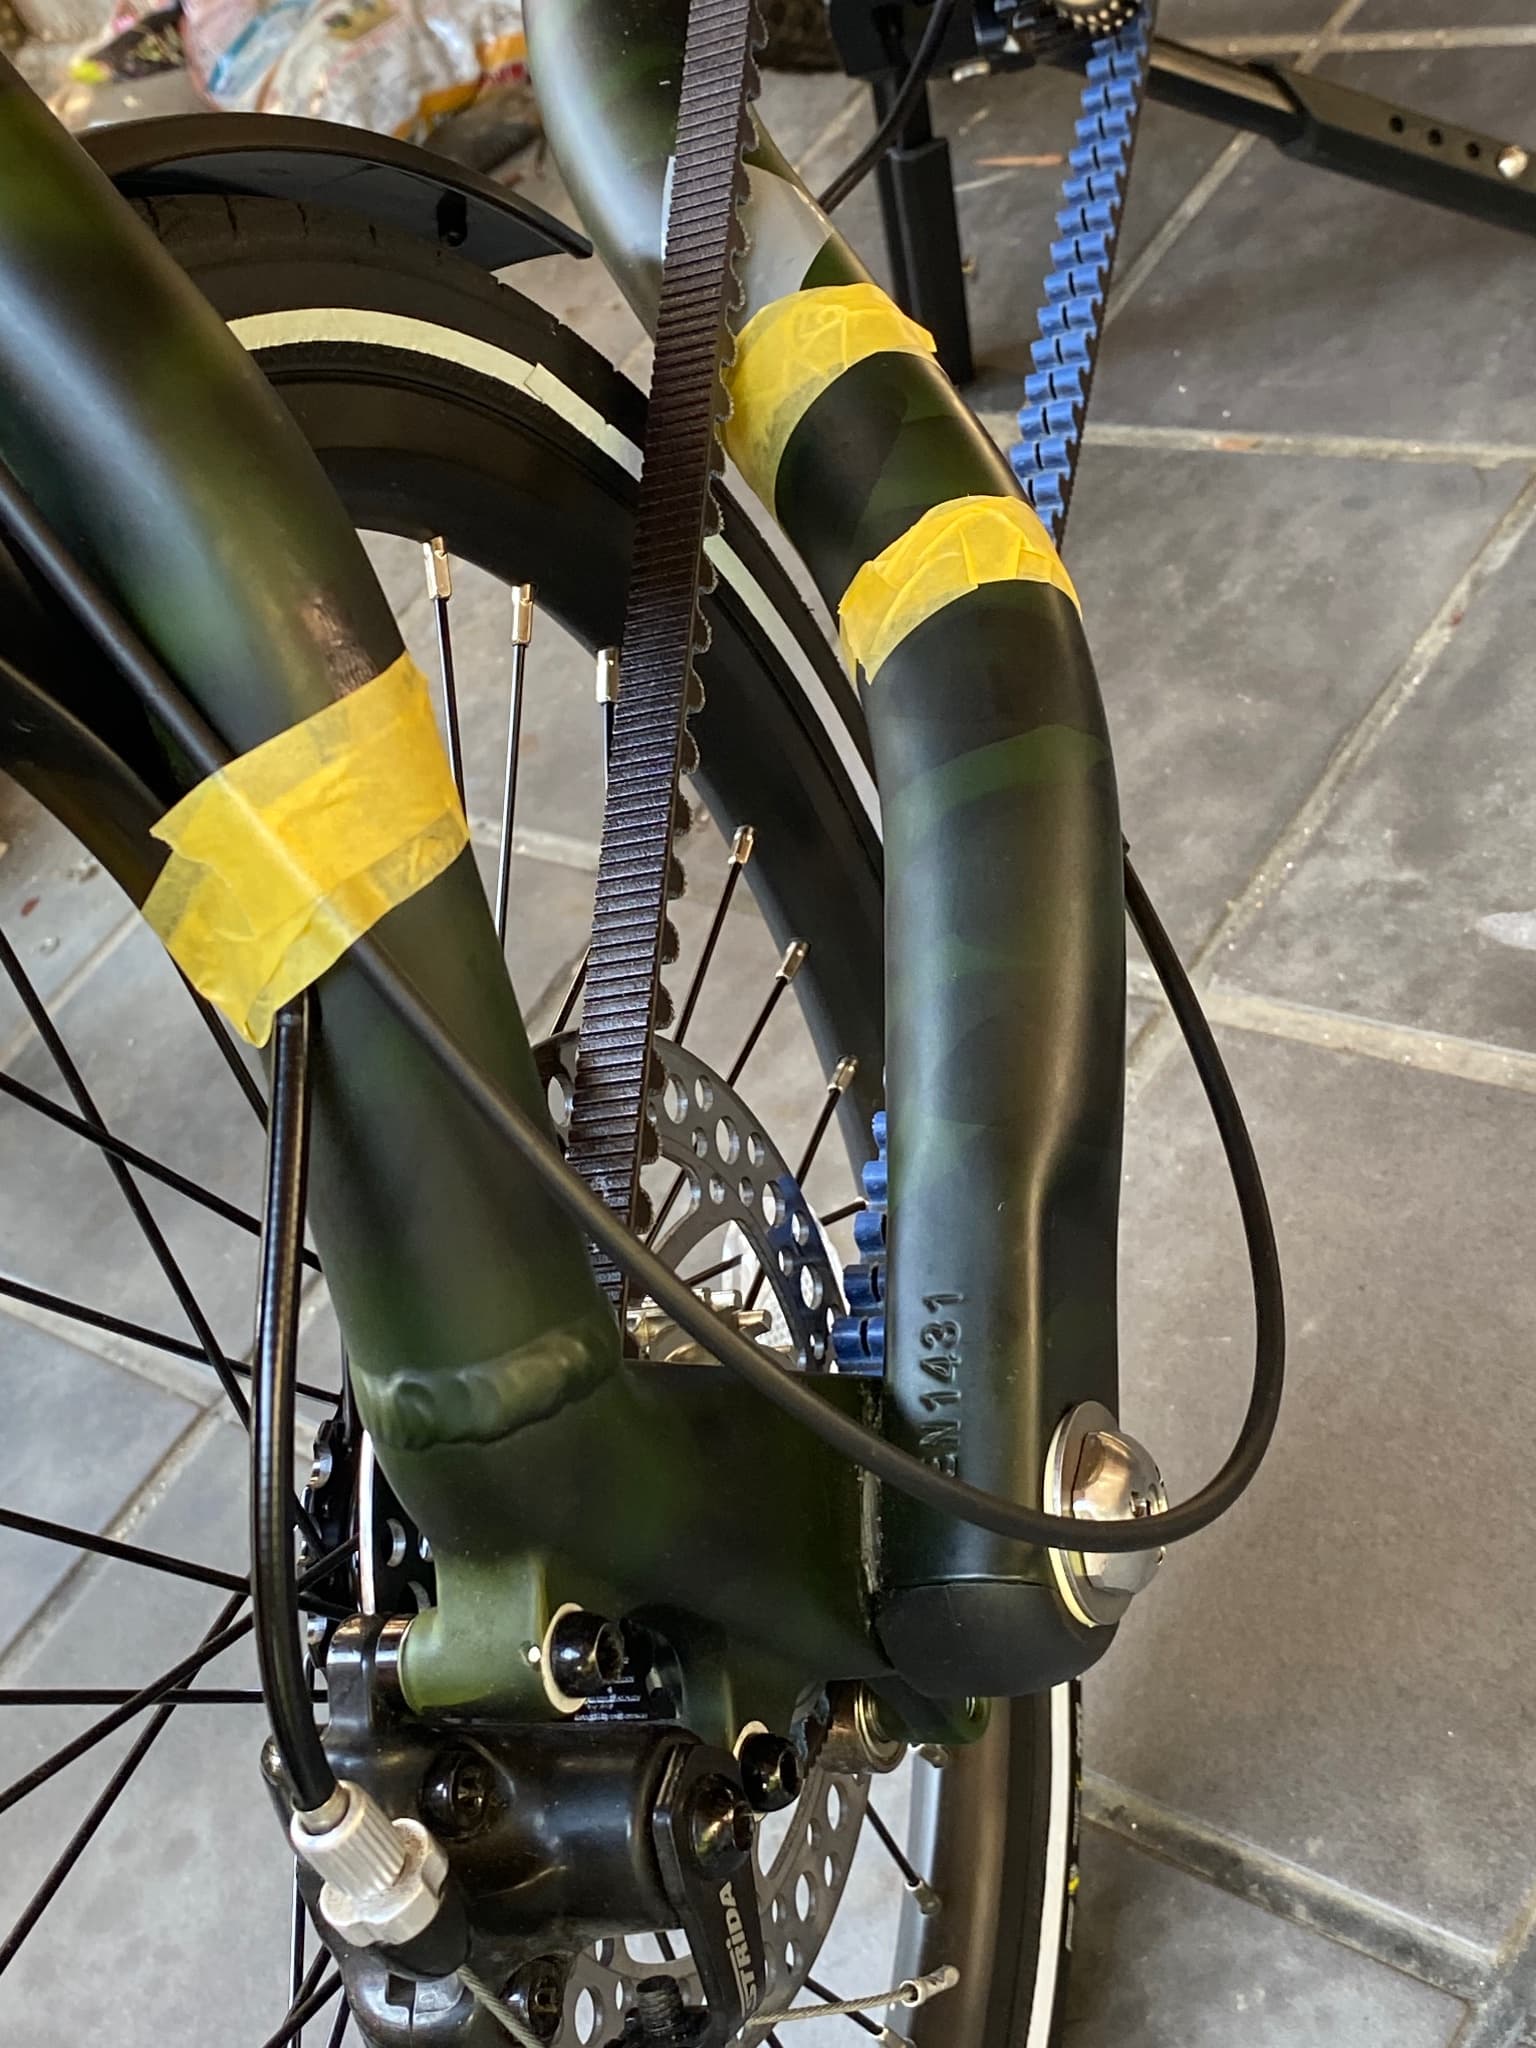
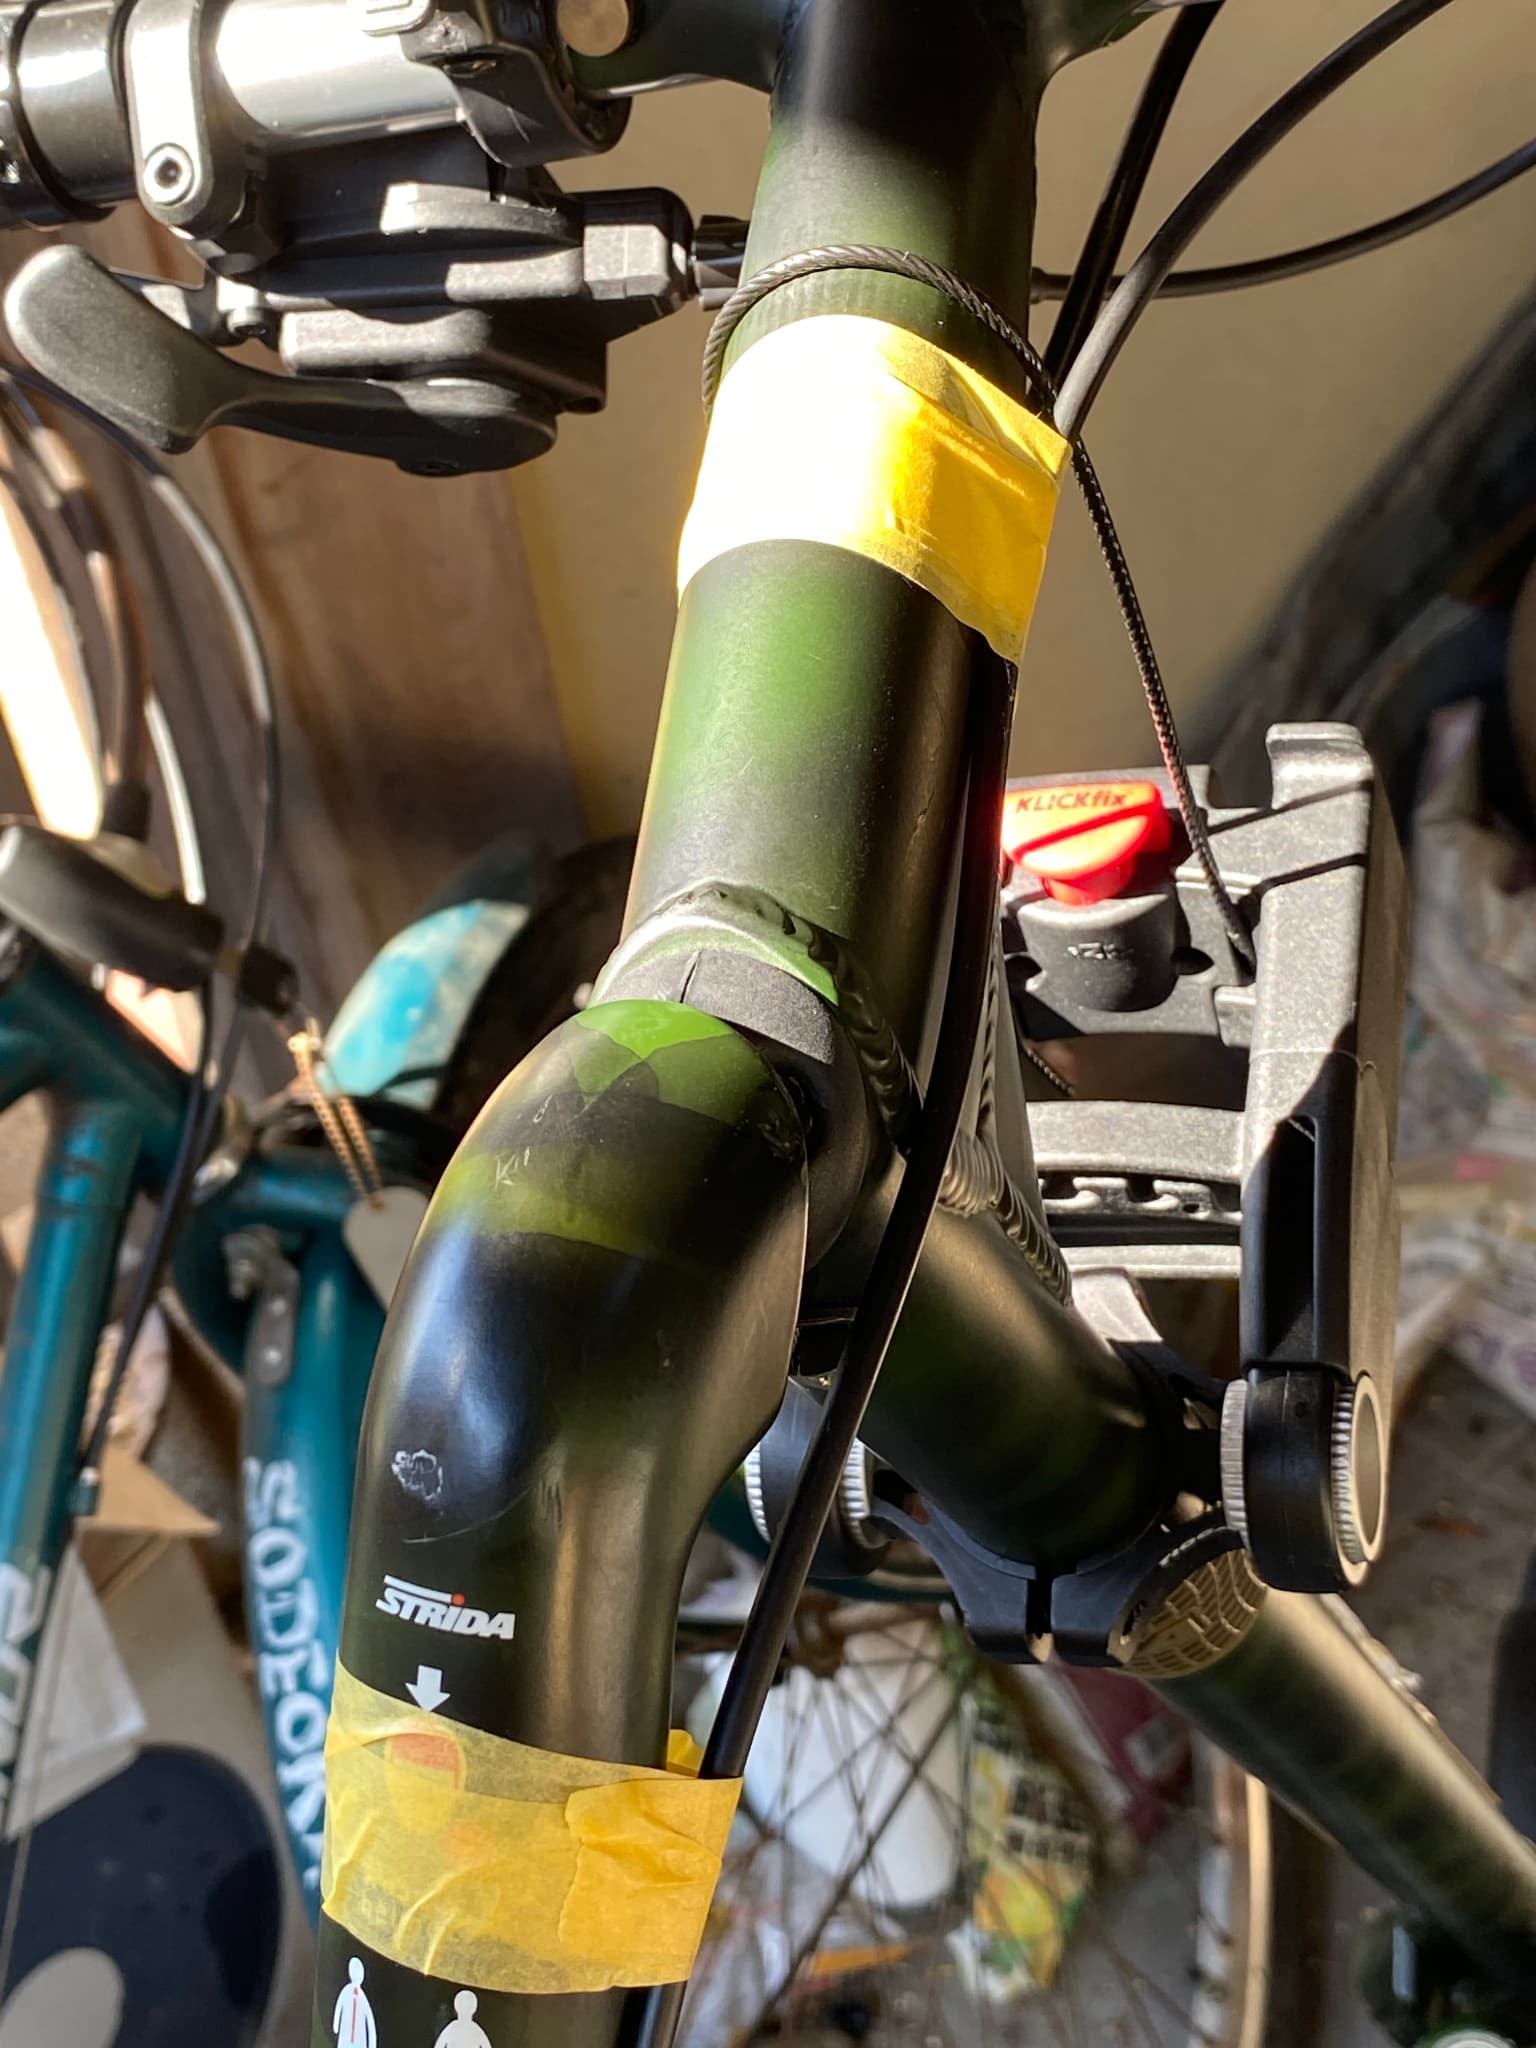
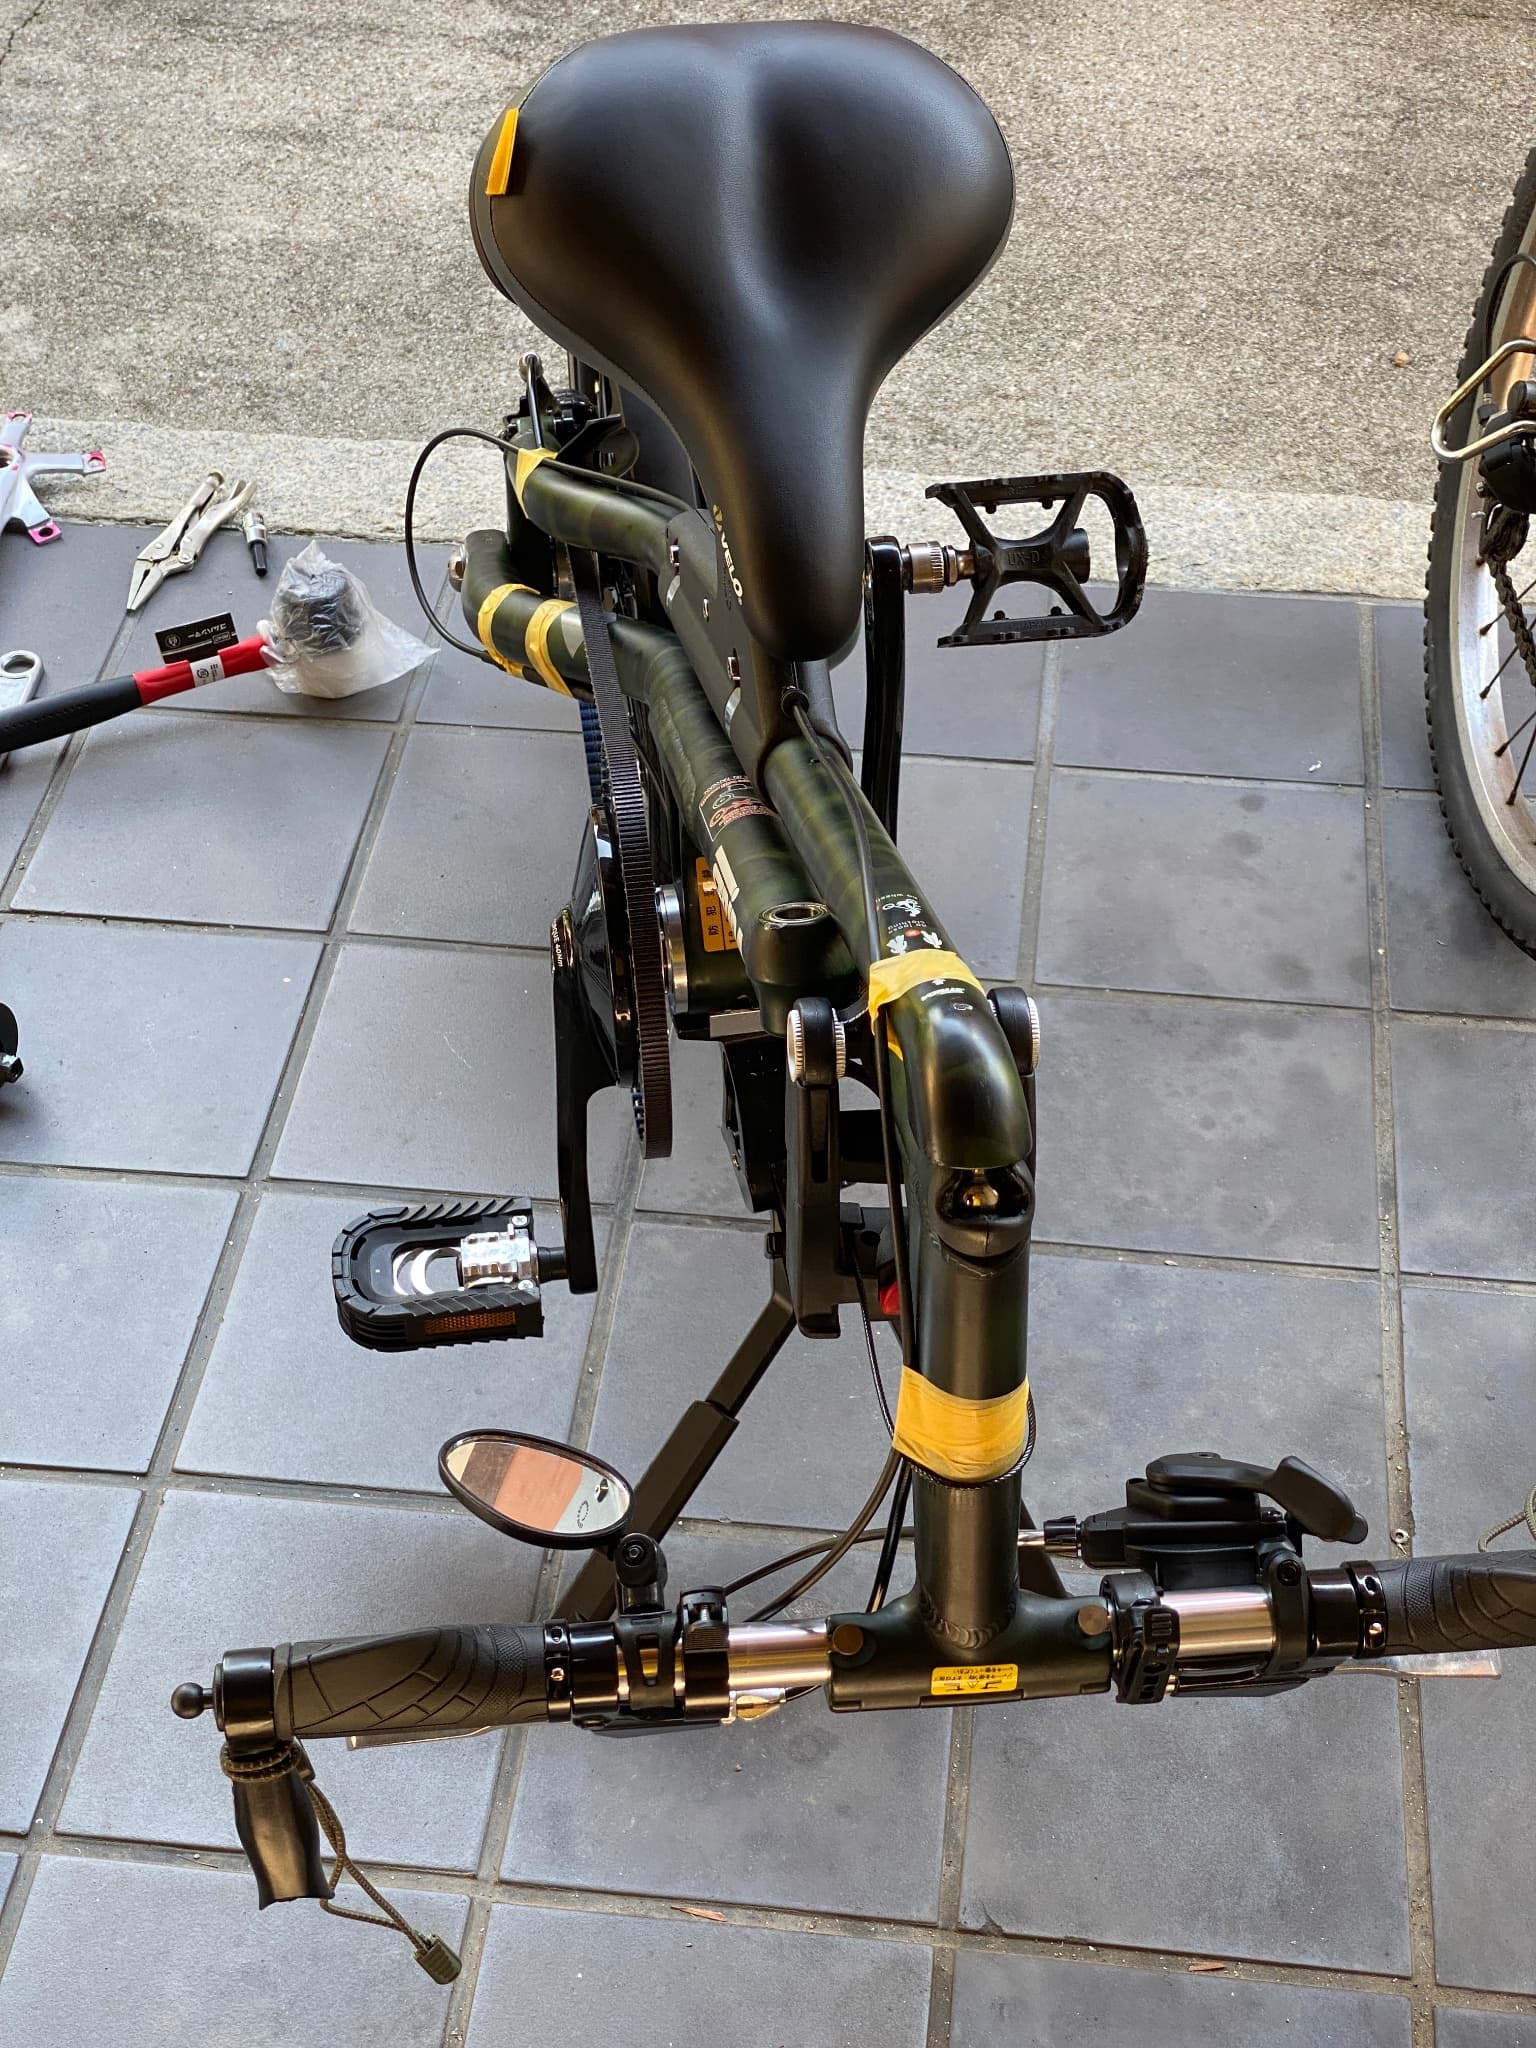
I didn’t have a fastening band long enough to wrap around the frame, so I wrapped it with masking tape and secured the shifter cable.
I think I can shift through three gears and fold it without any problems…
It’s great! I thought to myself (That was just an illusion though. ) as I took a break until the hardware store opened.
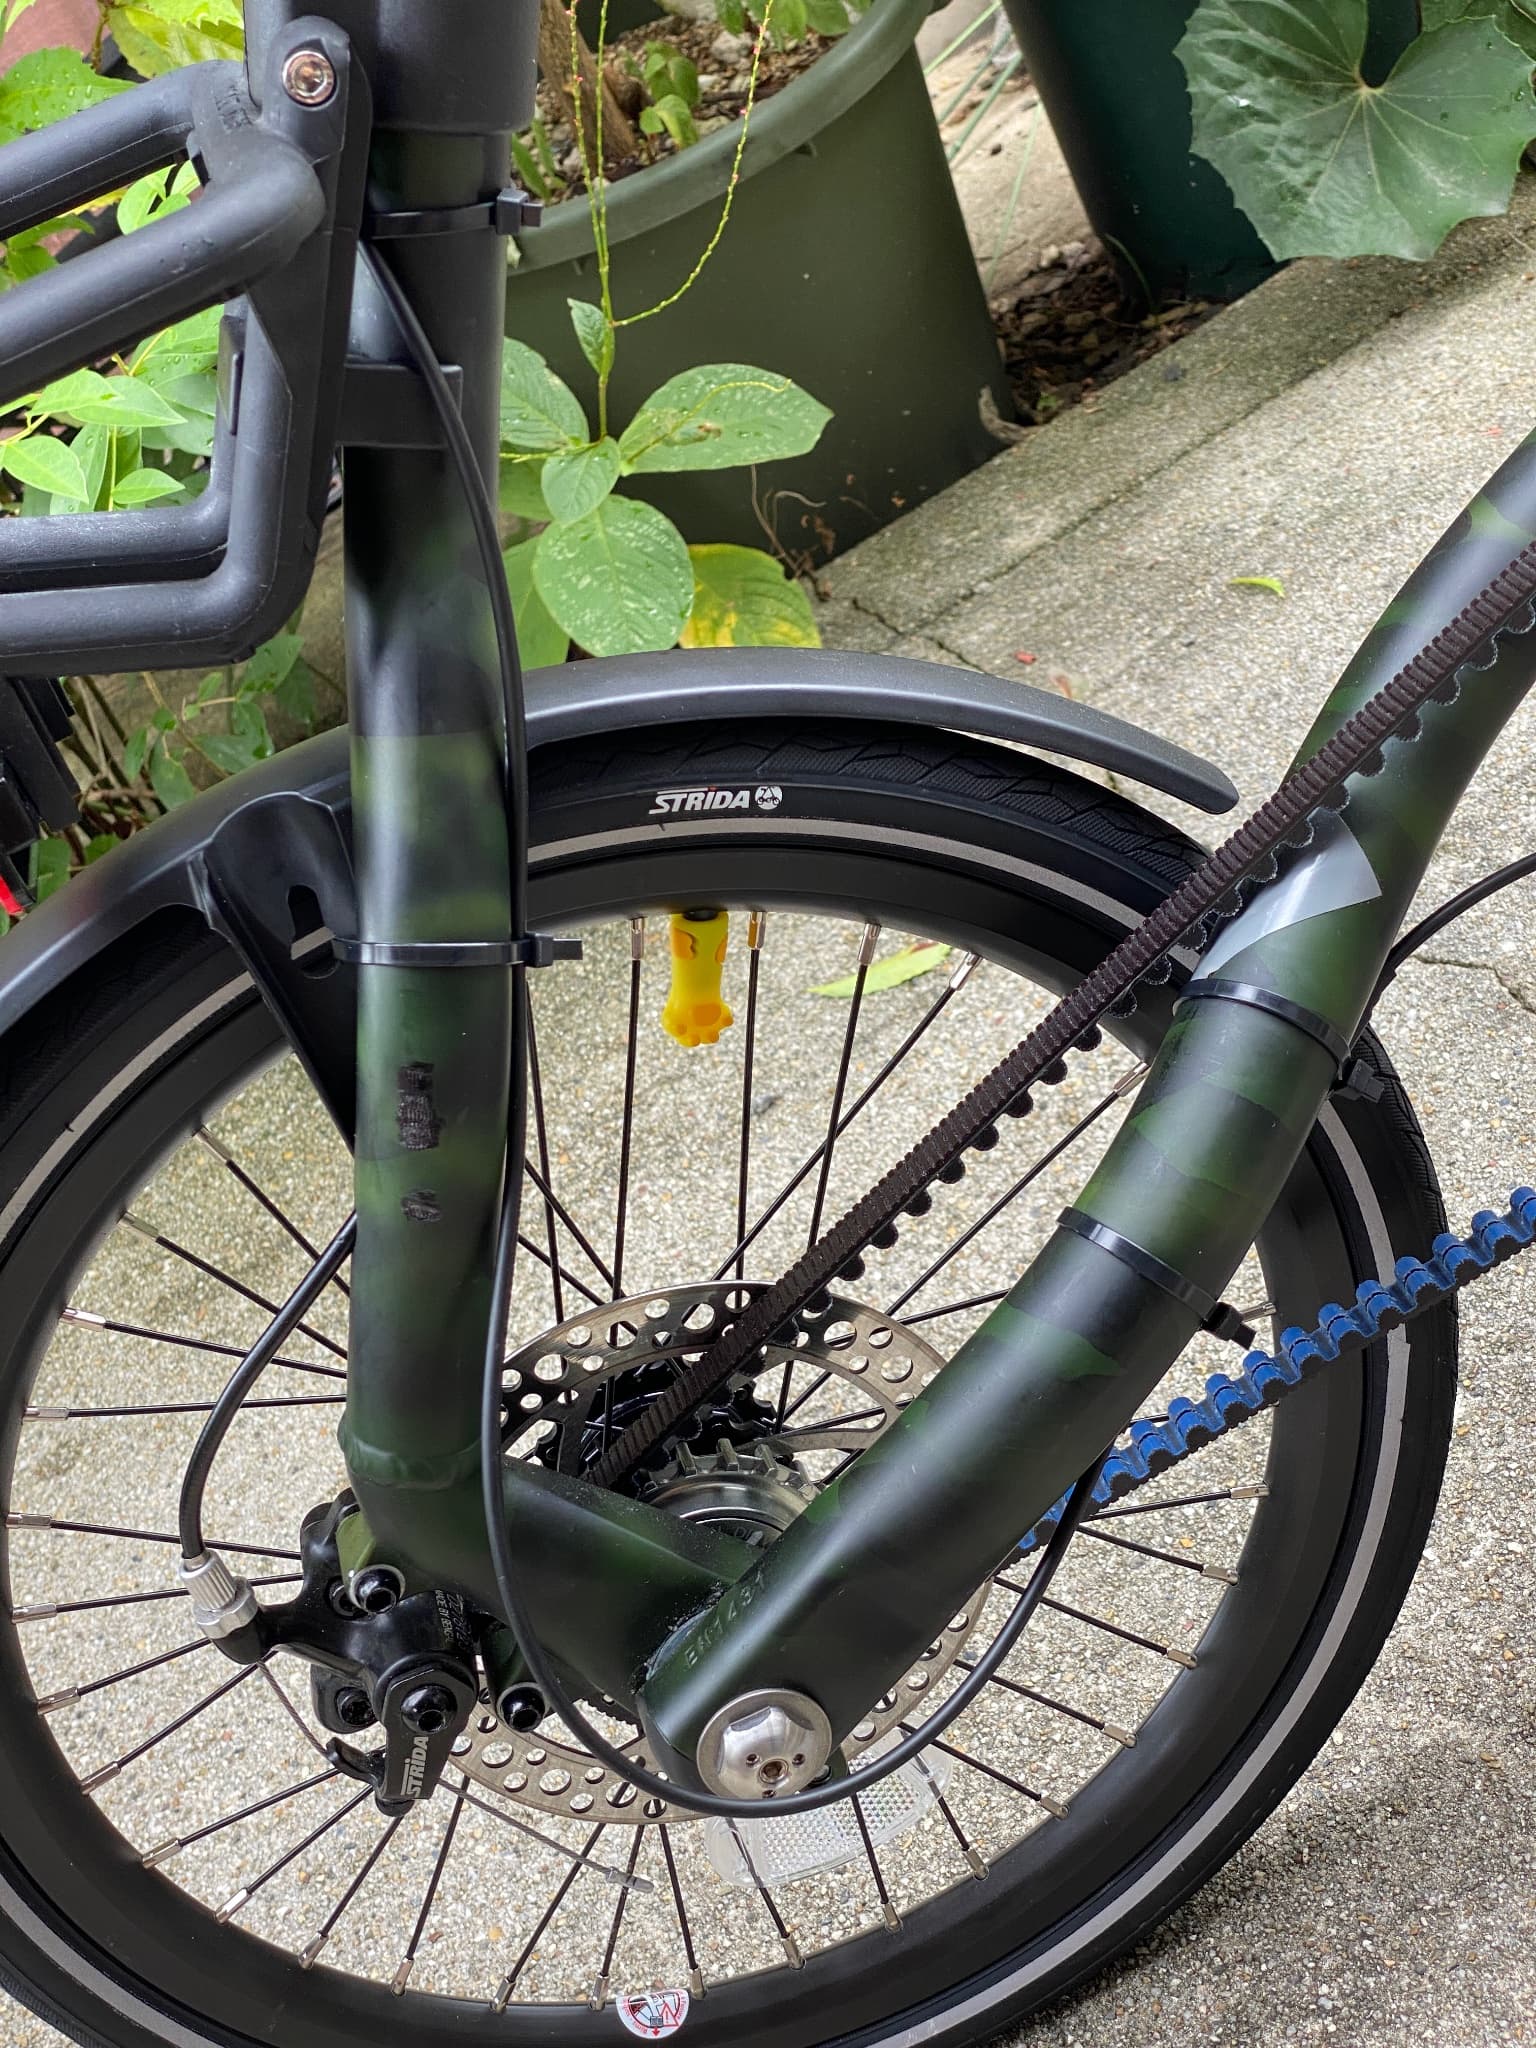
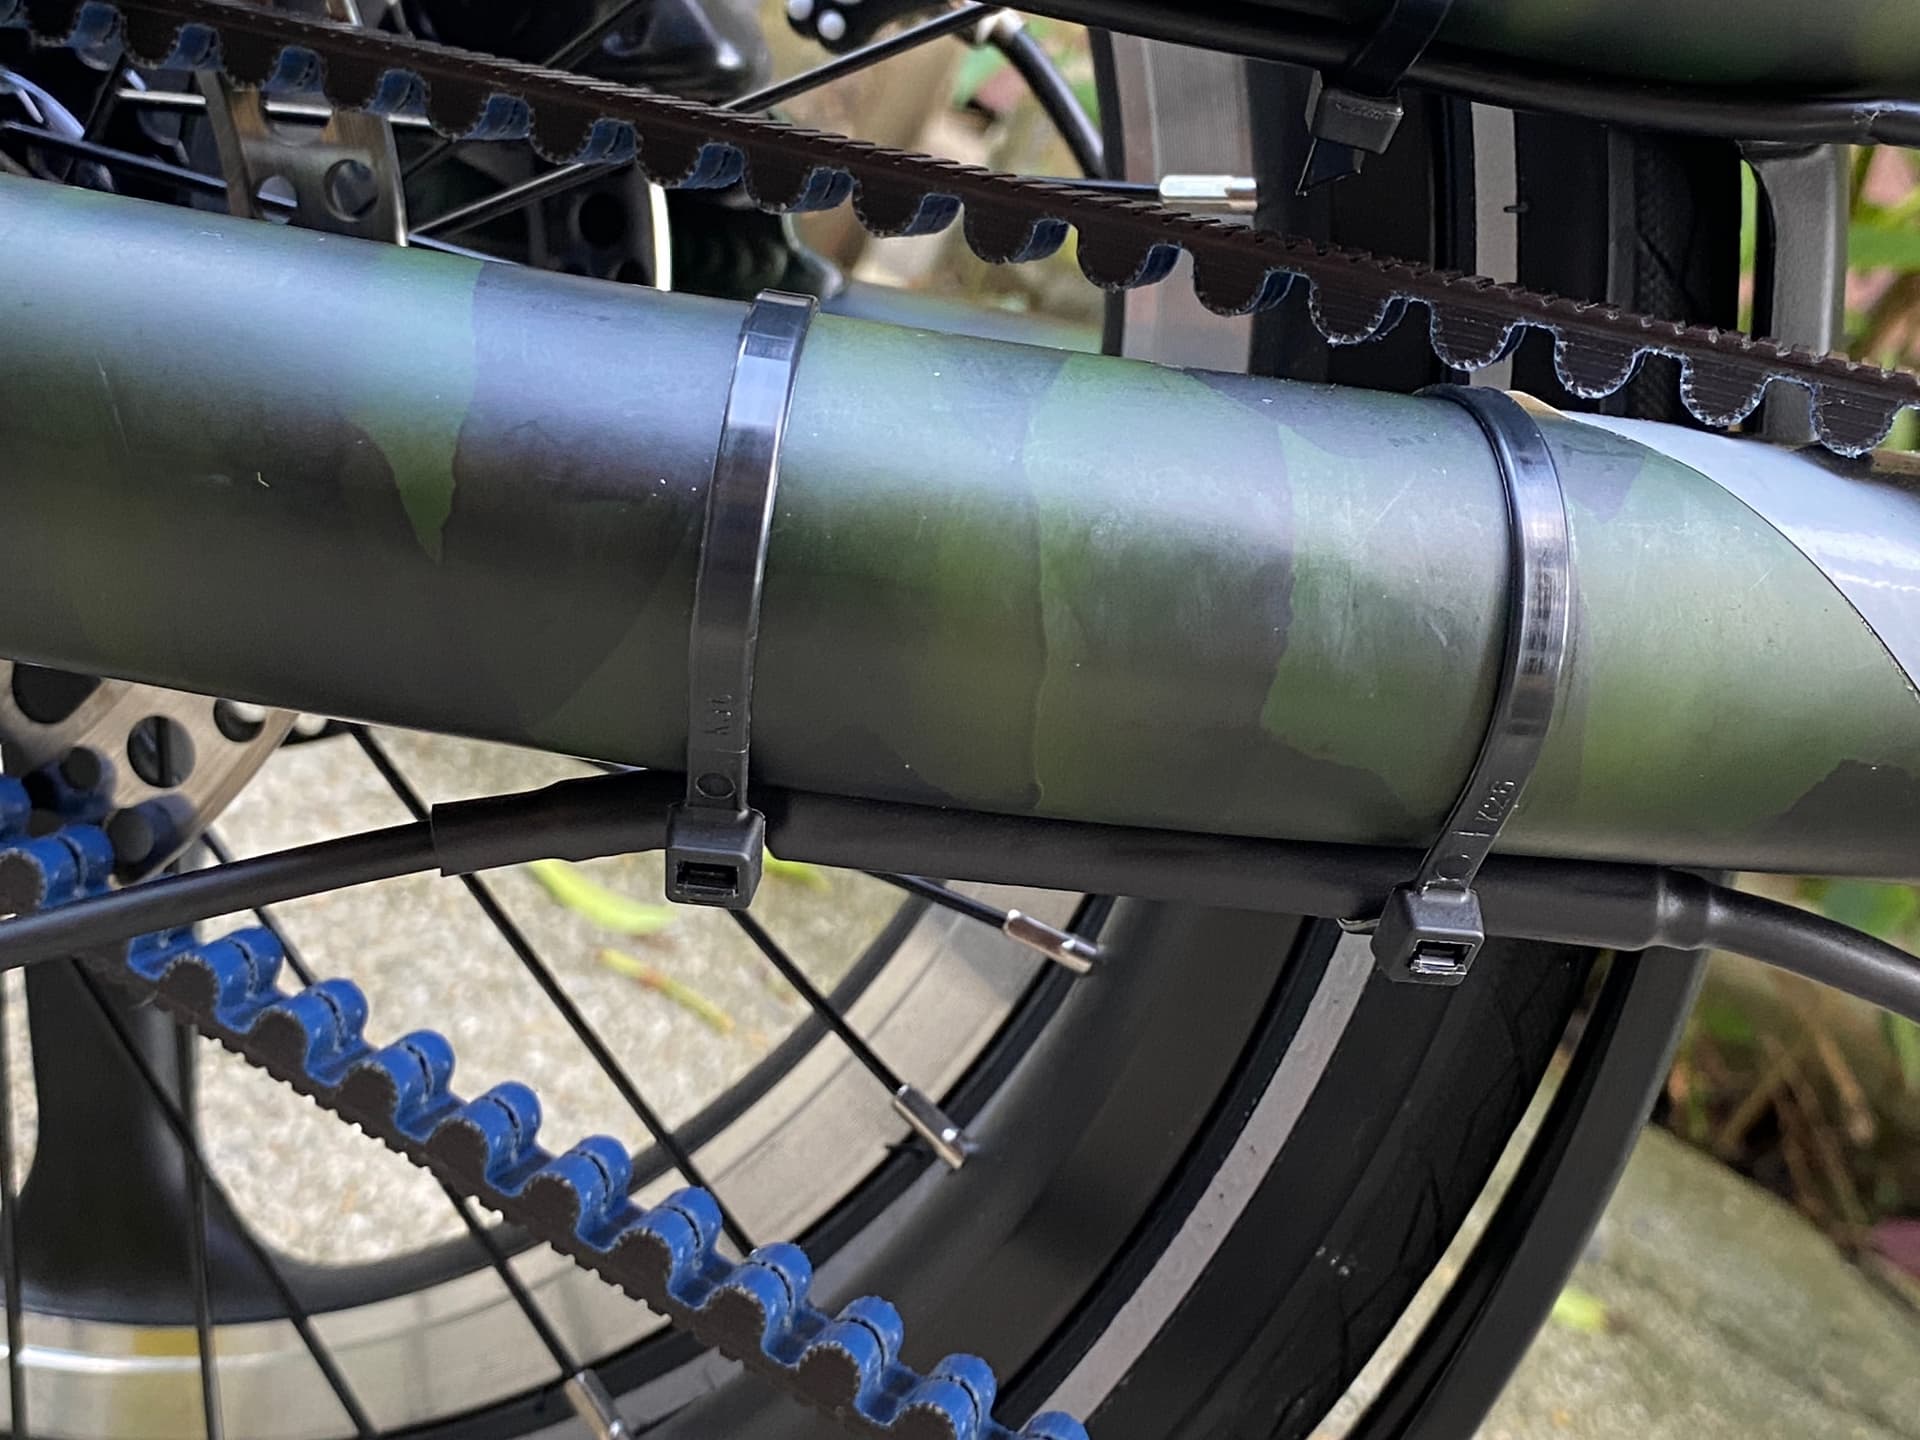
After returning from the test run, I replaced the temporary masking tape with fastening bands and fastened it to various parts of the frame like this.
The test run was smooth and comfortable, with no strange noises, creaks, or rattles, but I just couldn’t seem to get the gears to shift properly into top gear… Low and second gears seemed to work (or so I thought), so I was able to reach a top speed of around 20km/h.
1 Like
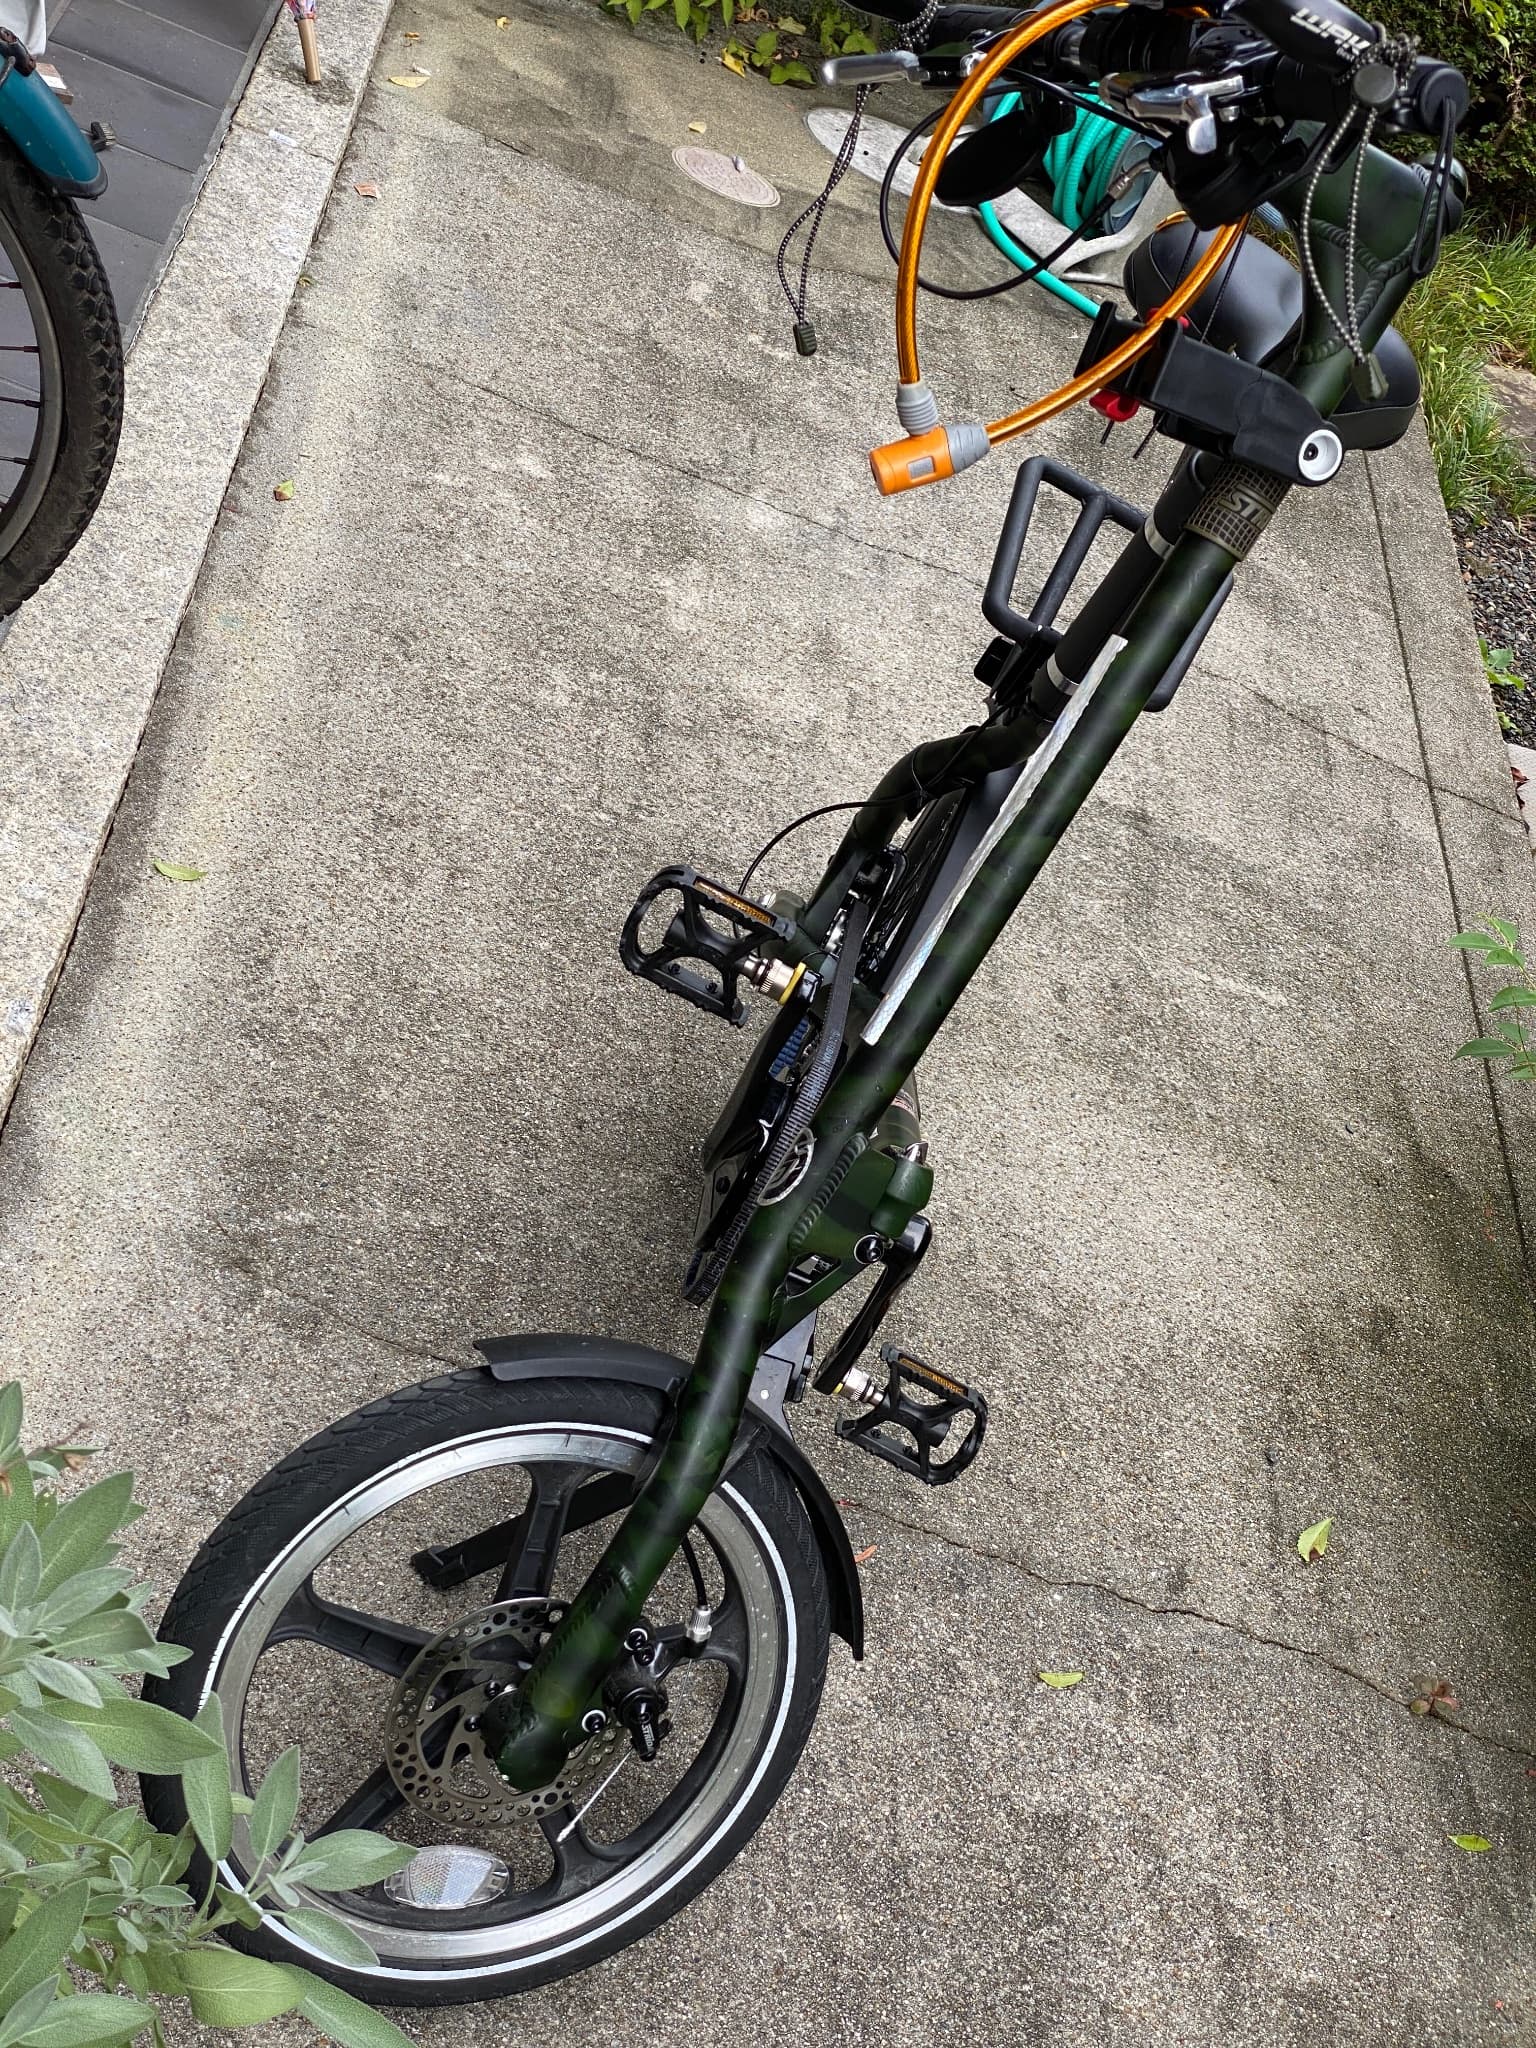
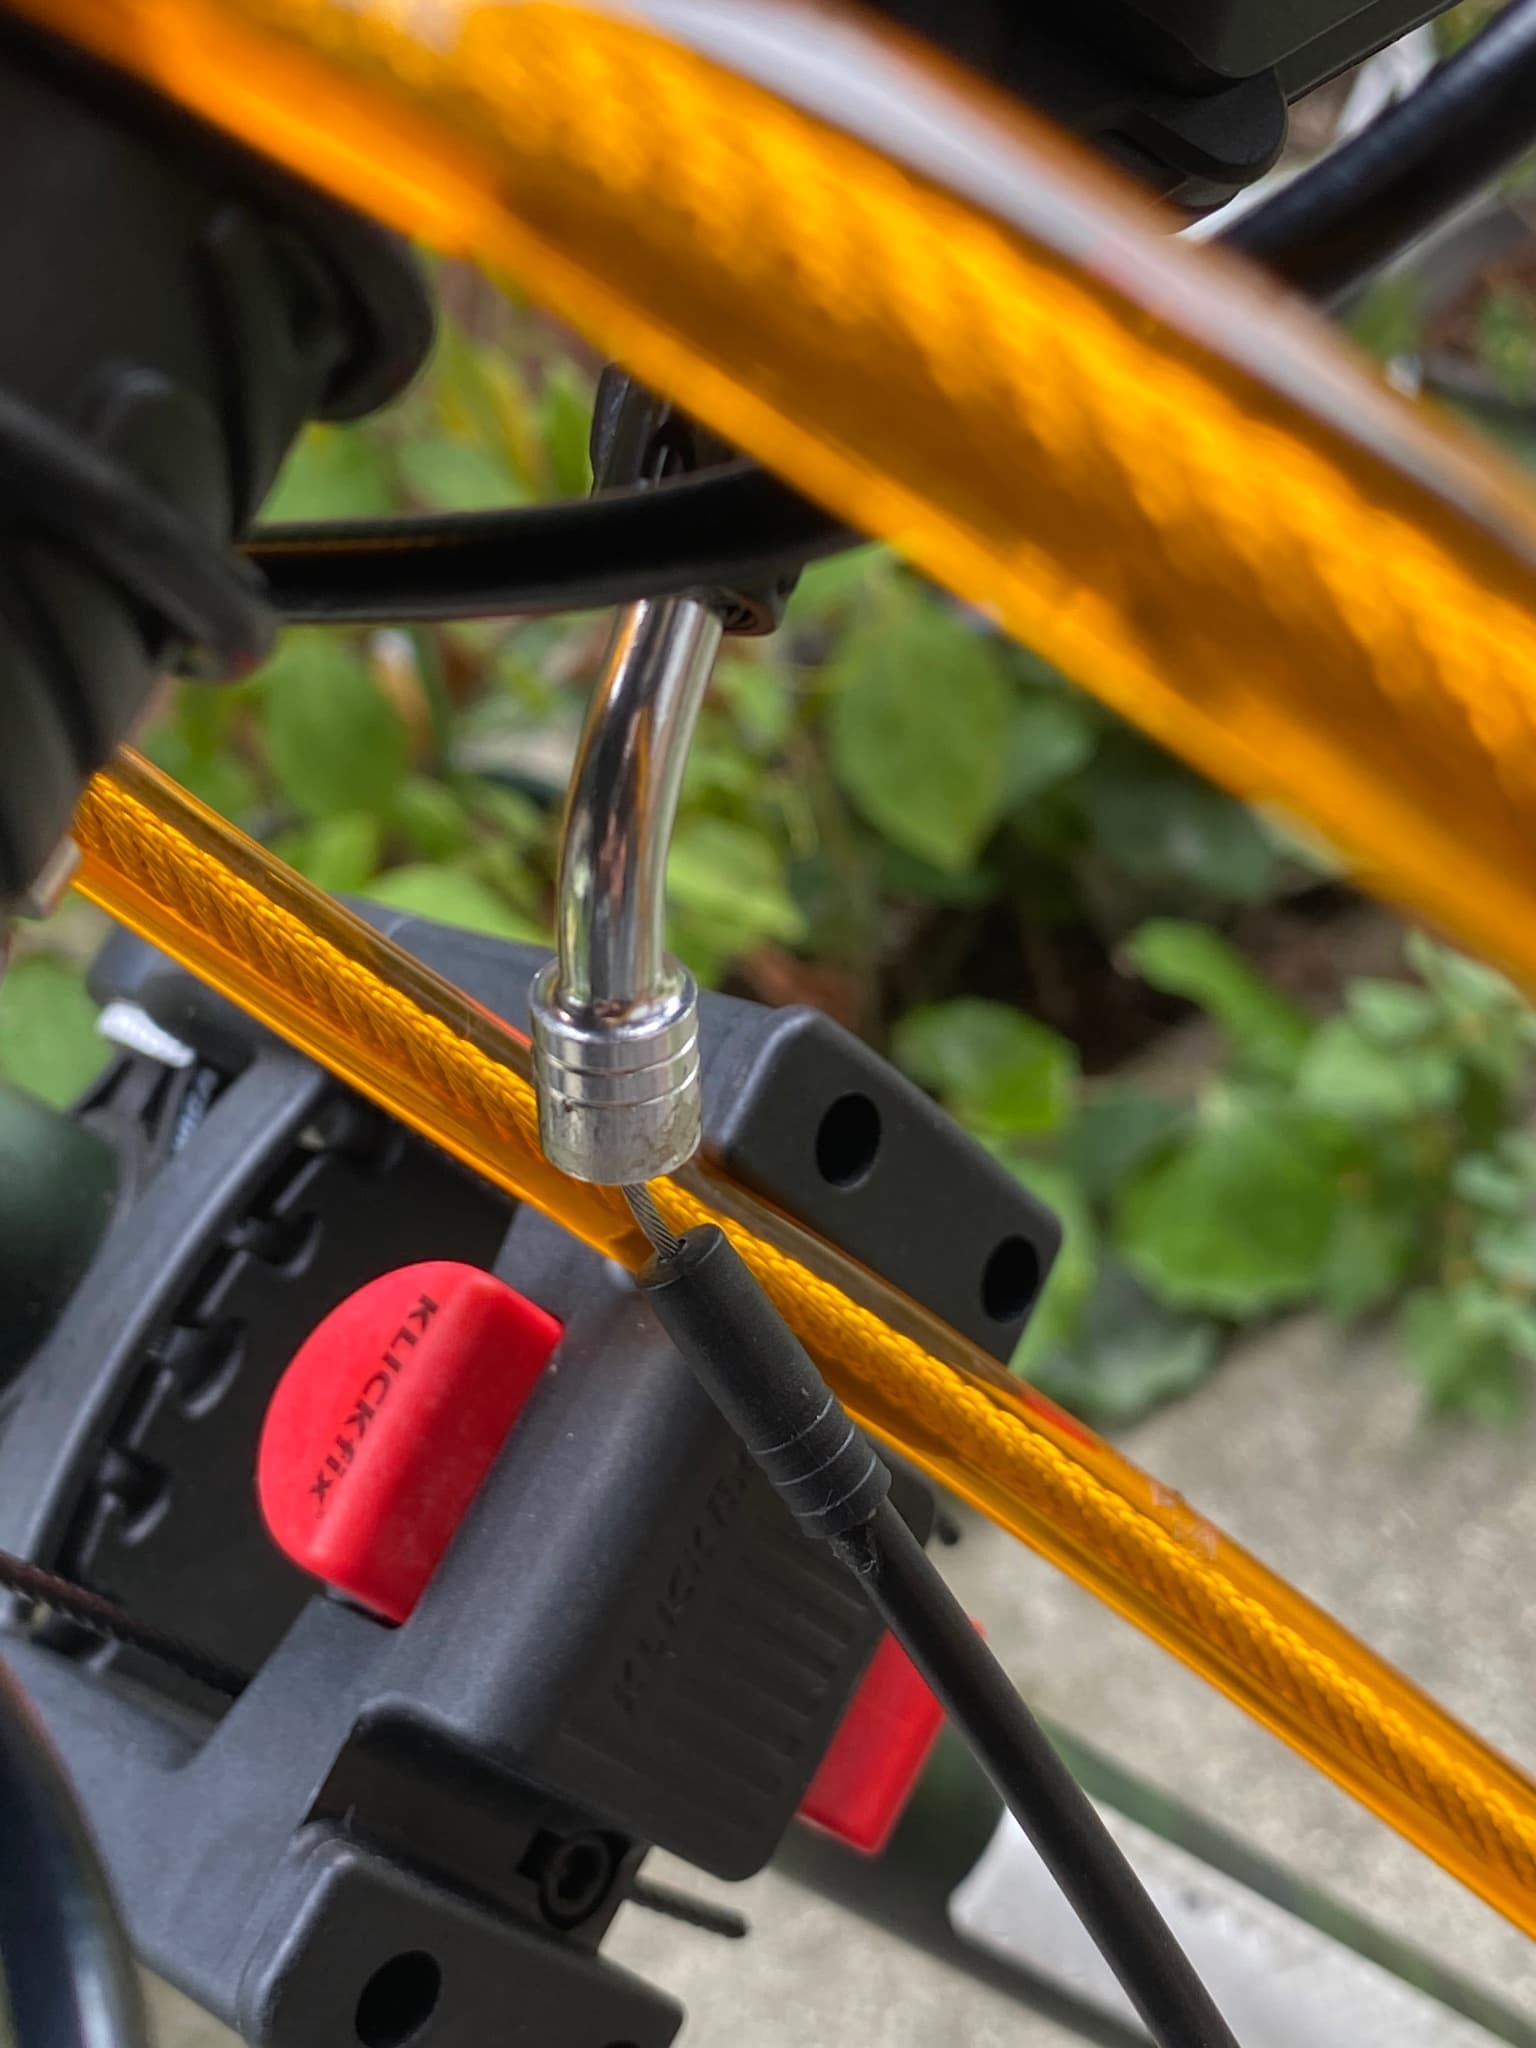
A symptom that didn’t appear in the static test (I think)… When I put it on top, the outer cable floats up and down…
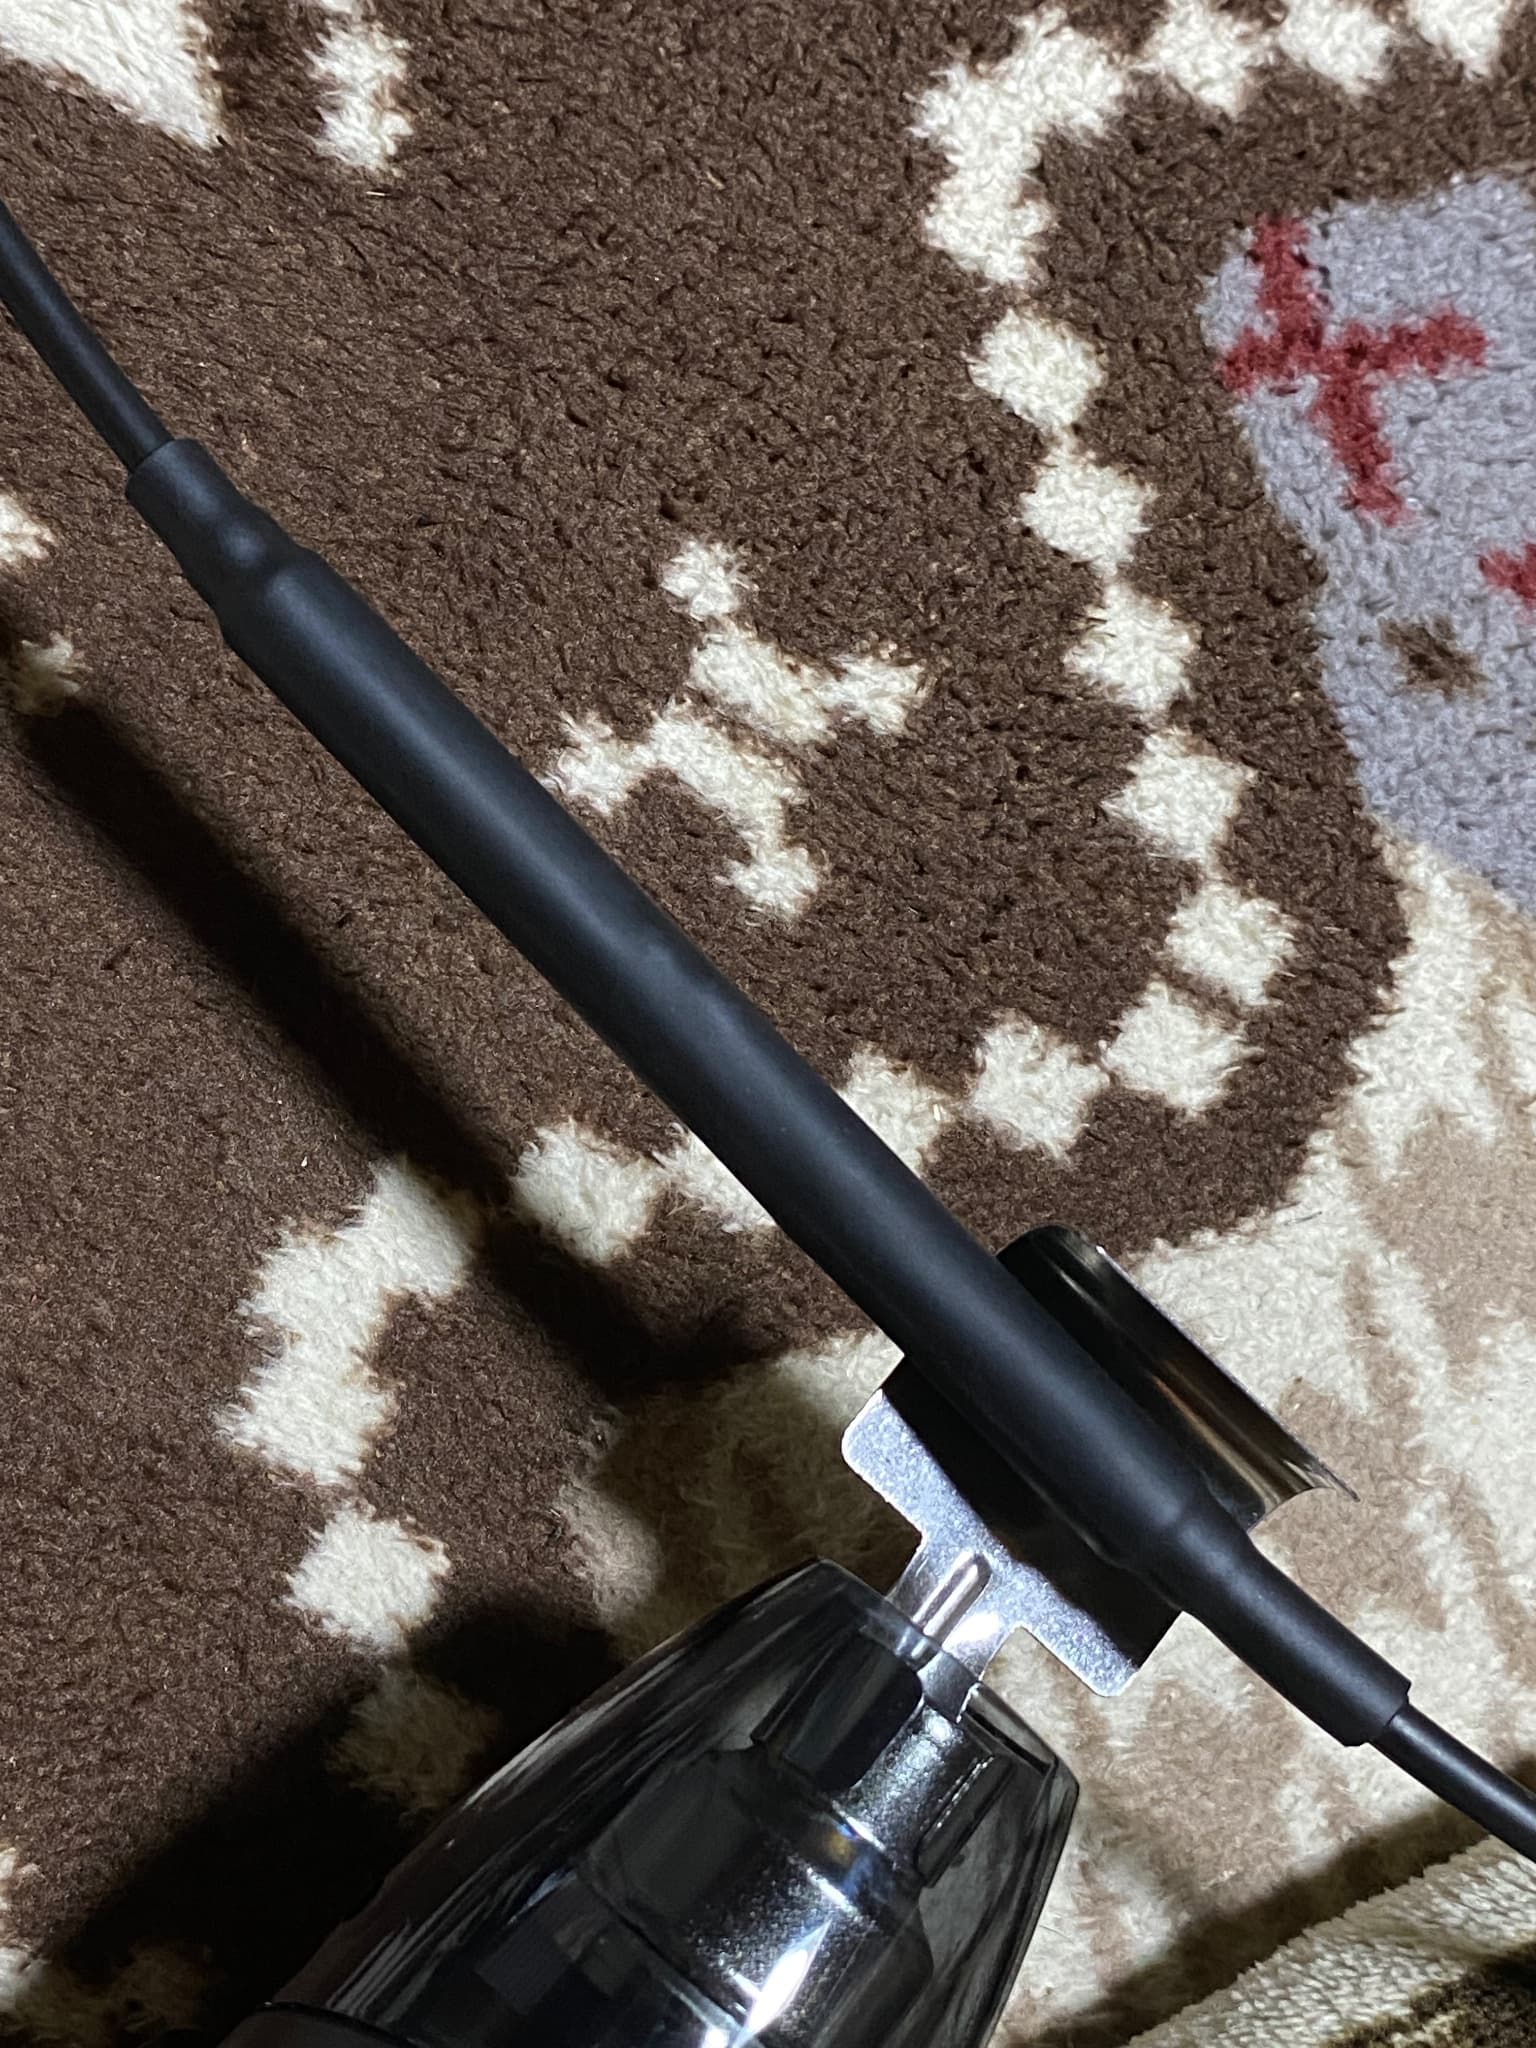
I probably need to pull it a bit more at the pretensioner… I guess I’ll have to do an open surgery on the shrink tube to reinsert the PTFE tube… I think this tube is about 12mm… I’ll just find a suitable shrink tube and call it a day for now!
(As I mentioned earlier, the reason for this was that the shifter position was not set to third gear… It’s difficult to know how to readjust the cable tension properly after it has been cut, shortened, and the end of the cable is now mangled. Again, I strongly recommend purchasing a fully assembled product.)
1 Like
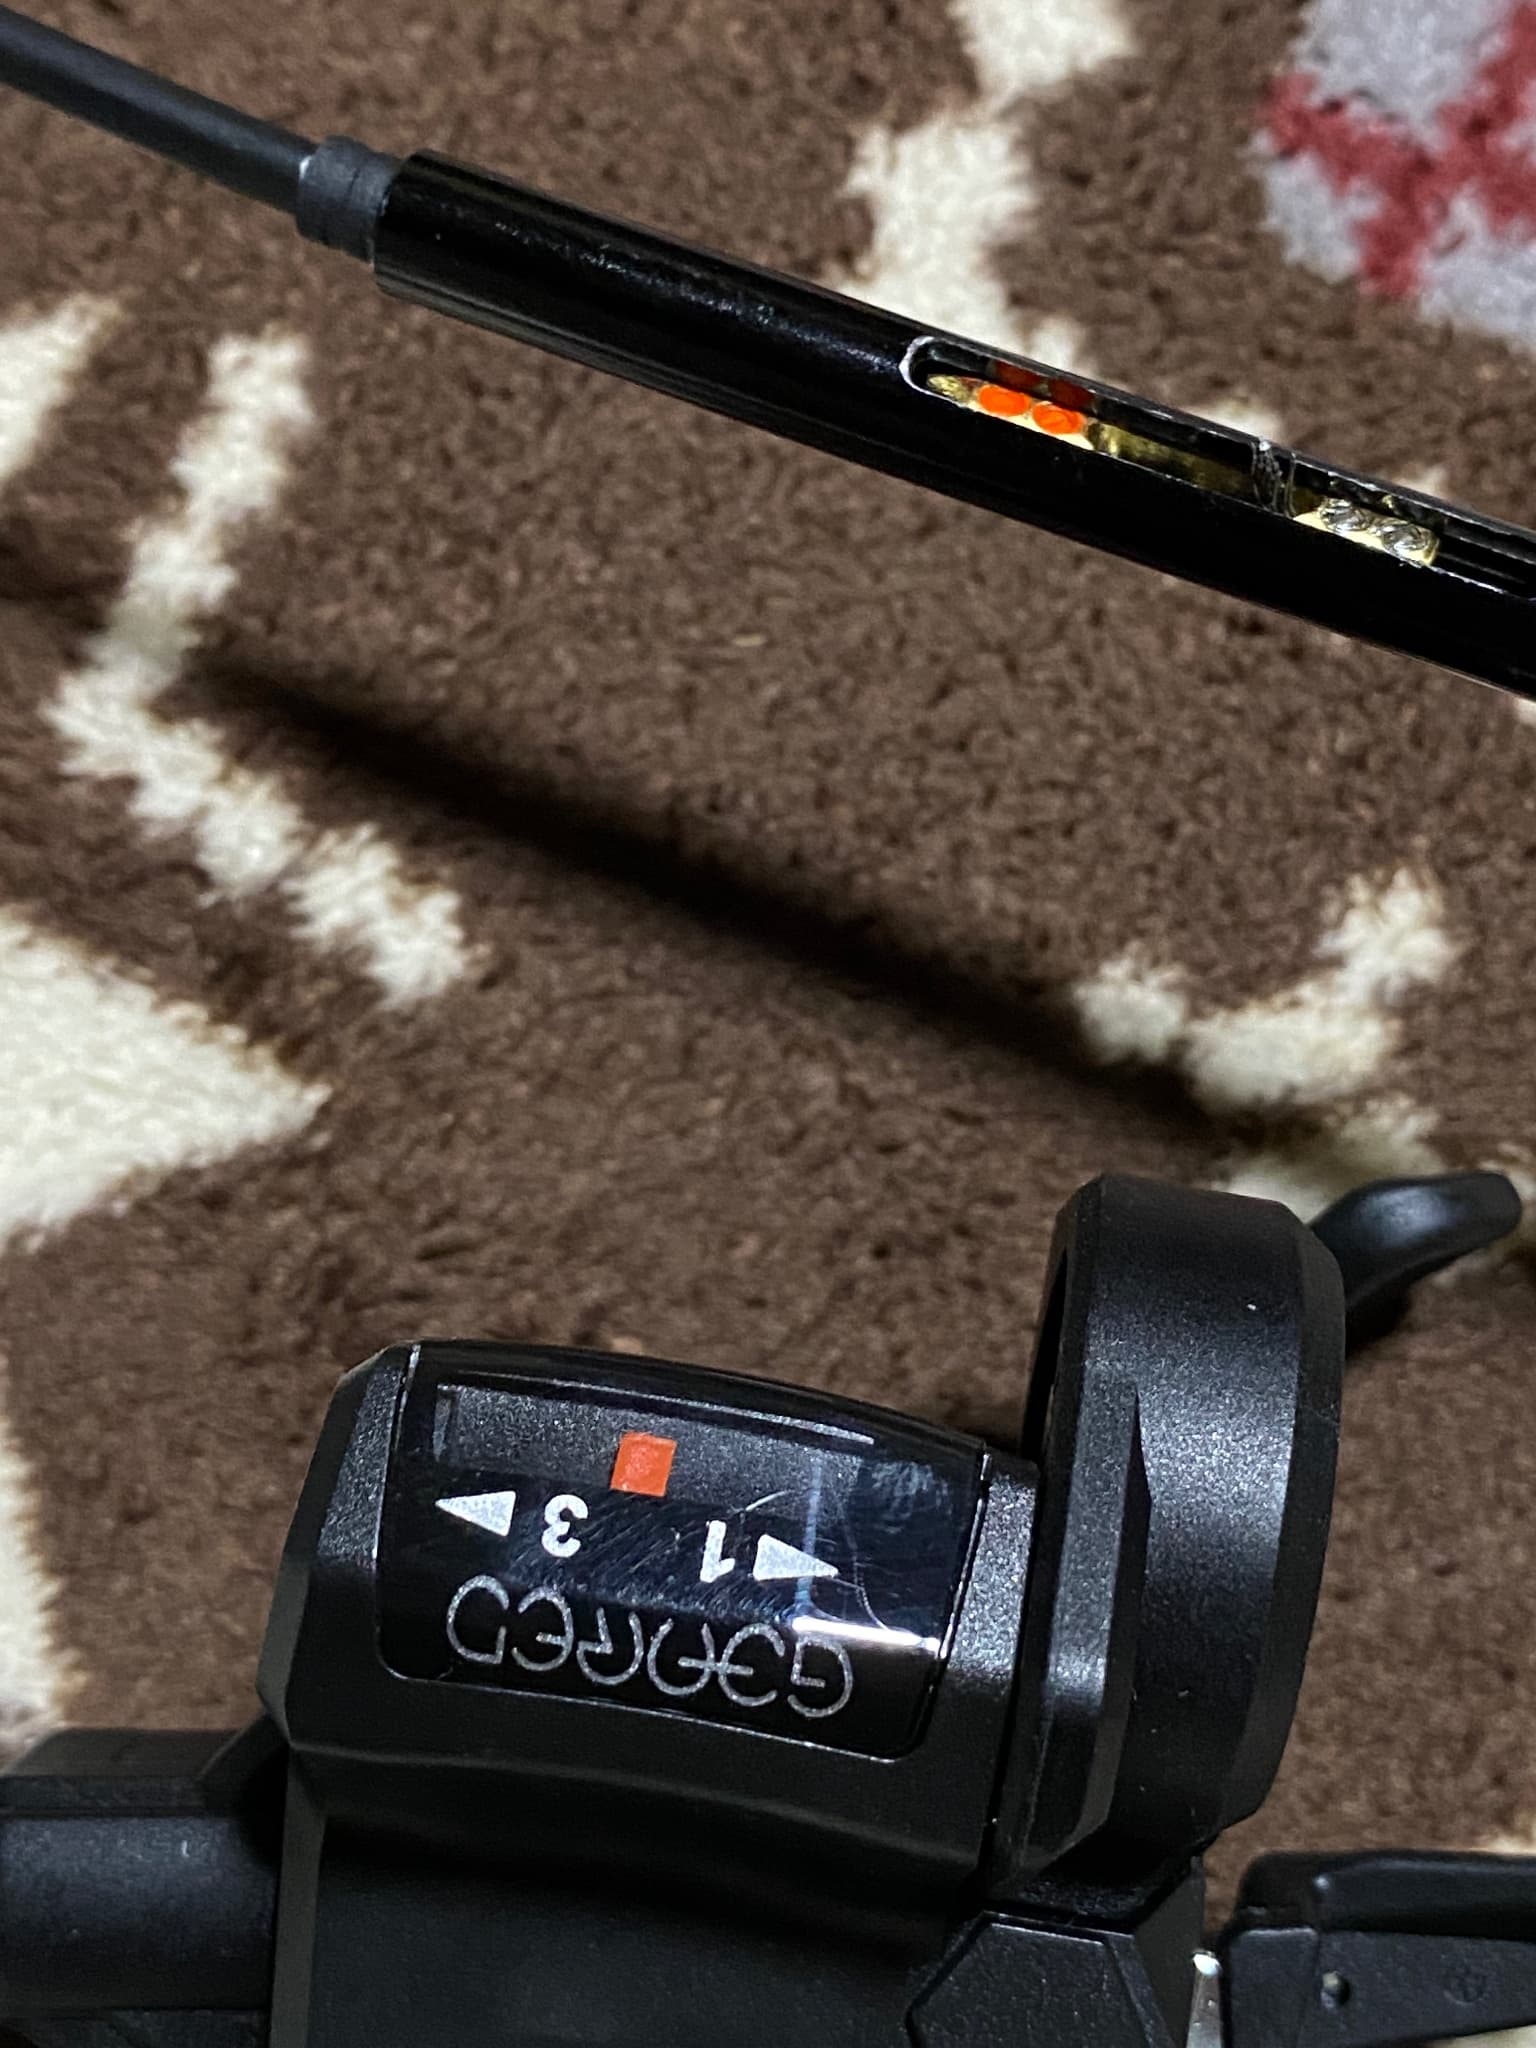
I perform open surgery on the G3AERD GTRO pretensioner…
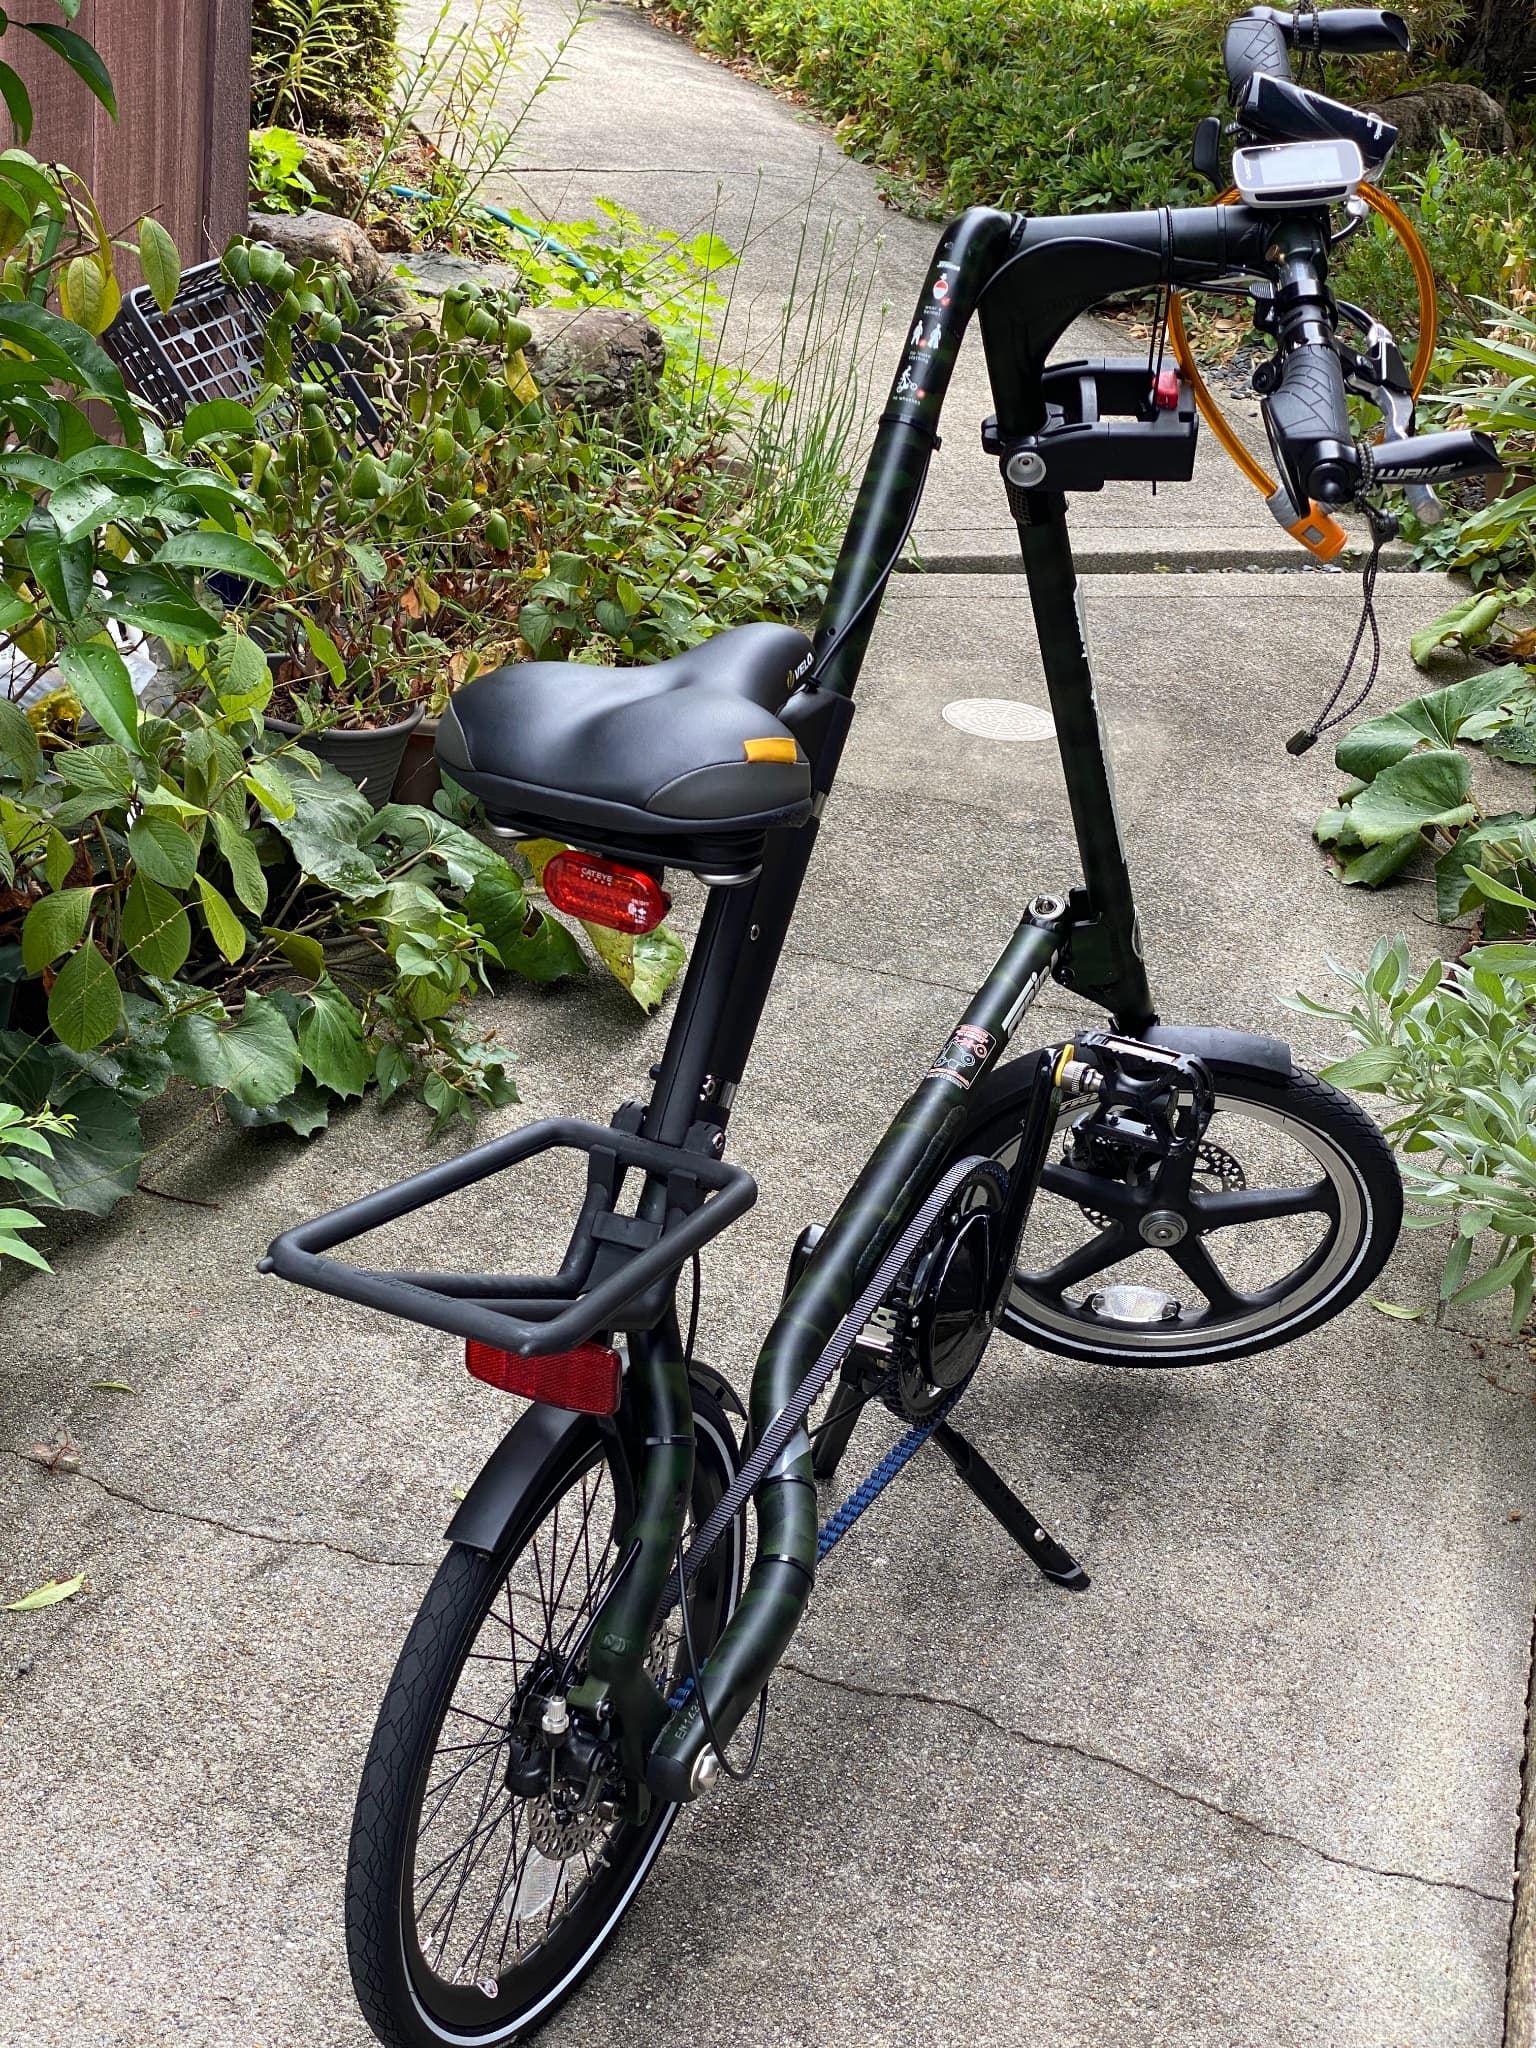
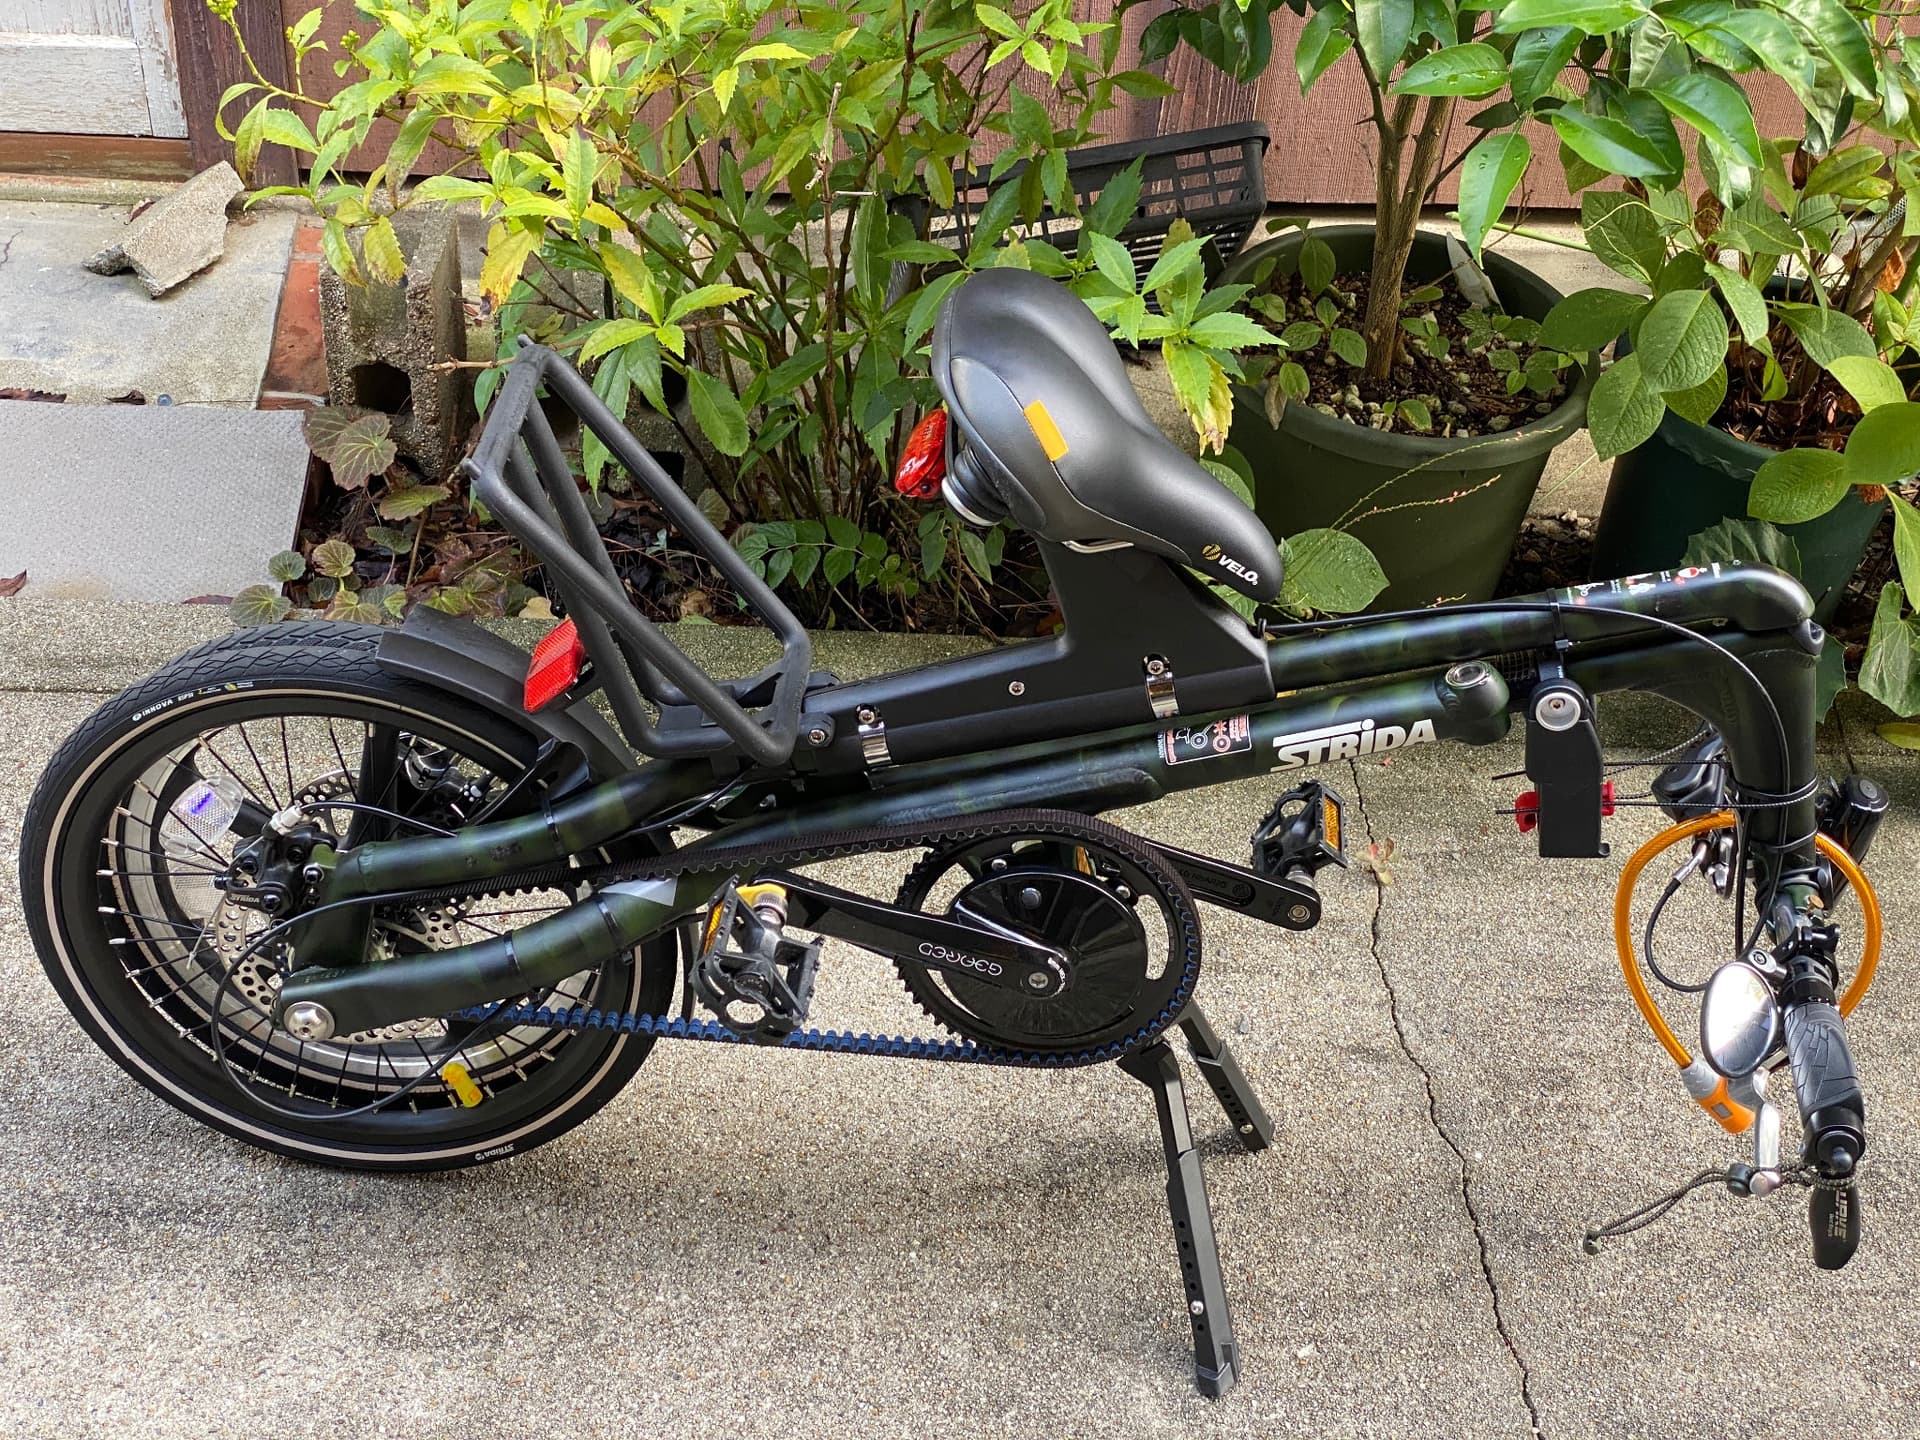
I cut the corrupted cable with some heavy-duty KNIPEX pliers, and it ended up being so short that there was so littel room for it to be connected. However, I was able to shift to 3 gears each other during a test run in my neighborhood, there were no strange noises, and it didn’t seem to interfere with folding,.
During a light ride, I was able to cruise at about 16km/h in low gear, 20km/h in second gear, and
27km/h in top gear.
So I’ll call it done for now 
Just in case, I’ll also purchase Shimano’s smooth shifter cable, a 2000mm long 4mm diameter outer tube, and end caps.
2 Likes