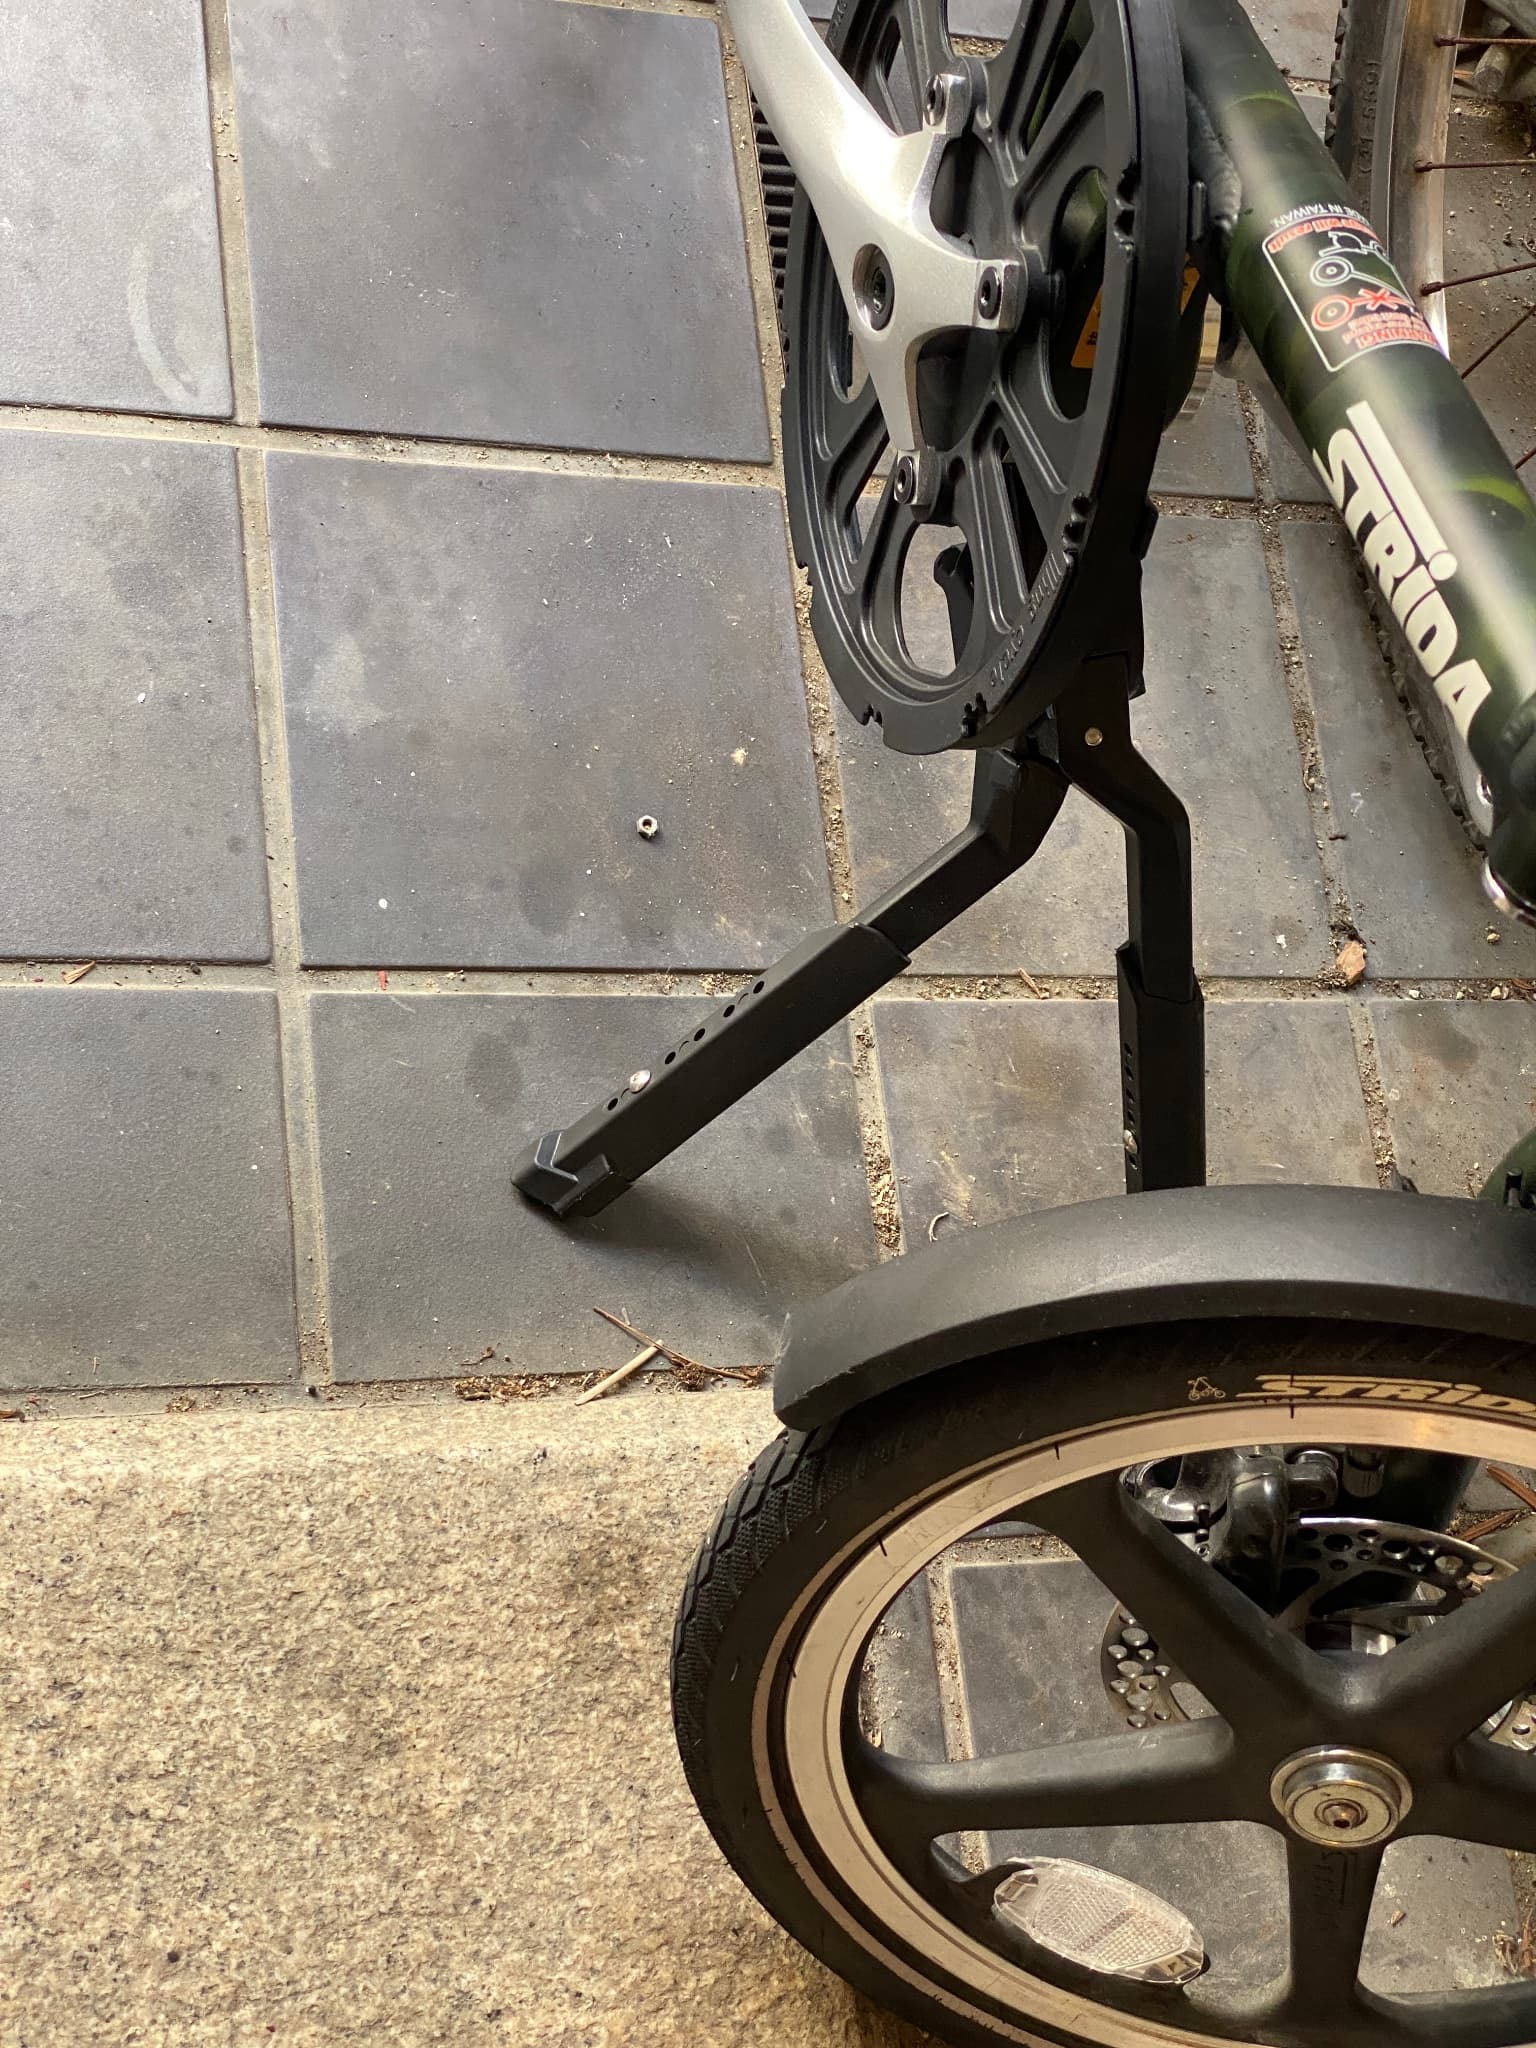
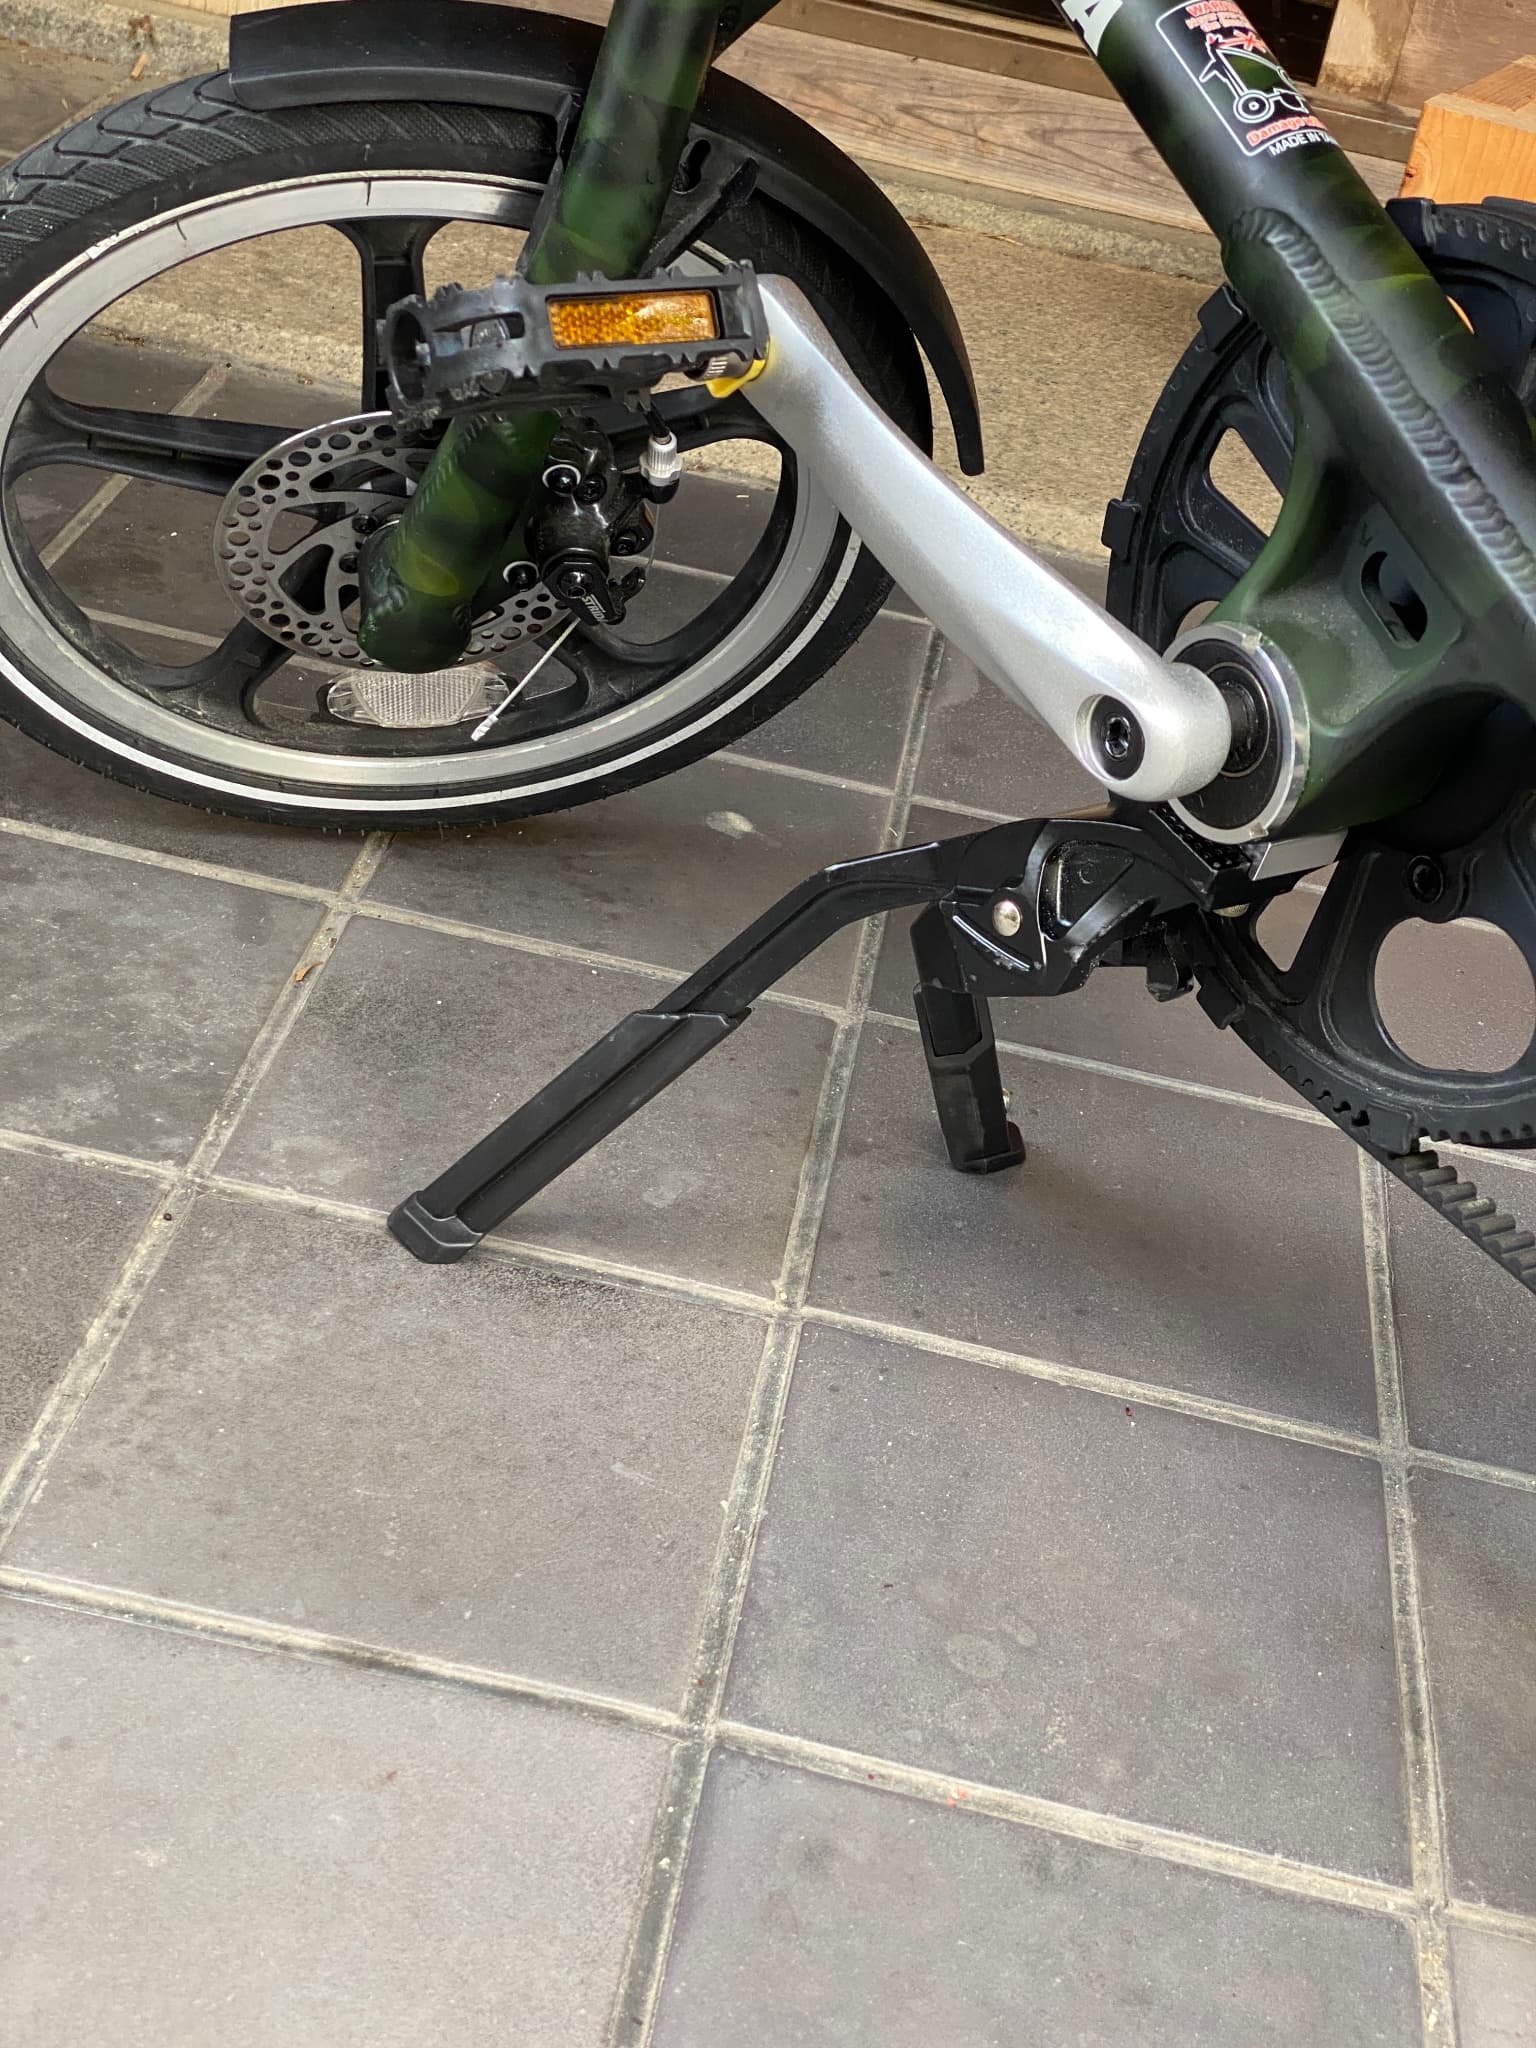
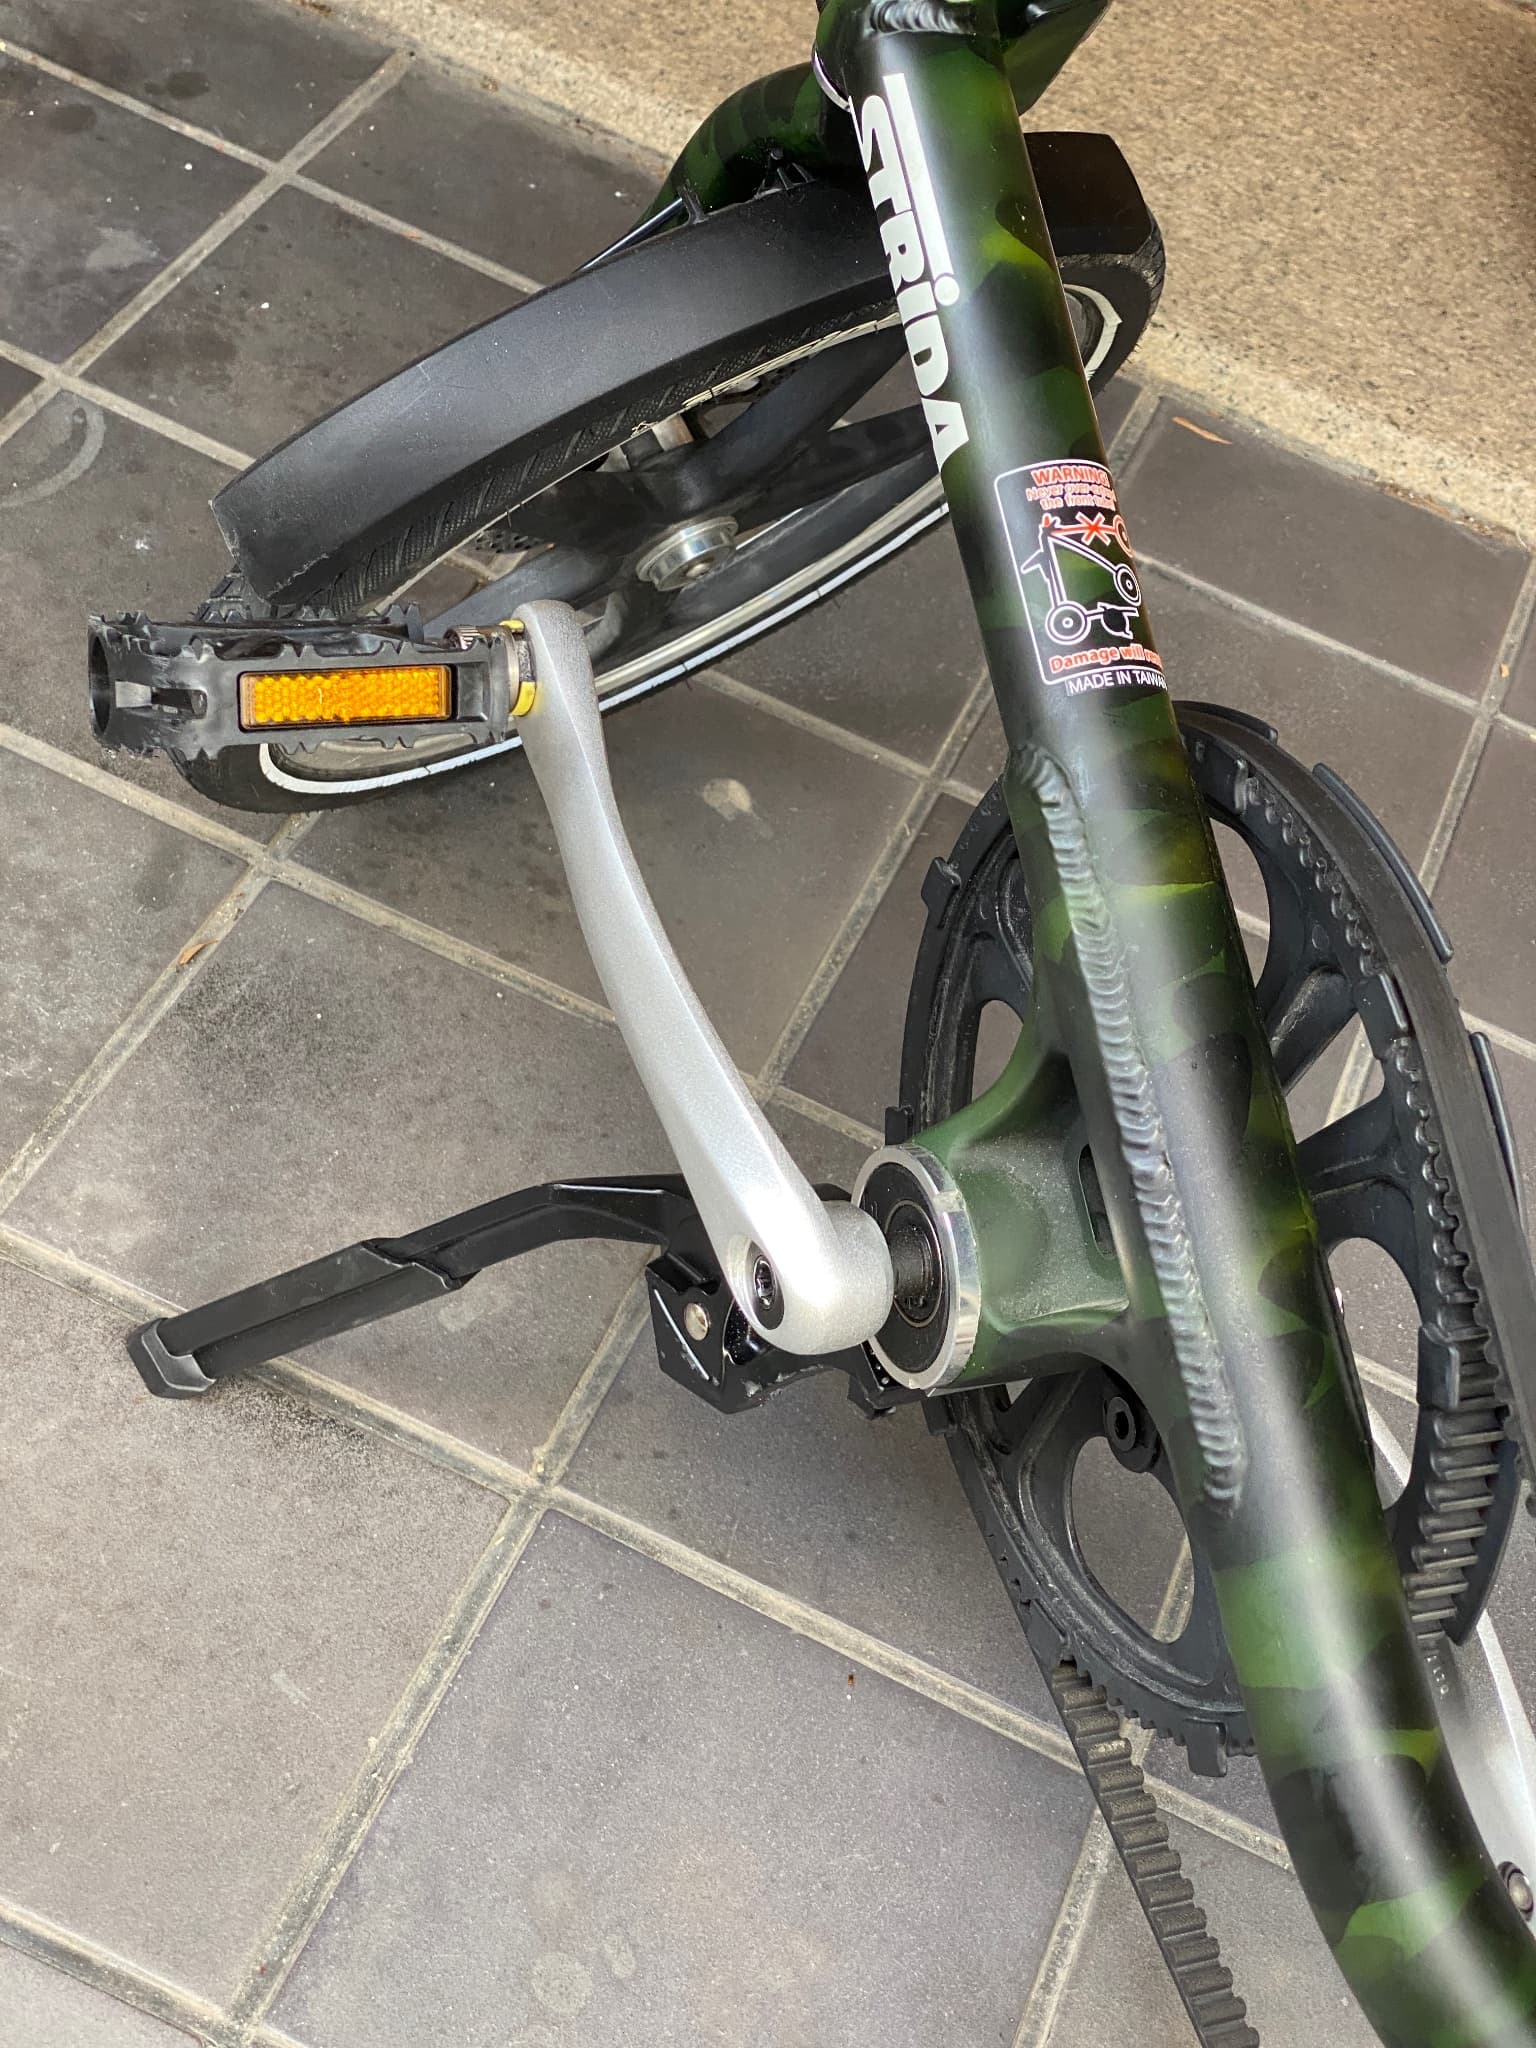
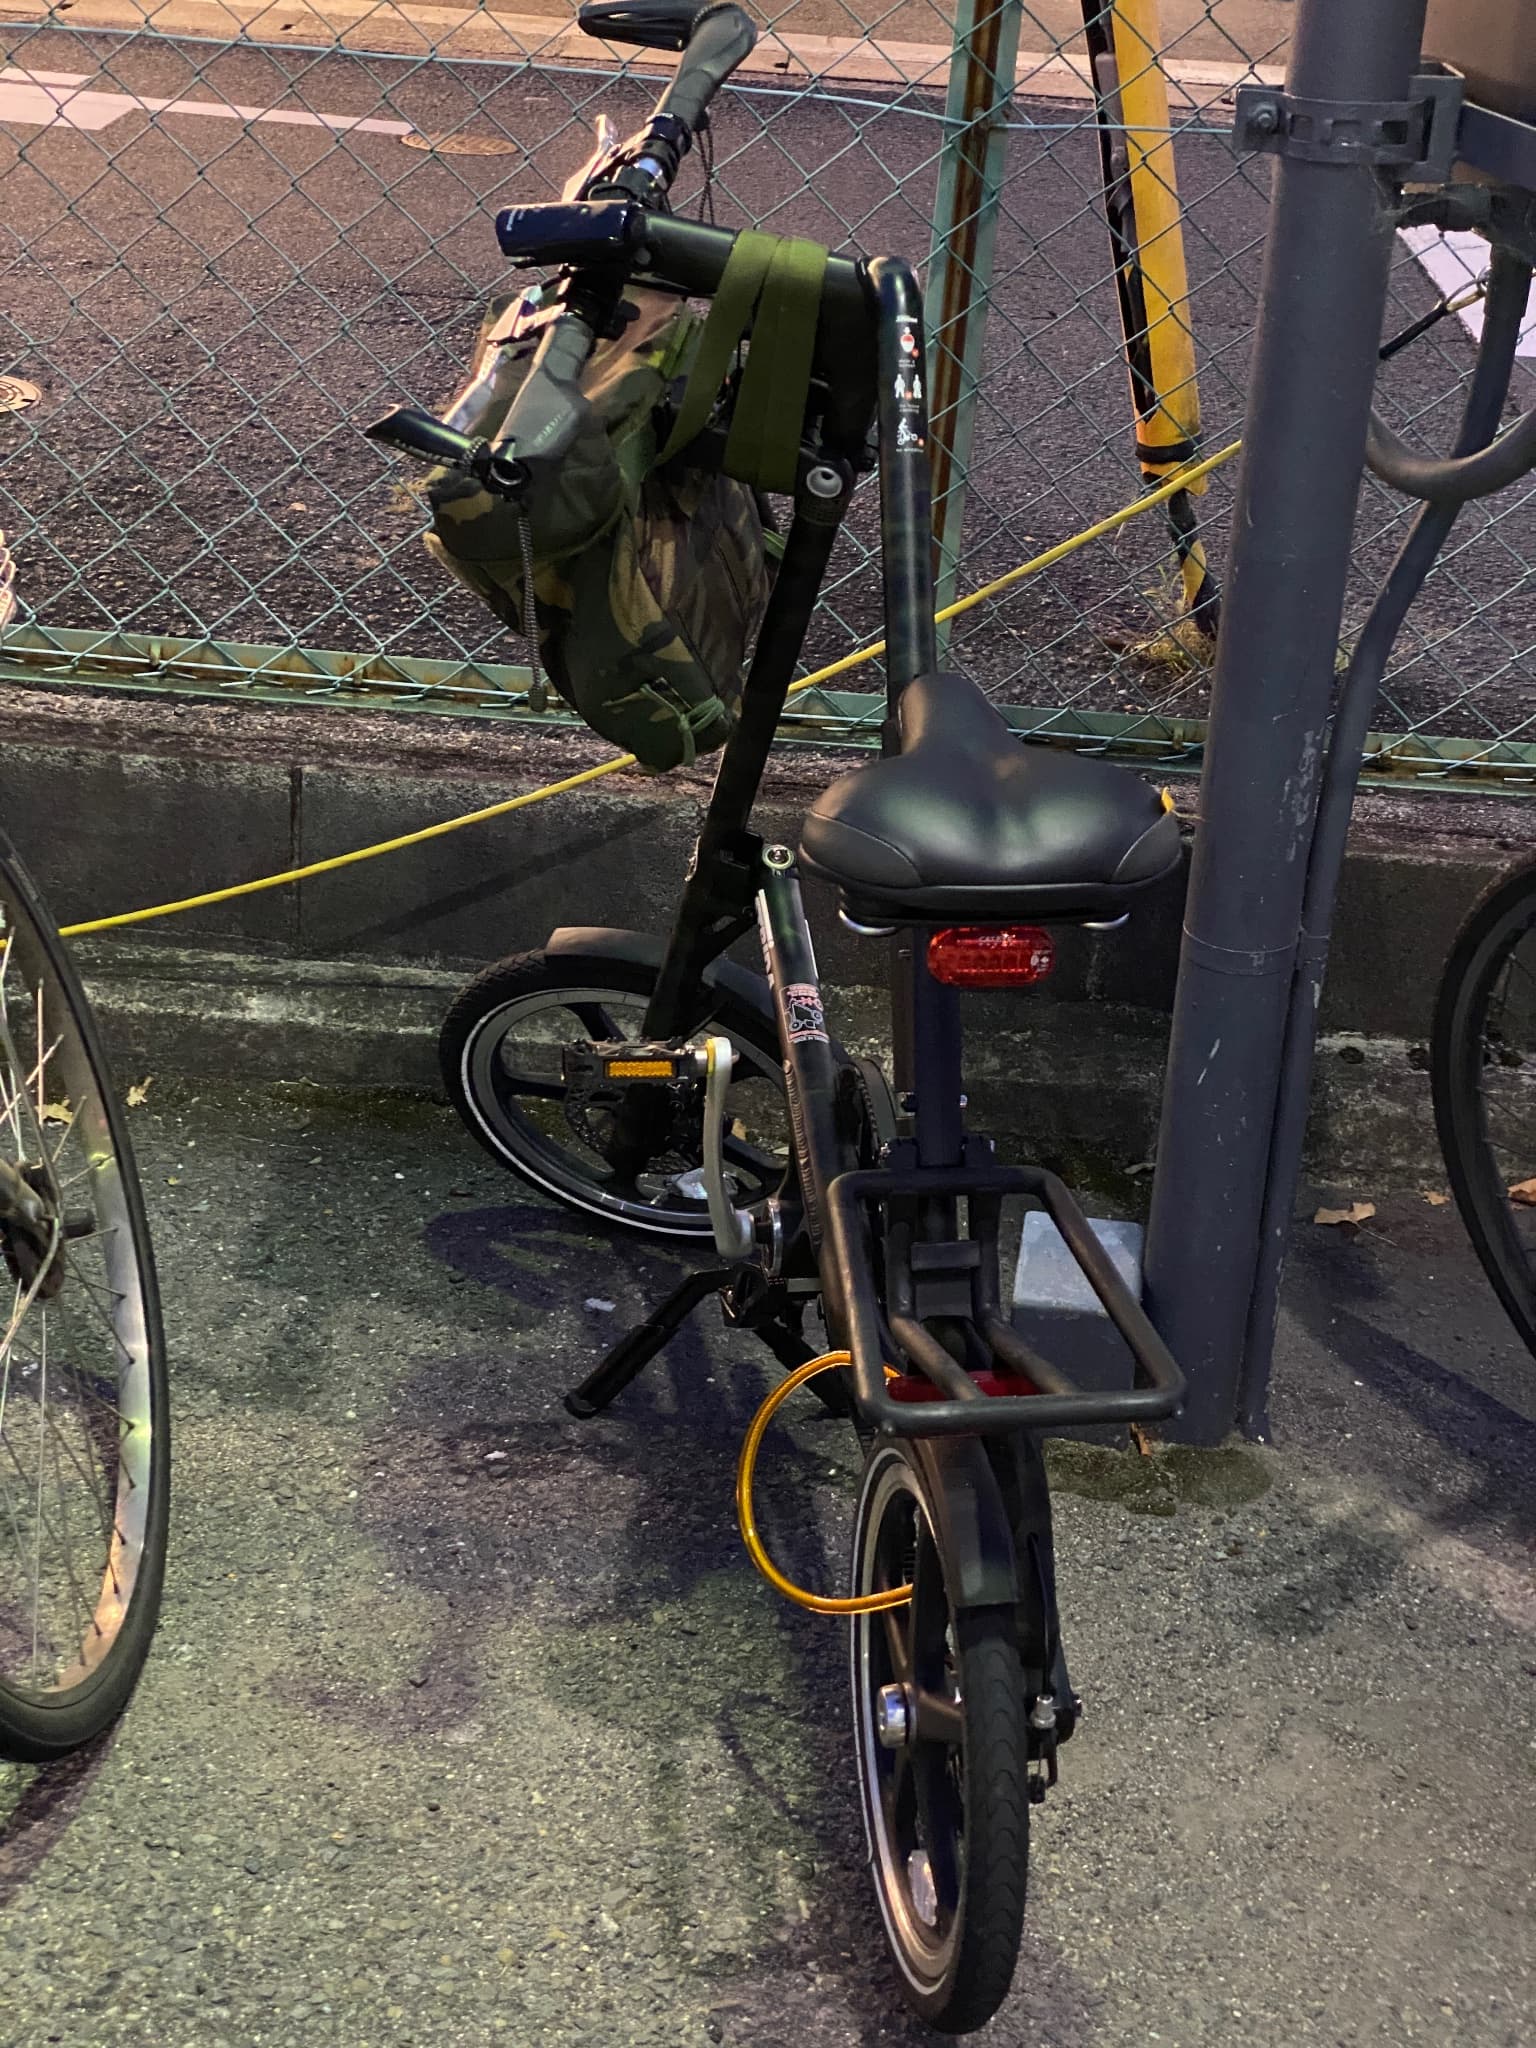
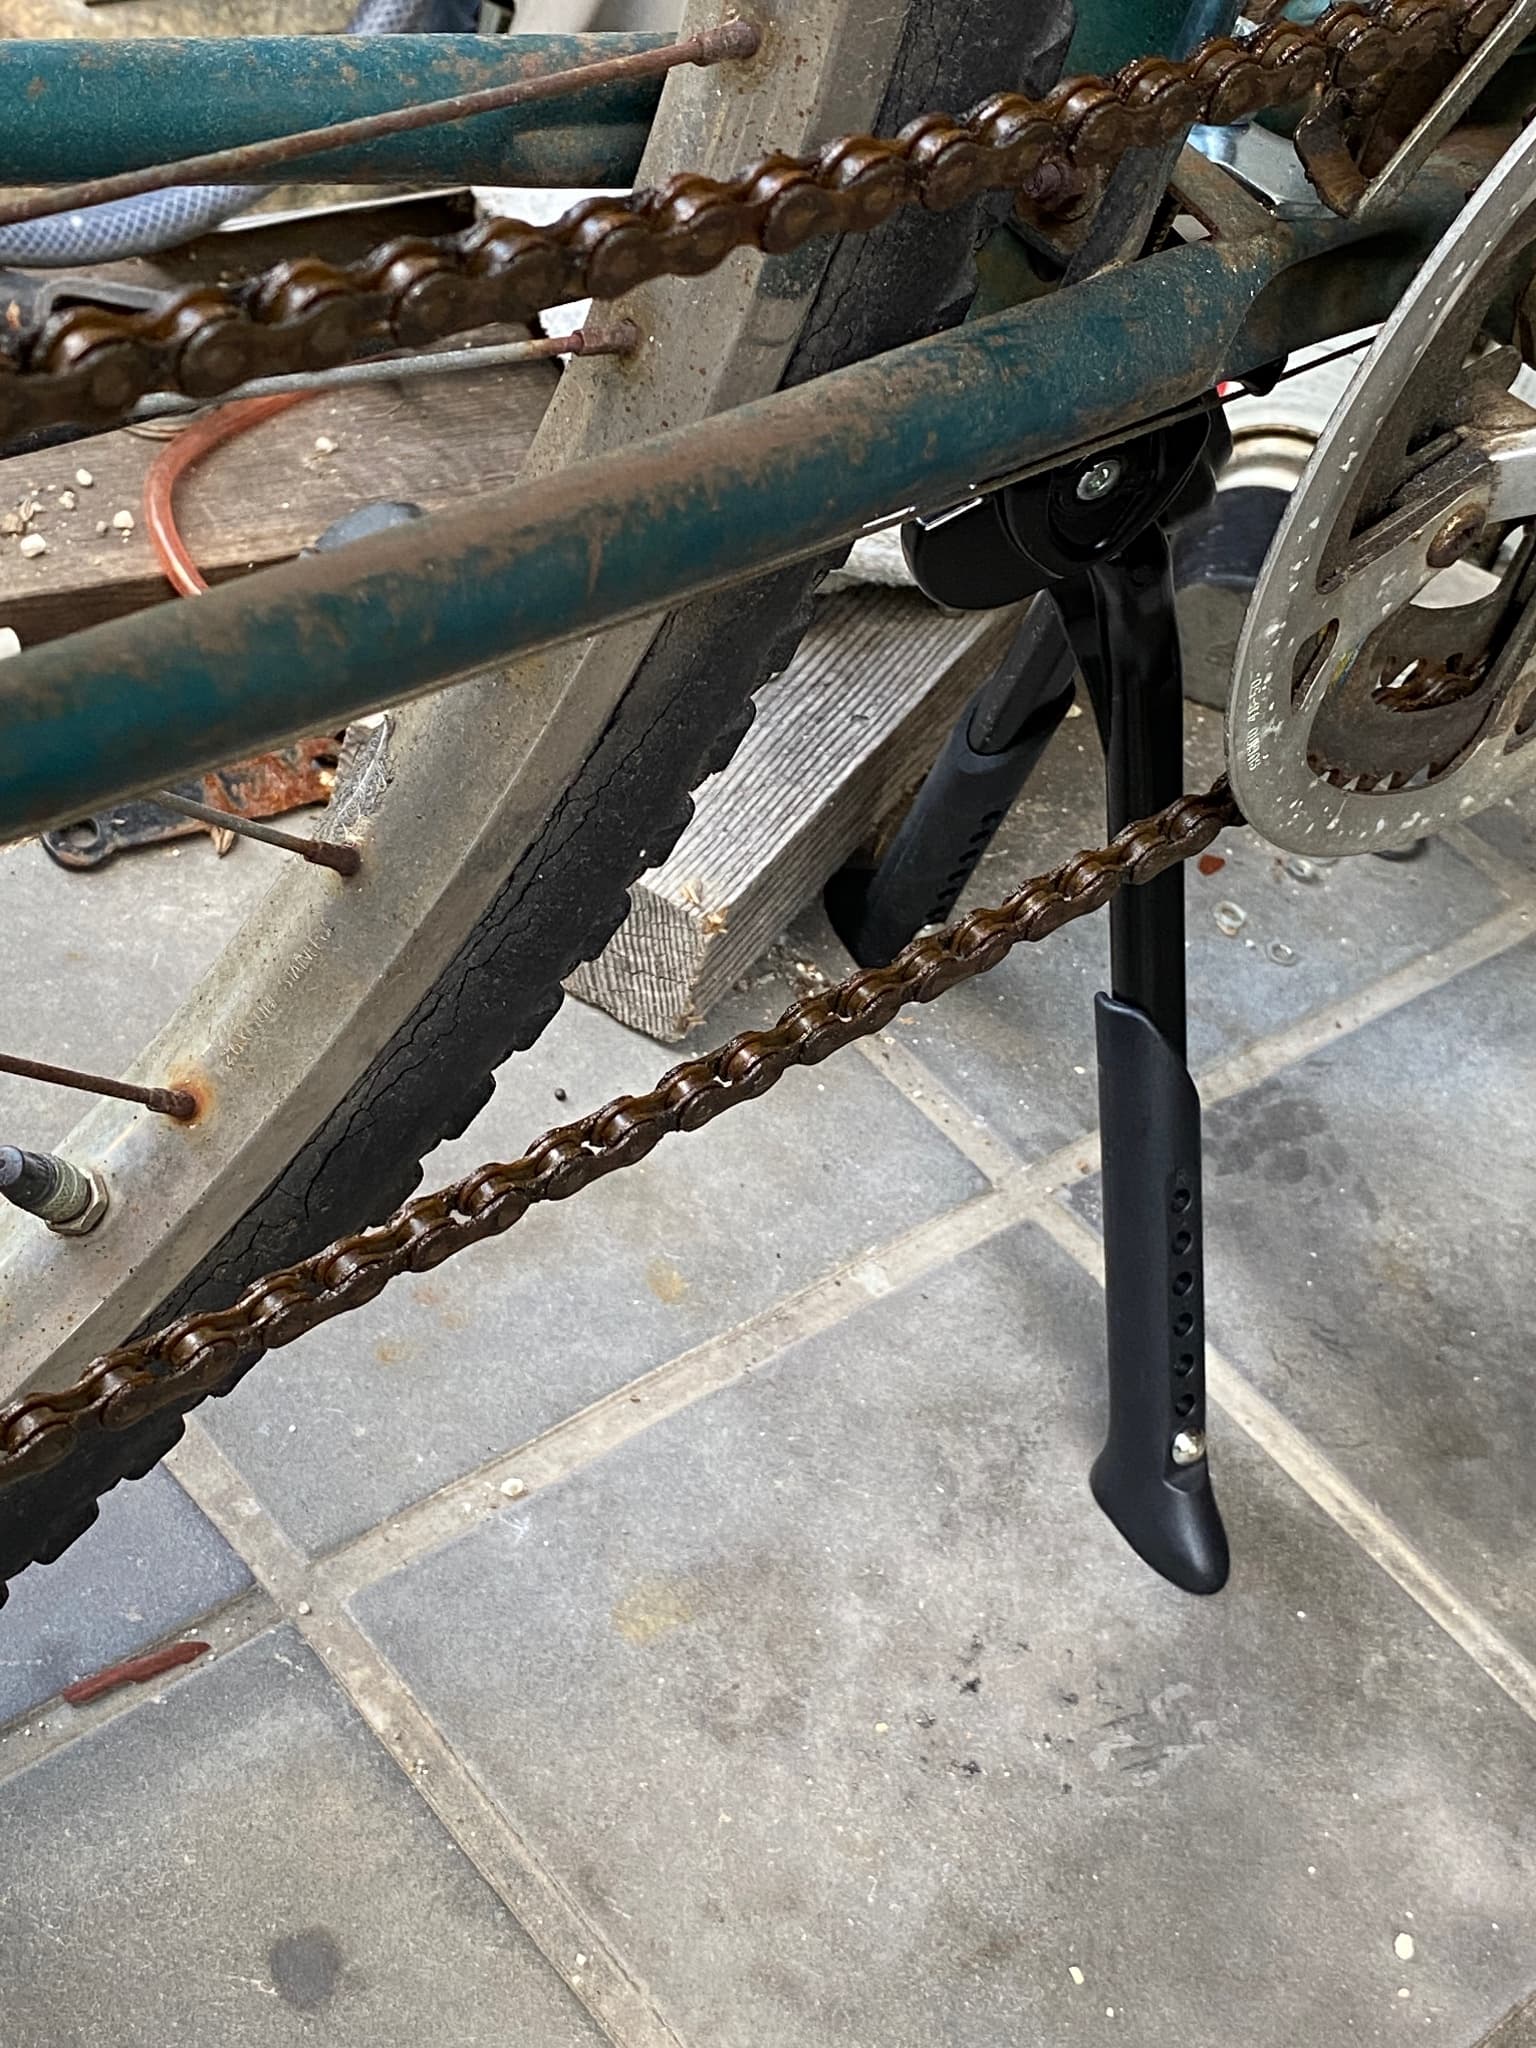
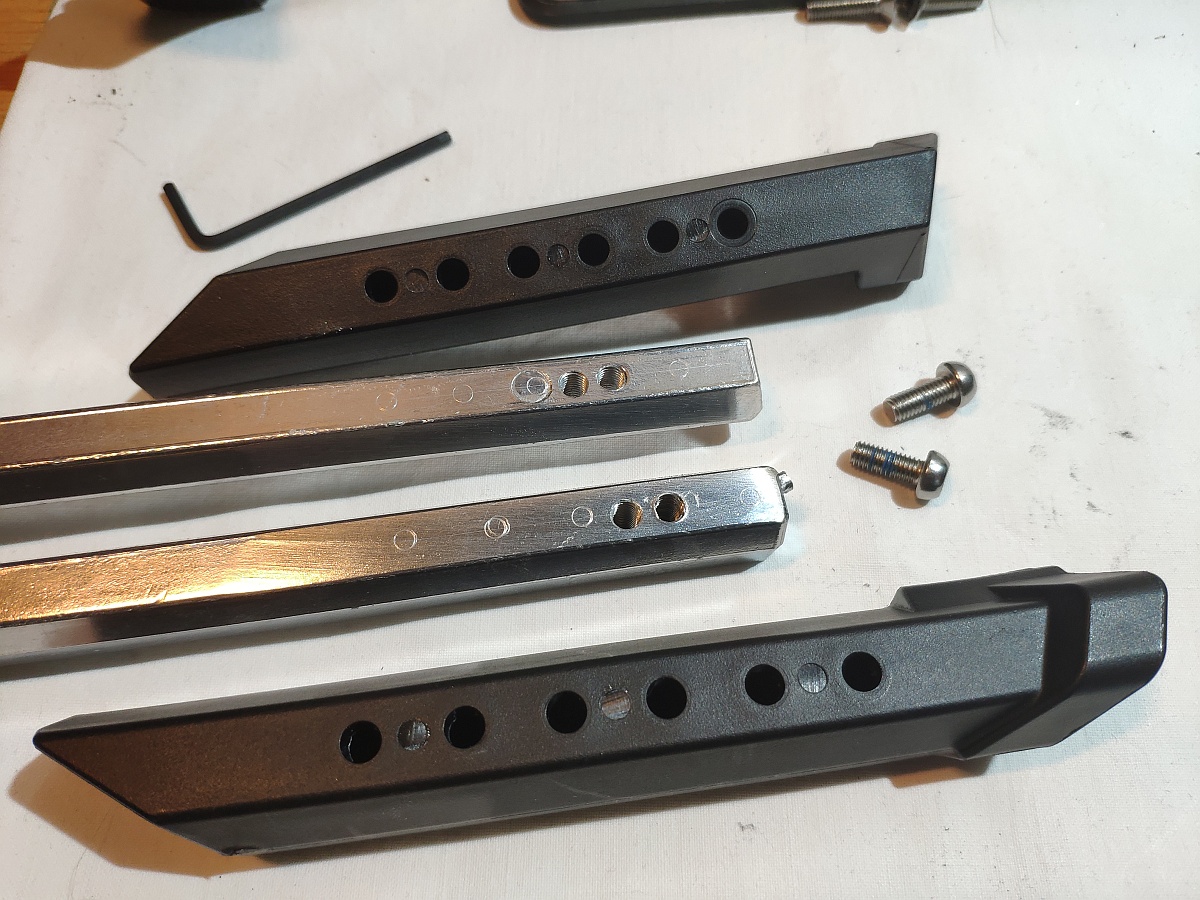
The stand is not the typical lightweight, round, and slender KA56 series stand with non-through mounting screw holes, but the square, thicker, and heavier KA88 series stand with mounting holes that go through to the back.
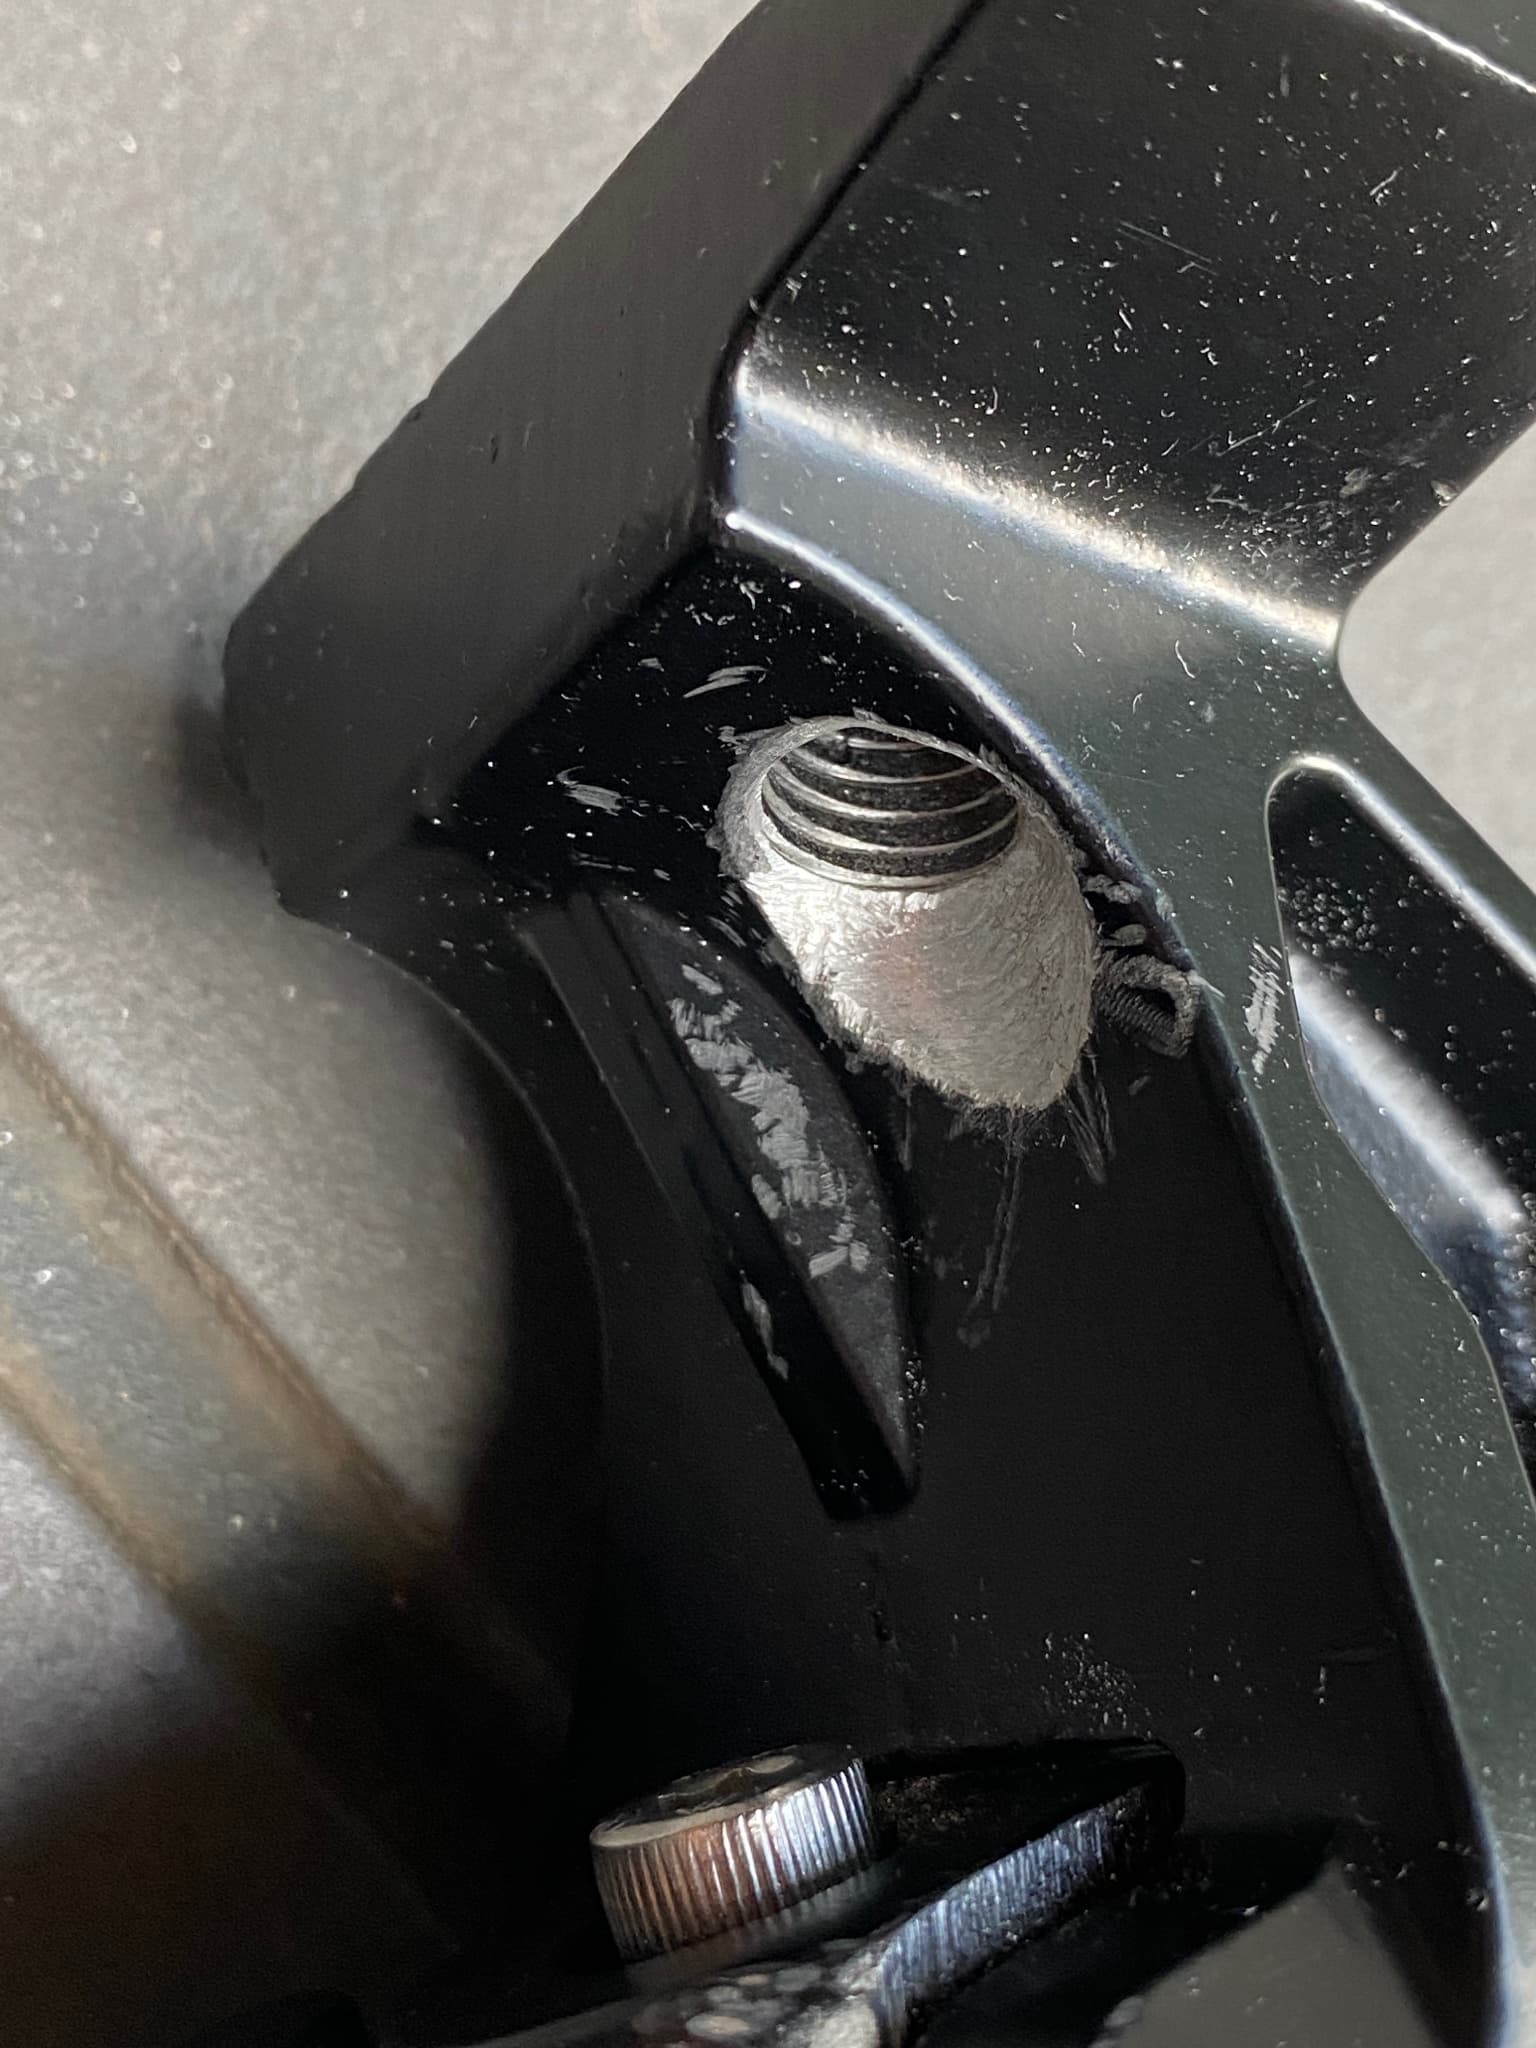
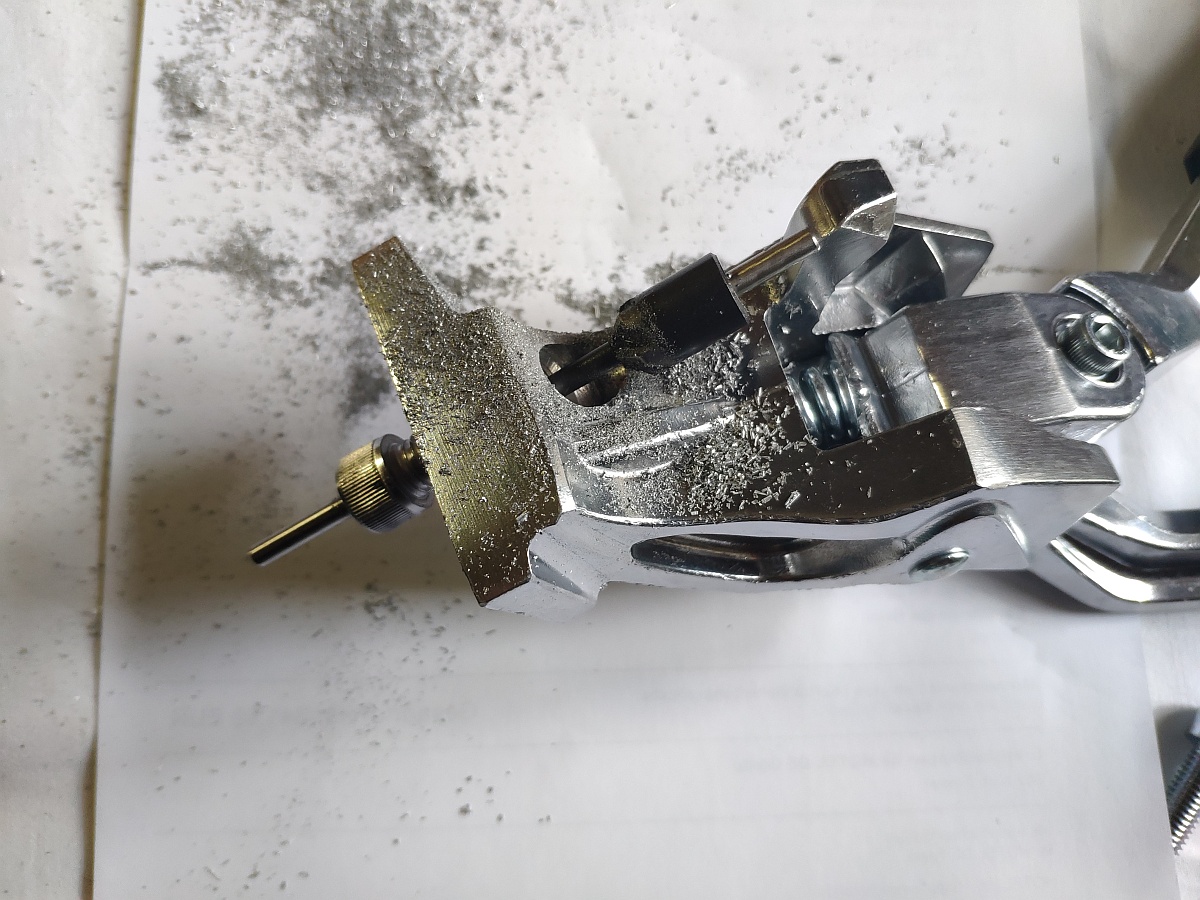
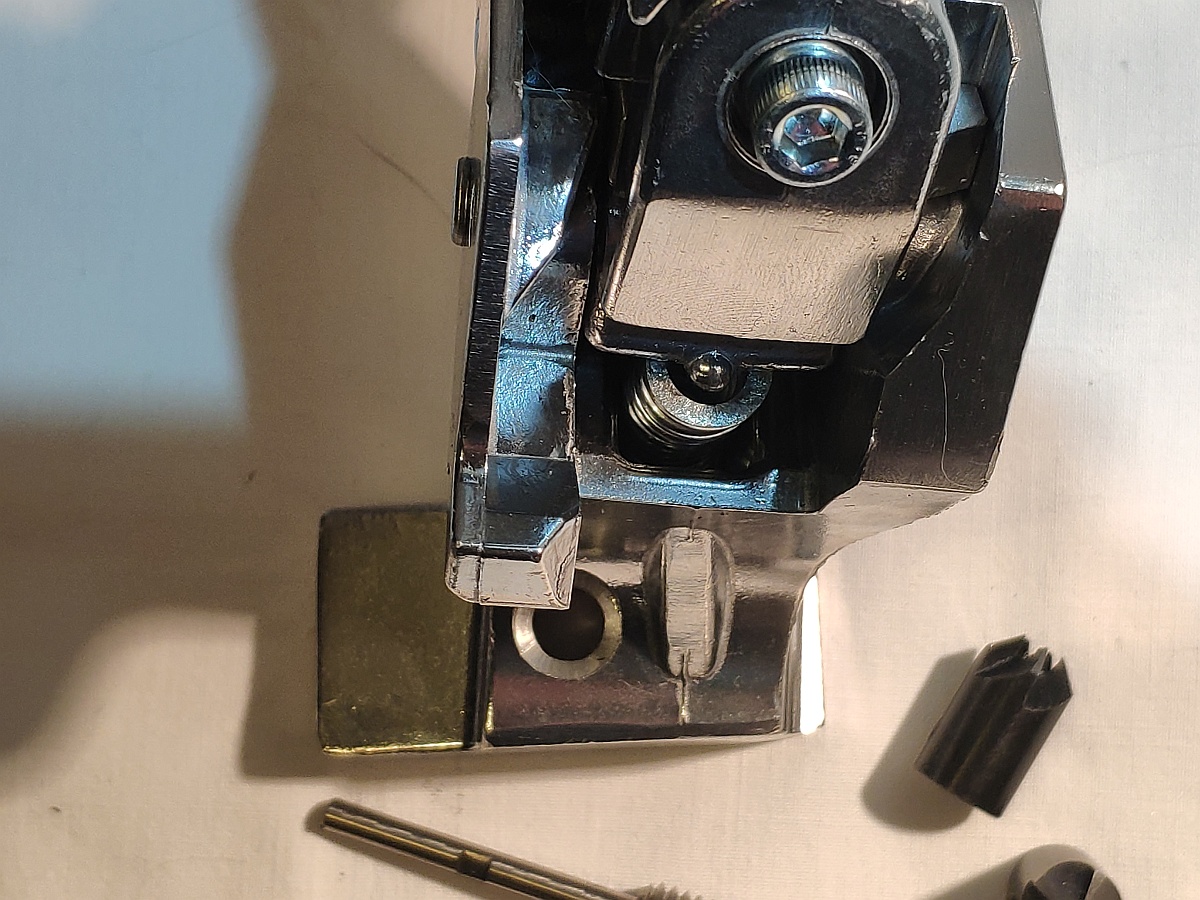
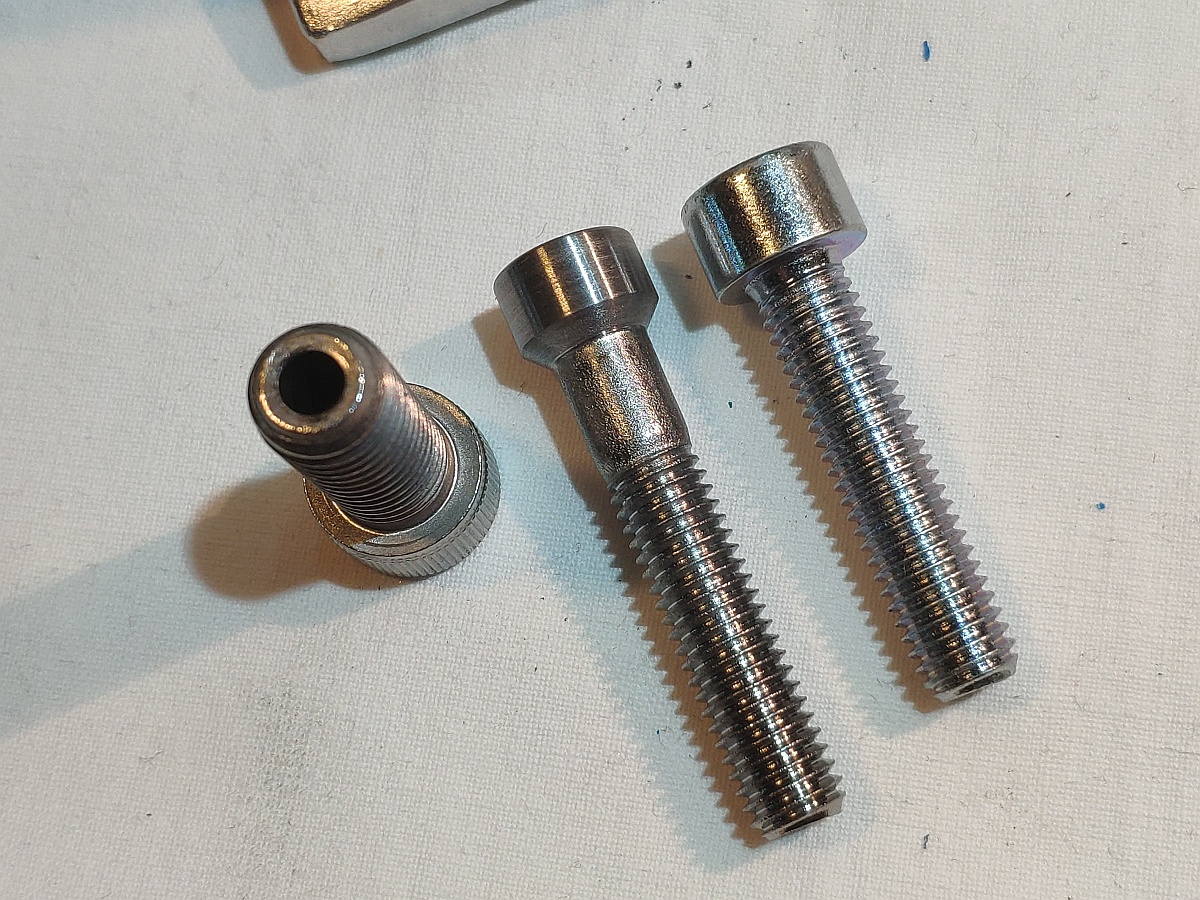
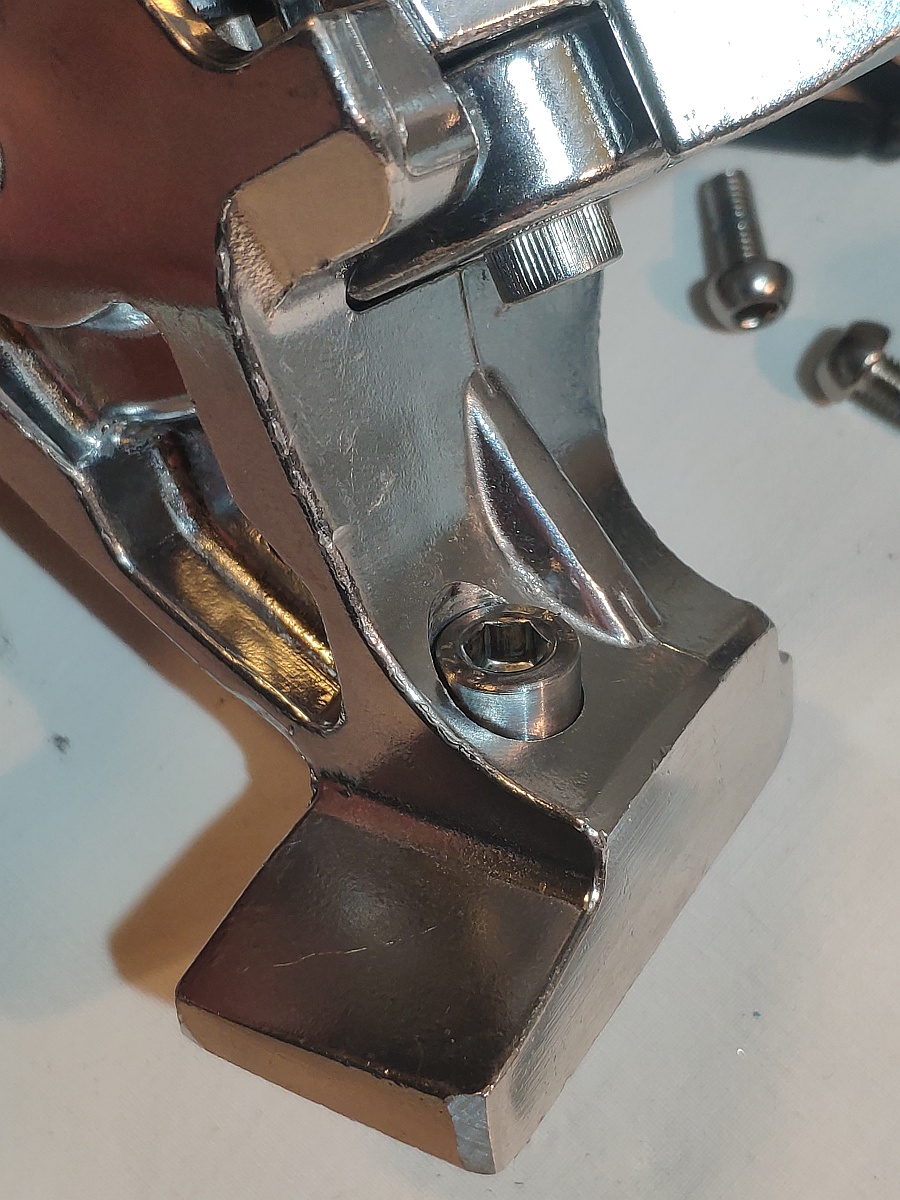
Even though, there is no seat, so for the time being I used a hand router and a grinding wheel to grind down as much as I could to make the bolt seat better. The bolts I ordered from Amazon haven’t arrived yet, but I had a slightly rusty nickel-plated M8x45 cap bolt in stock, so I installed it with that and a spring washer.
When the legs are set to the shortest length, the width is a little insufficient, so when the handlebars are turned to the left or right, it tends to tip over in that direction, so I extend it one level. In that way, it doesn’t tip over no matter which way it is turned, but the balance is such that the front wheel floats because there are three points of contact with the ground (2 legs and the rear wheel).
The stand mounting bolt also serves as the eccentric BB fixing bolt, so the balance here changes position and depends on the belt tension, which is tricky.
it’s ready to be installed (but after a little modification), so I’ll keep using it like this for a while and then think about my next steps and improvements.
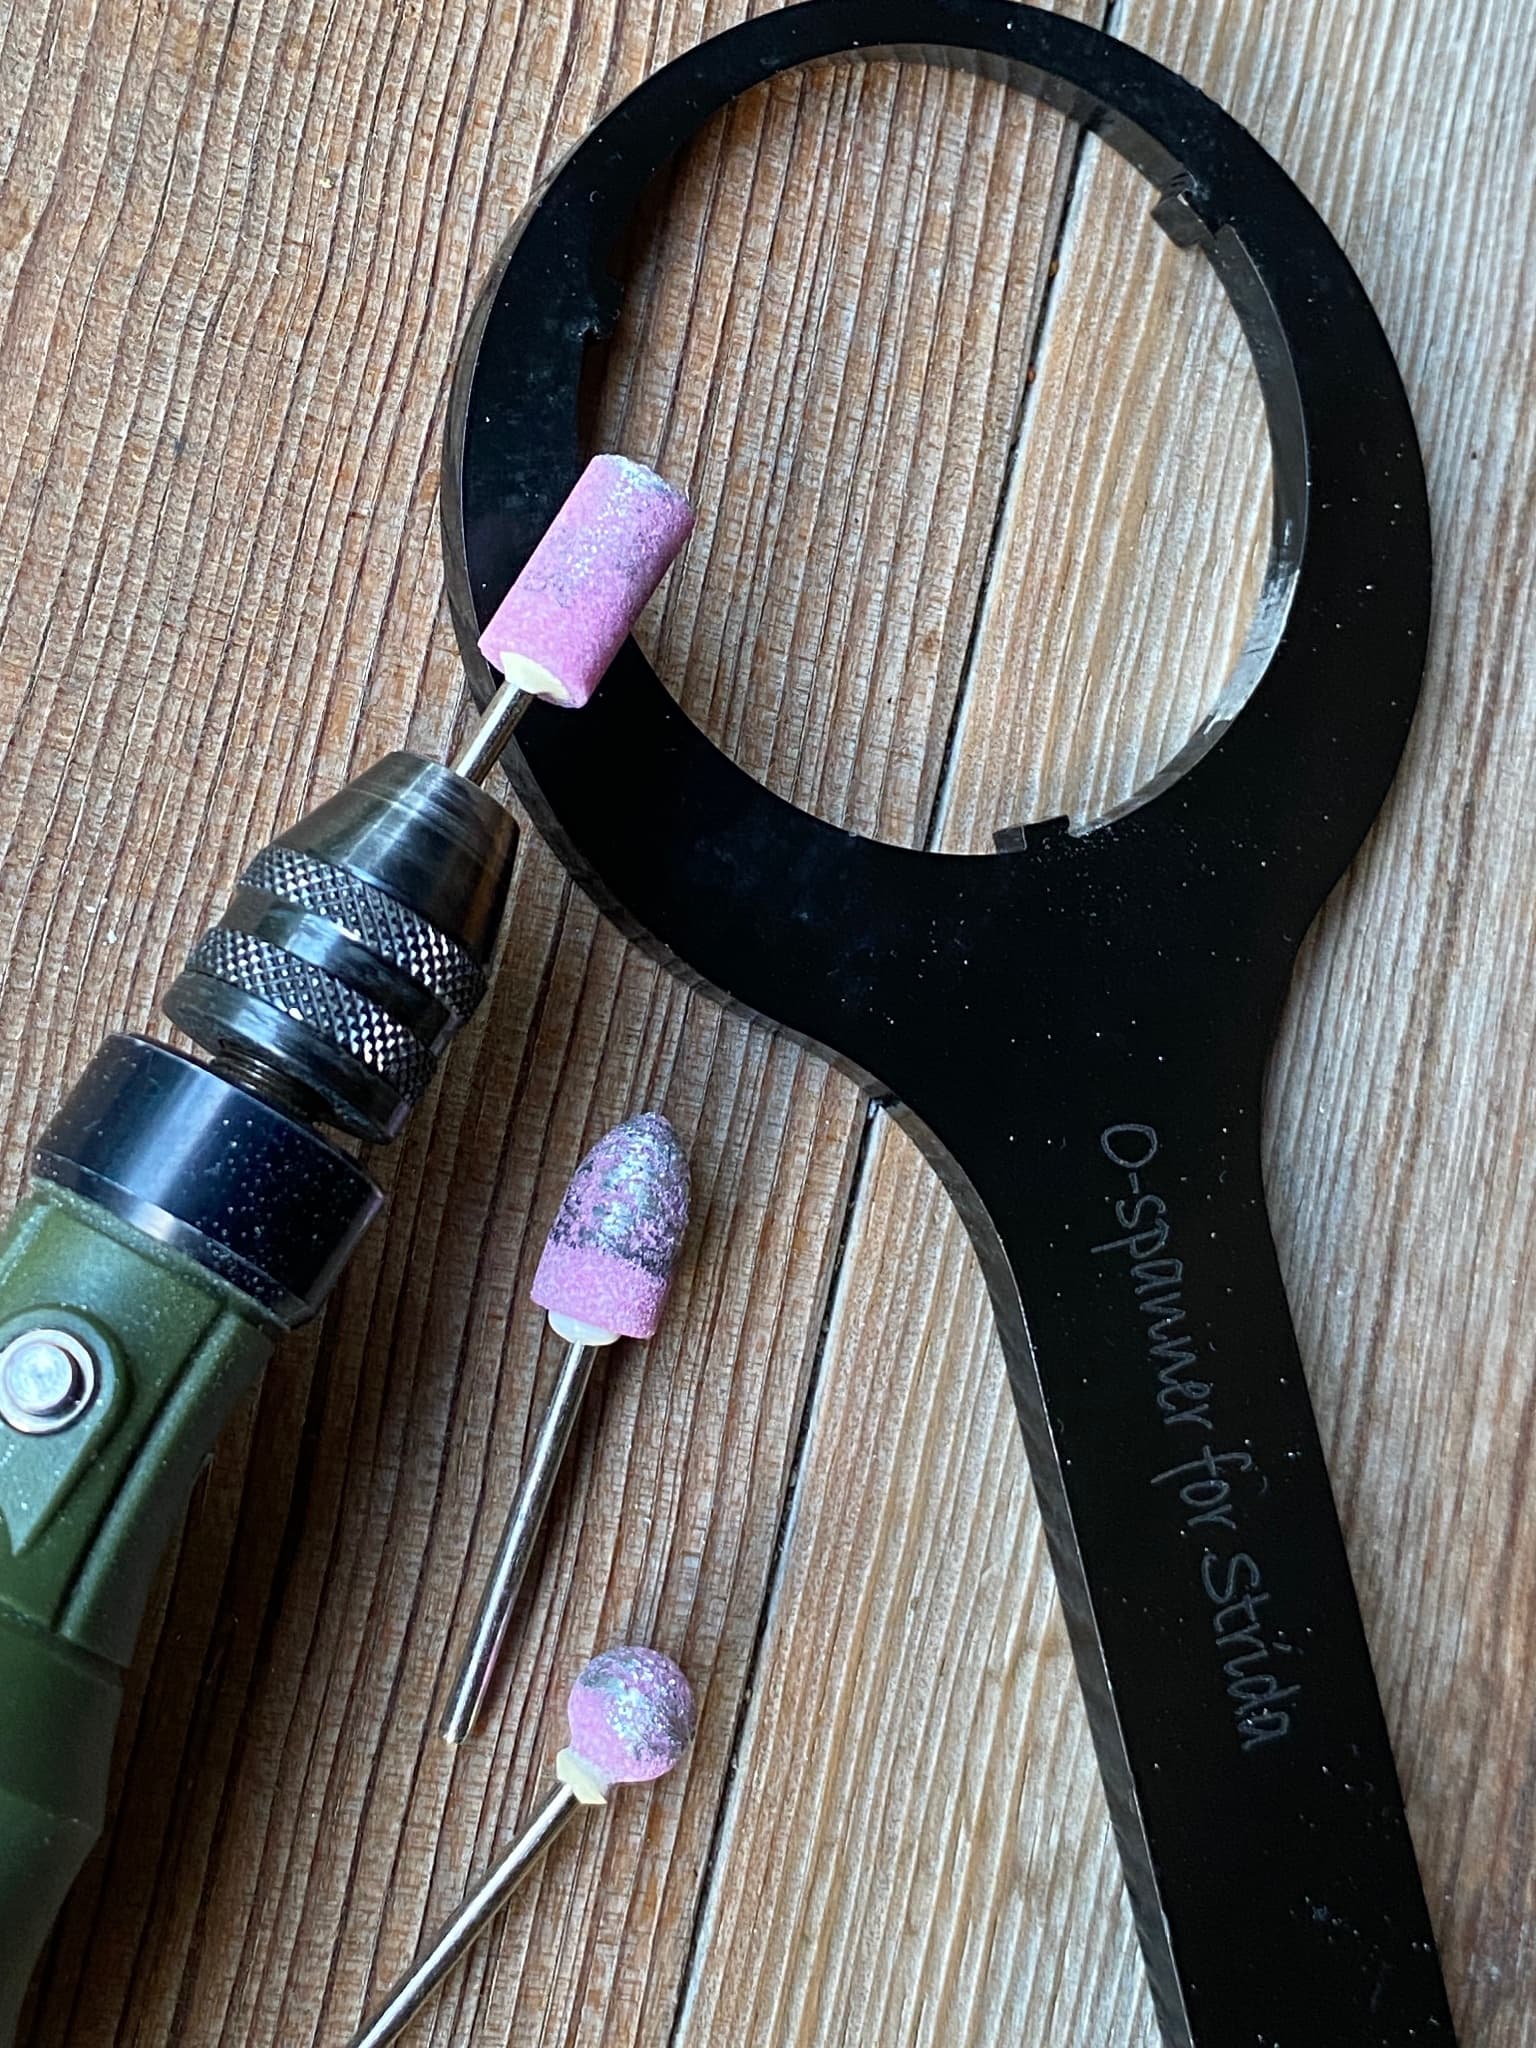
The three-jaw O-spanner for the fixing ring of the STRIDA eccentric BB had a burr sticking out from the last part of the machining process, which got in the way and prevented it from fitting properly, so I filed it down.
This is actually the key mod, made today my second one, the first should be in Finland soon
You couldn’t find enough room to work, therefore you used the grinding tools.
I thought also it’ll be impossible to work “from behind”.
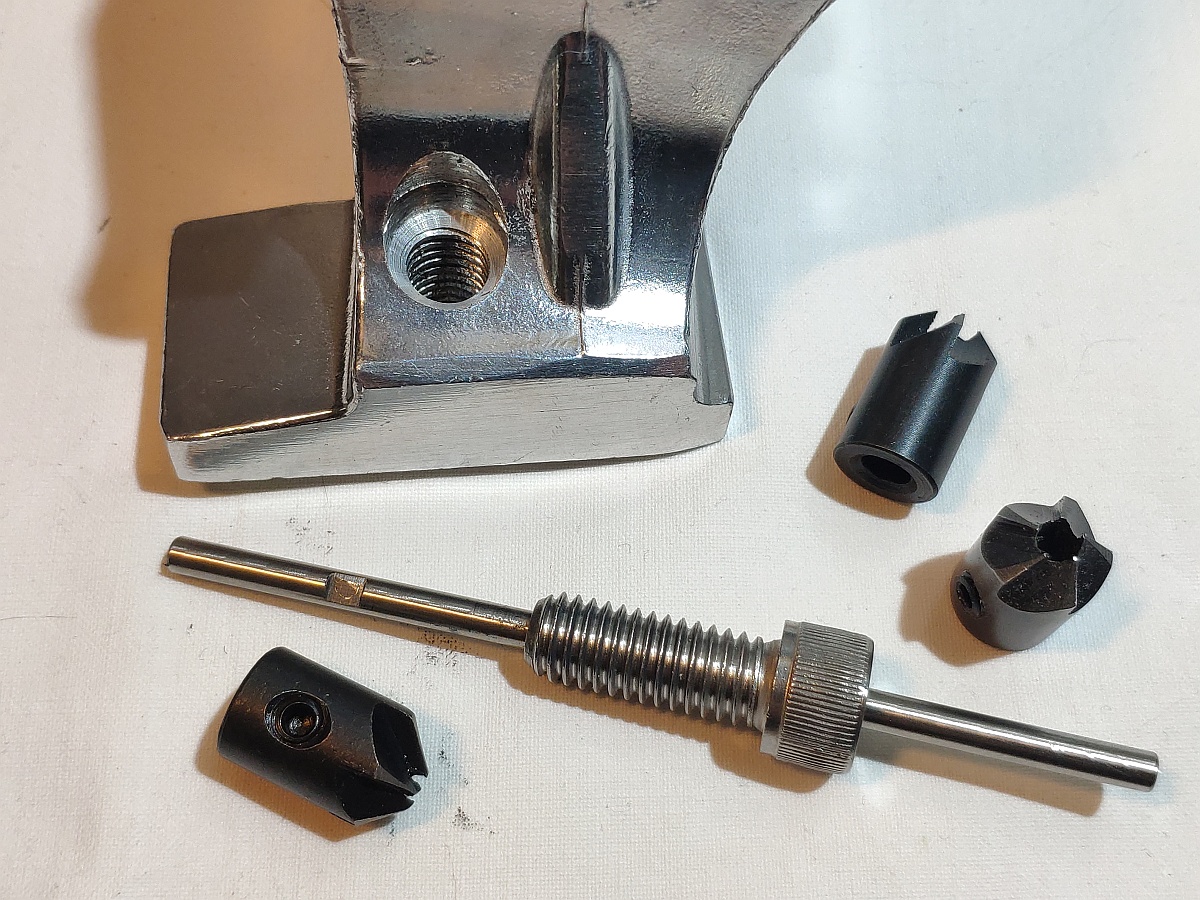
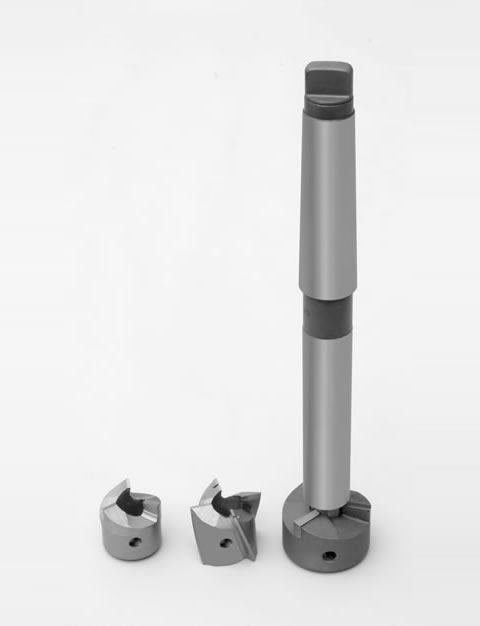
But there is a woodworking tool existent which can do exactly what we want!
(I couldn’t find the correct term in English; should be like “detachable countersink” or similar.)
Do you agree that it doesn’t matter if the bolt’s seat is flat or conical?
Here, it is a 90° counterbore - under the bolt’s head 45° bevel (x2).
Tools are easy to find, but the only importer of the Massload KA88 seems to have stopped importing it
Out of stock
There’s tons of rebadged Litepros around, on the other hand
Reviews are less than stellar…
Maybe just drilling straight through will work, without grinding off the material around the pocket?
I’ve found a Litepro for $6, I’ll grab it and see whether I can mount it
Maybe, that depends solely on the shape of the mounting plate (part).
On that cheap one I have here, the chamber for the spring sits very close to the central bolt.
Modifying it would mean to open that chamber…not good…
Btw…the leg length adjustment of the KA88 works with steps (which are each ~ 13 - 14 mm long).
Two additional threads in the legs - and the step length is cut into halves.
Here is a “method that works if you have a drill press”—a technique I didn’t post earlier because I never actually put it into practice or managed to create proper diagrams.
Here is an overview of the process:
Drill a hole large enough for the bolt head to pass through.
Cut a pipe to the appropriate length—with an inner diameter that fits the bolt—and insert it into the hole. This pipe will serve as the bearing surface for the bolt head.
Secure the pipe to the part by press-fitting it or using a two-part epoxy adhesive.
Drill two or three holes into the top surface of the part so that each hole overlaps halfway onto the pipe wall; then, tap these holes and screw in set screws to act as locking pins.
I did briefly wonder if inserting the bolt during step 3 might allow me to get away with using the cheaper, thinner legs, but it is probably best to avoid doing that.
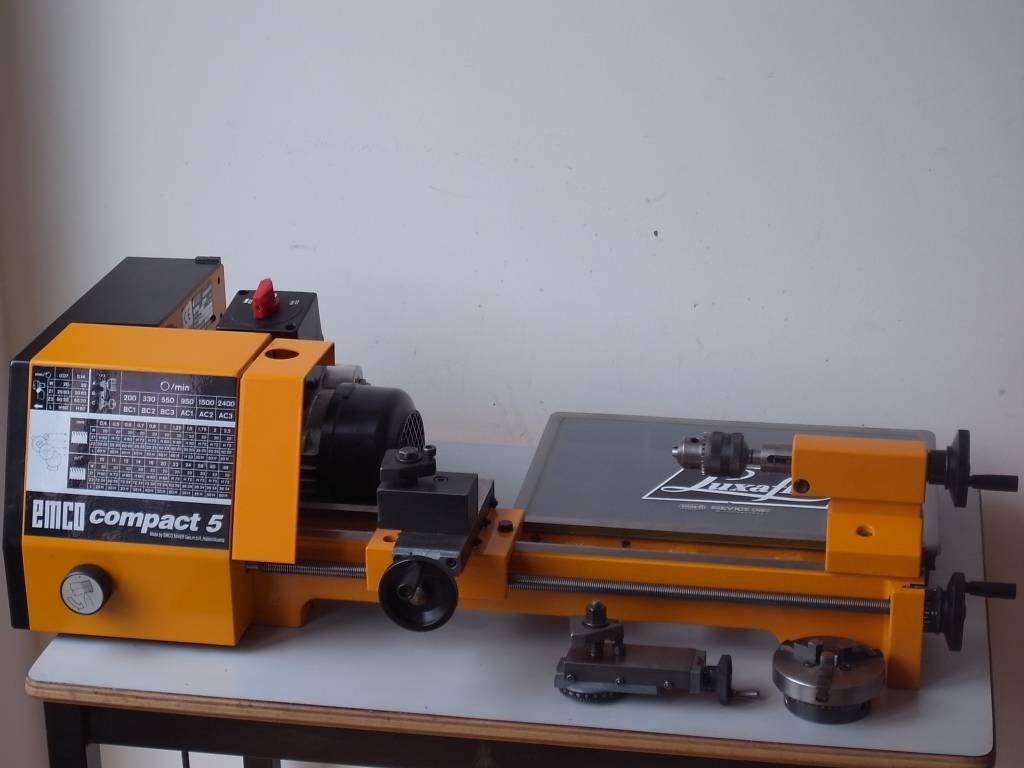
For anyone who likes doing various projects themselves, a drill press, a lathe, and a milling machine are the “Sanshu-no-Jingi (means three sacred treasures)”!